

Getting Started with the Puffs
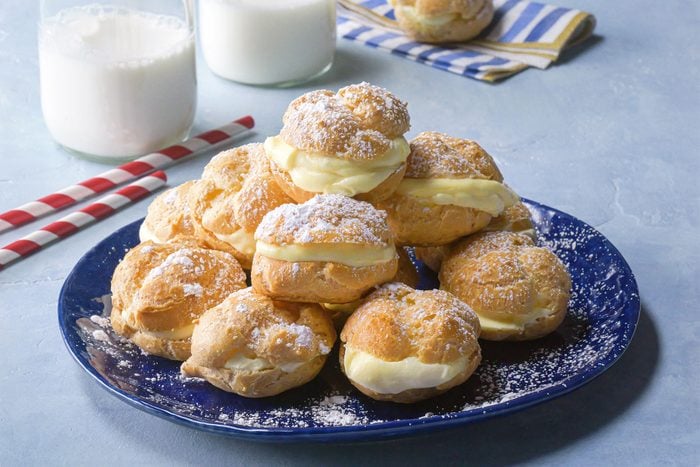
So, I decided to tackle making some frozen mini cream puffs. Had a bunch of cream in the fridge needing a purpose, you know? Figured it’d be good to have some ready-to-go treats stashed in the freezer.
First things first, got all the stuff out. You need the basics: water, butter, a pinch of salt, some sugar, flour, and eggs. Nothing too fancy for the puff part itself. Measured everything out so I wouldn’t mess it up halfway through.
Making the Dough Thingy
Okay, making the actual puff pastry… the choux dough, I think it’s called. It’s a bit weird but works.
- Boiled the water, butter, salt, and sugar in a saucepan. Simple enough.
- Once it was bubbling, dumped all the flour in at once. This is where it gets active. Stirred like mad with a wooden spoon. Cooked it for a minute or two until it pulled away from the sides of the pan and formed a ball.
- Took it off the heat. Let it cool down for a few minutes. Don’t want scrambled eggs, right?
- Then, beat in the eggs. One at a time. This part took some elbow grease. Beat the first one in fully before adding the next. Kept going until the dough was smooth and glossy. Looks kinda sticky and weird, but that’s apparently correct.
Piping and Baking Time
Got my baking sheets lined with parchment paper. Spooned the dough into a piping bag. Didn’t have a fancy tip, just snipped the end off. Tried to pipe small, even mounds. Confession: they weren’t perfectly uniform. Some were bigger, some smaller. Oh well, homemade charm, right?
Baked them in a pretty hot oven. Think it was around 400F (200C) to start, then turned it down after about 15 minutes. Let them get nice and golden brown. The trick is to bake them long enough so they don’t collapse when they cool. I even poked a little hole in the side of each one near the end to let steam escape, hoping that’d help keep them crisp.
Filling ’em Up
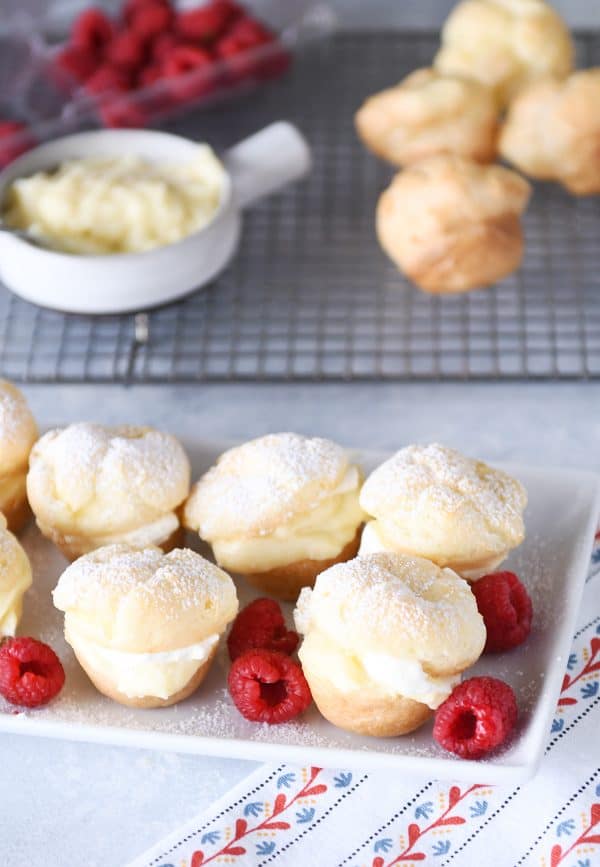
While the puffs cooled completely (this is important, don’t want melted cream!), I whipped up the filling. Kept it super simple: heavy cream, a bit of powdered sugar, splash of vanilla. Whipped it until it held stiff peaks. You could do custard, but I was going for quick and easy.
Once the puffs were totally cool, I made a little hole in the bottom or side of each one. Used the piping bag again (cleaned it out, obviously) to squirt the whipped cream inside until they felt full. Some cream definitely oozed out here and there. Messy, but tasty.
Freezing for Later
Alright, the final step. Put all the filled puffs on a baking sheet, making sure they weren’t touching. Popped the whole sheet into the freezer. Let them freeze solid for a few hours. This stops them sticking together. Once they were hard like little rocks, I tossed them into a big freezer bag. Done.
Now I’ve got a stash of mini cream puffs ready whenever. Just take ’em out a few minutes before eating so they soften up just a tad. Pretty happy with how they turned out, honestly. Good little project and tasty result.


