
Okay, so I kept seeing this cheesecake popping up online and in bakeries. The one that looks kinda messed up, all dark brown, almost burnt on top? Yeah, that one. People call it a ‘burnt’ cheesecake or Basque style, something like that. Seemed weird, but everyone raved about it. Curiosity got the better of me, figured I’d give it a go myself. How hard could it be?
Getting Started
First thing, had to get the ingredients. Nothing too wild, which was a relief. Just needed a good amount of cream cheese – the full-fat kind, no skimping here. Grabbed some sugar, a bunch of eggs, heavy cream, and a little bit of flour just to hold things together, I guess. Already had vanilla extract in the cupboard.
- Cream Cheese (like, two big blocks)
- Sugar
- Eggs
- Heavy Cream
- A tiny bit of All-Purpose Flour
- Vanilla Extract
Mixing It Up
The process itself felt almost too easy. Made me suspicious. Basically, I let the cream cheese soften up first. Don’t skip this, or you’ll have lumps. Nobody wants lumpy cheesecake. Then, dumped the sugar in with the cream cheese and beat it together until it looked smooth. Used my trusty hand mixer, nothing fancy.
Next, cracked the eggs in, one after the other, mixing just enough to combine after each one. Didn’t want to beat too much air into it, apparently. Poured in the heavy cream and the vanilla, gave it another gentle mix. Finally, sifted the tiny bit of flour over the top and folded it in carefully. The batter looked pretty thin, not like regular cheesecake batter. But hey, I was just following the steps.
Pan Prep and Baking
Preparing the pan was… rustic. Took a springform pan and lined it with parchment paper. But not neatly. You kinda crumple it up and push it in, letting it stick up over the sides unevenly. Looked like I messed up, but apparently, that’s the ‘look’. Okay then.
Poured the thin batter into this messy paper-lined pan. Then came the scary part: the oven. Set it to a really high temperature, much higher than normal cheesecake baking. Around 400°F (or 200°C). Popped it in.
Checked on it partway through. It puffed up quite a bit and started browning fast. Kept a close eye because I was sure it would actually burn burn. The top got super dark, almost black in spots. The whole kitchen smelled fantastic, though. Baked it for about 50 minutes, maybe a bit longer, until the edges were set but the center still had a good wobble. Trust the wobble.
The Cool Down and The Moment of Truth
Pulled it out of the oven. It sinks down quite a bit as it cools, which is normal for this cake. The hardest part? Waiting. You absolutely have to let it cool completely. First on the counter, then in the fridge for several hours, or even better, overnight. Seriously, don’t rush this.
Finally, time to try it. Unmolded it. The sides were wrinkly from the parchment paper, top was dark and cracked. Looked exactly like the pictures, surprisingly.

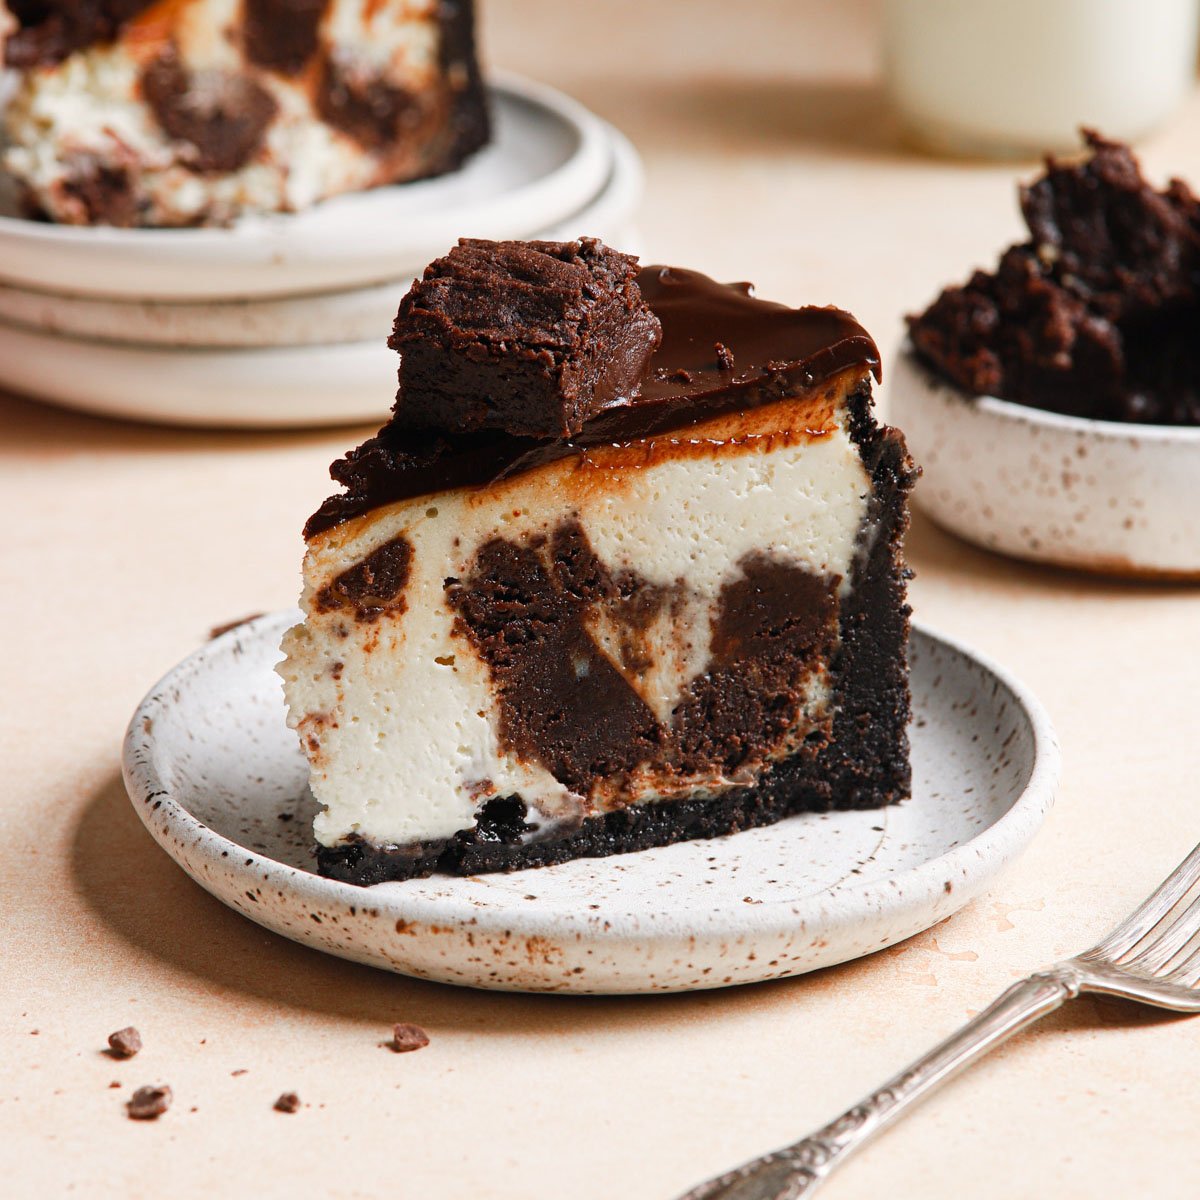
Sliced into it. The inside was incredibly creamy, smooth, almost like a custard. Not dense like a typical New York cheesecake at all. And the taste? Wow. That ‘burnt’ top isn’t bitter like you’d expect. It’s deeply caramelized, giving it this amazing bittersweet edge that cuts through the richness of the creamy filling. It was sweet, tangy, creamy, with that unique caramelized flavor on top.
Final Thoughts
So, yeah. Made the brown cheesecake. It looked weird, the process felt a bit wrong with the high heat and burnt top, but it turned out great. Super easy, actually. The hardest part was just being patient during the cooling. Definitely worth trying if you haven’t. It’s popular for a reason, I guess. Looks aren’t everything, right?


