
Alright, so today I’m gonna walk you through something I whipped up in the kitchen recently – red velvet shortbread cookies. I’d seen a few pictures, and they looked pretty neat, so I thought, why not give it a shot? Sometimes you just gotta try these things yourself to see what all the fuss is about. So, here’s my little adventure with these red beauties.
Getting My Stuff Together
First things first, I raided my pantry and fridge. You know the drill. I needed the basics: butter, a good amount, and make sure it’s softened, otherwise, you’re in for a workout. Then, powdered sugar, not the regular granulated stuff, ’cause we want these shortbreads to be tender. One egg yolk – just the yolk, mind you, that’s what I used. A splash of vanilla extract, the real kind if you can get it, makes a difference, I swear.
For the ‘red velvet’ part, I needed all-purpose flour, a little bit of unsweetened cocoa powder (and I mean a little, like a tablespoon or two, just for that hint of chocolatey flavor, not full-blown chocolate cookies), and of course, the star of the show: red food coloring. I used the gel kind, it’s more concentrated. And a pinch of salt, can’t forget salt, it brings out the flavors.
Mixing Up The Dough
Okay, so I tossed the softened butter into my big mixing bowl. Added the powdered sugar and got my electric mixer going. Creamed them together until it was looking light and fluffy. This step, I always take my time with. Makes for better cookies, I reckon.
Then, I dropped in the egg yolk and the vanilla extract. Mixed that in until it was just combined. You don’t want to overmix it here. In a separate, smaller bowl, I whisked together the flour, cocoa powder, and salt. Just a quick whisk to get everything friendly with each other.
Now, the messy part. I gradually added the flour mixture to the butter mixture, with the mixer on low. And I mean low, unless you enjoy a flour cloud in your kitchen. Once it started to come together, I added the red food coloring. I started with a good squirt, mixed it, and then added a bit more until I got that deep red color I was looking for. It’s surprising how much you sometimes need. The dough looked pretty wild at this point, super vibrant.
The Chill Out Phase – Super Important!
Once the dough was all red and beautiful, I scooped it out onto a piece of plastic wrap. Formed it into a disc, wrapped it up tight, and stuck it in the fridge. Now, this is a step you absolutely cannot skip with shortbread. It needs to chill for at least an hour, maybe two. I think I left mine in for about an hour and a half because I got sidetracked by something else. This chilling makes the dough easier to handle and stops the cookies from spreading too much when they bake. Trust me on this one.
Rolling, Cutting, and Baking
After the chilling, the dough was nice and firm. I lightly floured my countertop – just a little, too much flour makes them tough – and unwrapped the dough. Rolled it out to about a quarter-inch thick. I tried to get it even, but hey, homemade means it doesn’t have to be perfect, right?
Then I grabbed my cookie cutters. I just used simple round ones, but you can get creative if you want. Cut out the shapes and carefully placed them on a baking sheet lined with parchment paper. Parchment paper is my best friend in the kitchen; cleanup is a breeze.
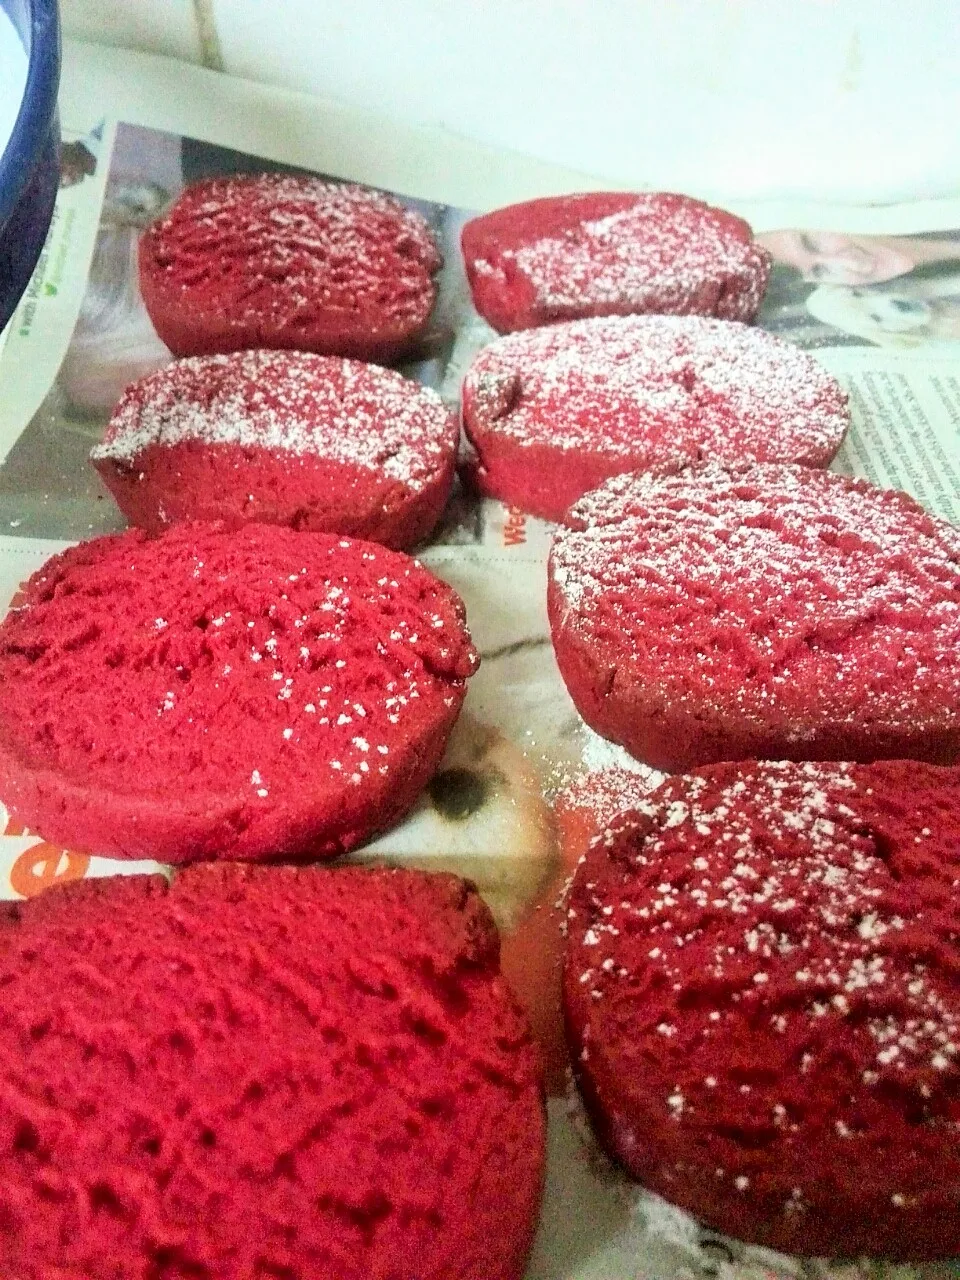
My oven was preheated to around 350°F (that’s about 175°C). I popped the baking sheet in and baked them for about 12-15 minutes. You gotta watch them closely because with the red color, it’s hard to tell if they’re browning too much on the edges. I just looked for them to be set and firm to the touch.
Cooling and a Little Extra
Once they were done, I let them sit on the baking sheet for a few minutes before moving them to a wire rack to cool completely. They smelled pretty good, that buttery, slightly chocolatey aroma.
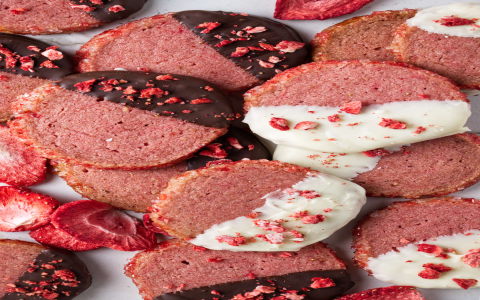
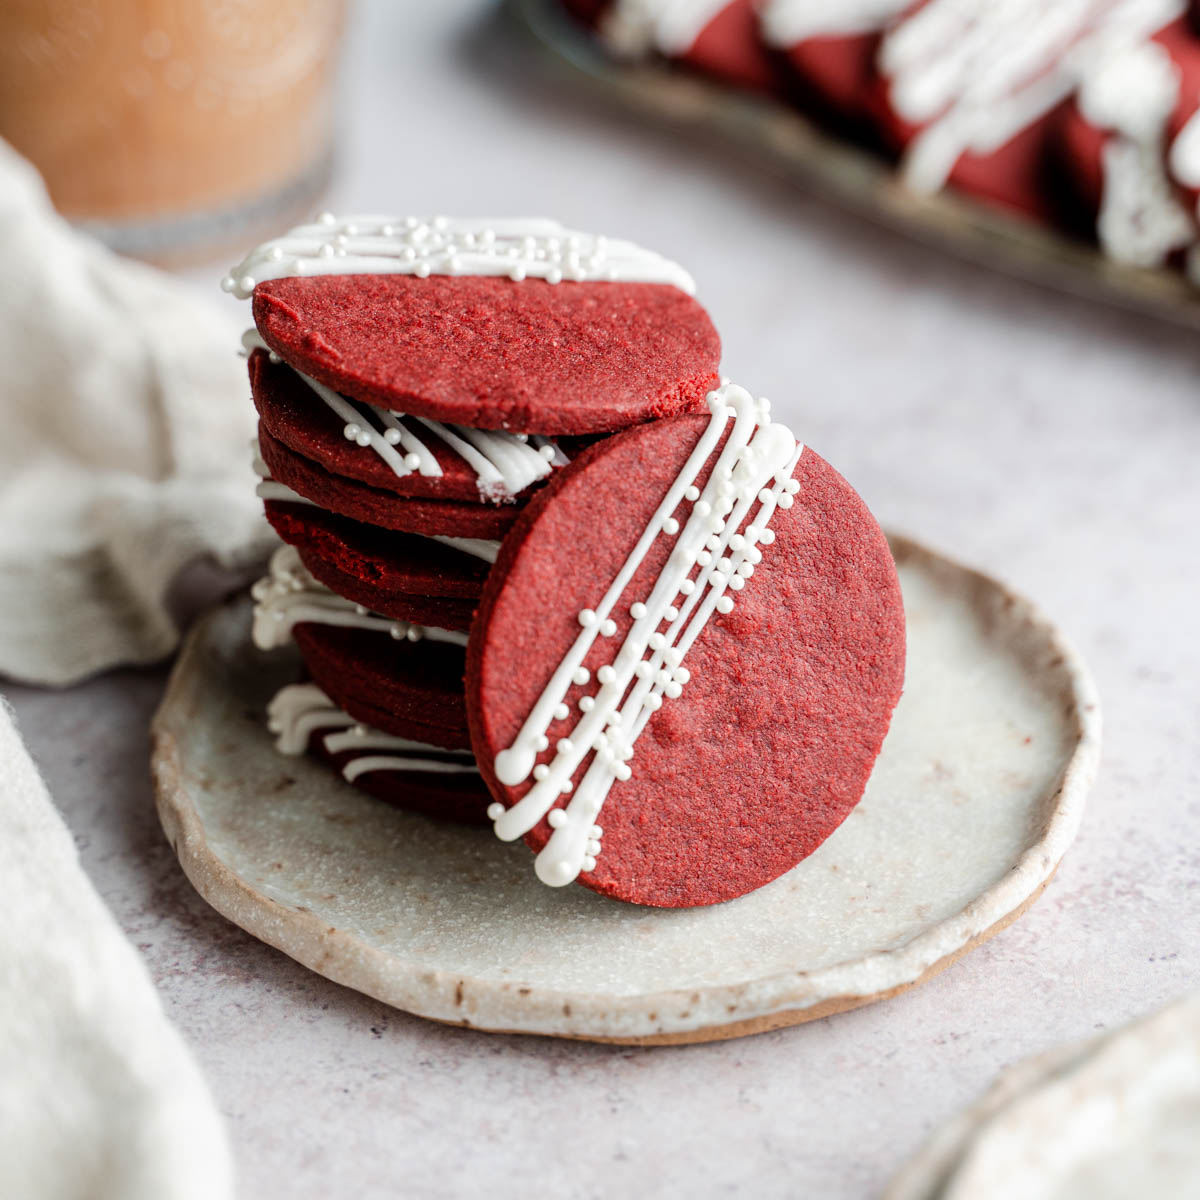
Now, I could have left them plain, but I thought a little something extra would be nice. So, once they were totally cool, I melted some white chocolate chips. Just a small bowl over some simmering water, easy peasy. Then I drizzled the melted white chocolate over the cookies. The red and white contrast looked pretty sharp, I gotta say.
The Verdict
And there you have it! My batch of red velvet shortbread cookies. They turned out pretty darn good. Buttery, crumbly, with that subtle cocoa flavor and the vanilla shining through. The white chocolate was a nice touch, added a bit of sweetness and looked fancy.
So yeah, that was my little baking project. Definitely a fun one to make, and they disappeared pretty quickly, which is always a good sign in my book. If you’re looking for something a bit different from your usual shortbread, give these a go. It’s not as complicated as it sounds!


