
Okay, here’s my baking molds adventure, blog-style!
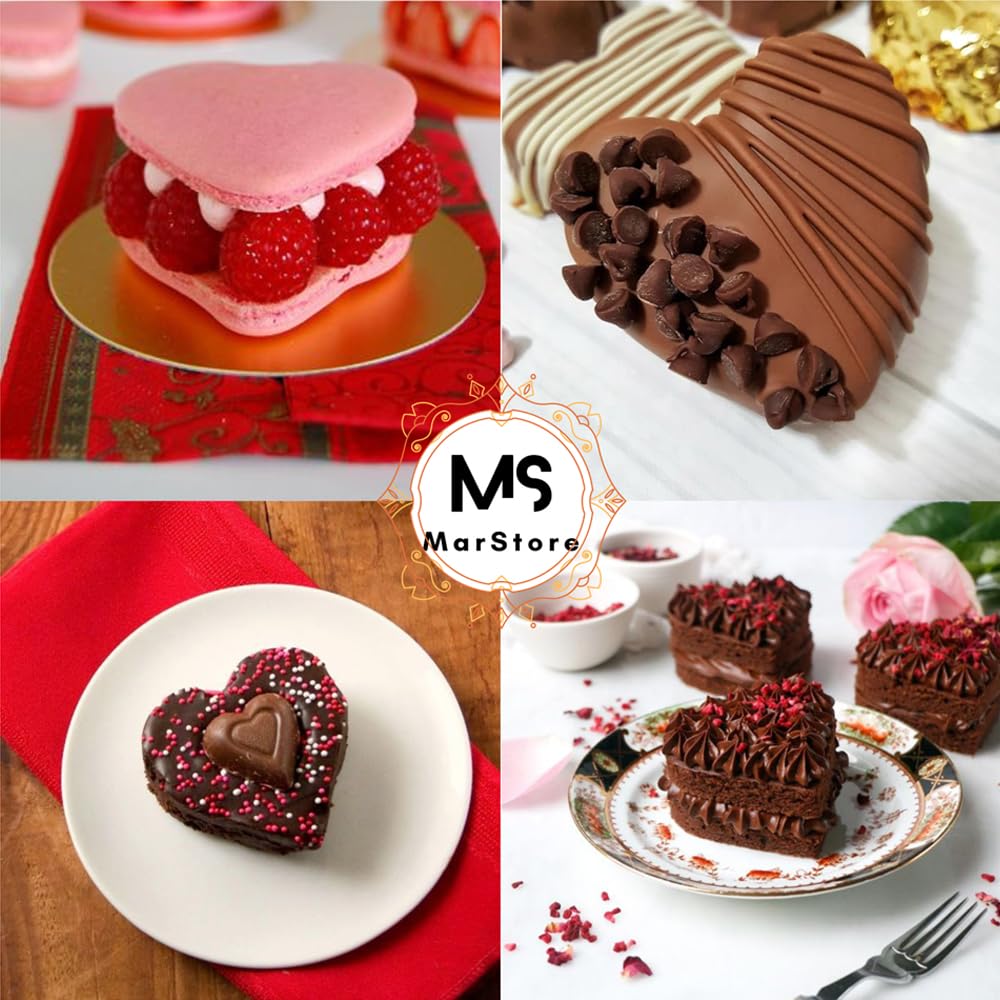
Alright, so I was scrolling through Insta the other day, and BAM! Heart-shaped cakes everywhere. I was like, “I gotta get in on this!” Valentine’s Day is coming, and honestly, who doesn’t love a heart-shaped treat? So, I decided to try out some heart-shaped molds for baking.

First things first, gotta buy the molds. I hit up my local kitchen supply store. They had a whole wall of ’em! I ended up grabbing a silicone one and a metal one, just to see which I liked better. The silicone one was kinda floppy, which worried me a bit, but hey, gotta experiment, right?
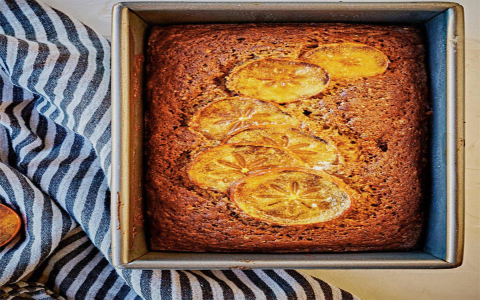
Next up: recipe time! I went with a simple chocolate cake recipe. Can’t go wrong with chocolate, especially when hearts are involved. I followed the recipe pretty closely, mixing all the dry ingredients first (flour, sugar, cocoa powder, baking soda, etc.), then adding in the wet stuff (eggs, milk, oil, vanilla).
Now for the tricky part: getting the batter into the molds. I sprayed both molds with baking spray – gotta make sure those cakes come out clean! The metal mold was easy to fill, but that silicone one was a pain! It kept wobbling around, and I almost spilled batter everywhere. Lesson learned: put the silicone mold on a baking sheet before you fill it.
Into the oven they went! The recipe said 30-35 minutes, but I started checking them around 25 minutes. The metal one baked a bit faster than the silicone one, which was interesting. I used a toothpick to check for doneness – if it comes out clean, you’re good to go!
Took ’em out of the oven and let them cool for about 10 minutes before trying to unmold them. The metal one popped right out – no problem! The silicone one was a little more stubborn, but with some gentle persuasion, it eventually came out too.
Time for the fun part: decorating! I whipped up a simple buttercream frosting and slathered it all over those heart-shaped cakes. Then I added some sprinkles, because sprinkles make everything better.
- The Verdict:
- Metal mold: Baked evenly, easy to unmold.
- Silicone mold: A bit trickier to fill, baked a little slower, but still worked fine.
Overall, the experiment was a success! The heart-shaped cakes looked adorable and tasted delicious. My family loved them, and I even brought one to work to share with my coworkers. Definitely worth the effort!
Tips for Baking with Heart-Shaped Molds:
- Use baking spray liberally!
- Put silicone molds on a baking sheet before filling them.
- Check for doneness with a toothpick.
- Let the cakes cool completely before frosting.
- Sprinkles are your friend!
So, yeah, that was my heart-shaped baking adventure. Give it a try yourself! It’s a fun way to add a little love to your baking. Happy baking!


