
So, today I decided to get a little fancy in the kitchen and try my hand at a red velvet cake. But not just any red velvet cake – I wanted that cream cheese filling that just takes it to another level. You know what I mean? That tangy, sweet, creamy goodness that perfectly complements the rich, chocolatey flavor of the cake. I rolled up my sleeves, put on my favorite apron, and started to do it.
First things first, I prepared the red velvet cake layers. I grabbed a couple of bowls. Used one for mixing the dry ingredients like flour, sugar, cocoa powder, baking soda, and salt. In the second bowl, I whisked together the wet ingredients – buttermilk, eggs, oil, a splash of vinegar, and of course, a generous amount of red food coloring. That’s what gives it that signature vibrant color, right?
I slowly poured the wet ingredients into the dry ones, mixing until it was just combined. You don’t want to overmix it, or the cake can become tough. I divided the batter into two round cake pans that I greased and floured. Baked them in the preheated oven for about 30 minutes. You know they’re done when a toothpick inserted into the center comes out clean. I took the cakes out of the oven, let them cool in the pans for a bit, and then flipped them onto a wire rack to cool completely.
While the cakes were cooling, it was time to make that cream cheese filling. I cleaned my bowl and beat softened cream cheese until it was nice and smooth. I added powdered sugar gradually, mixing it in until it was all incorporated. A splash of vanilla extract added that extra bit of flavor. Beat everything together until it was light and fluffy.
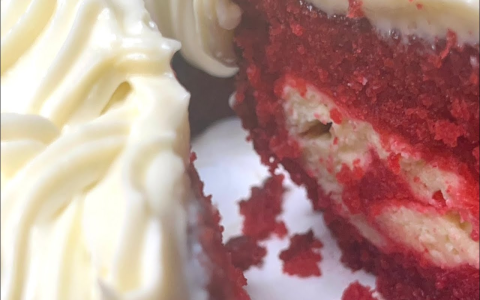
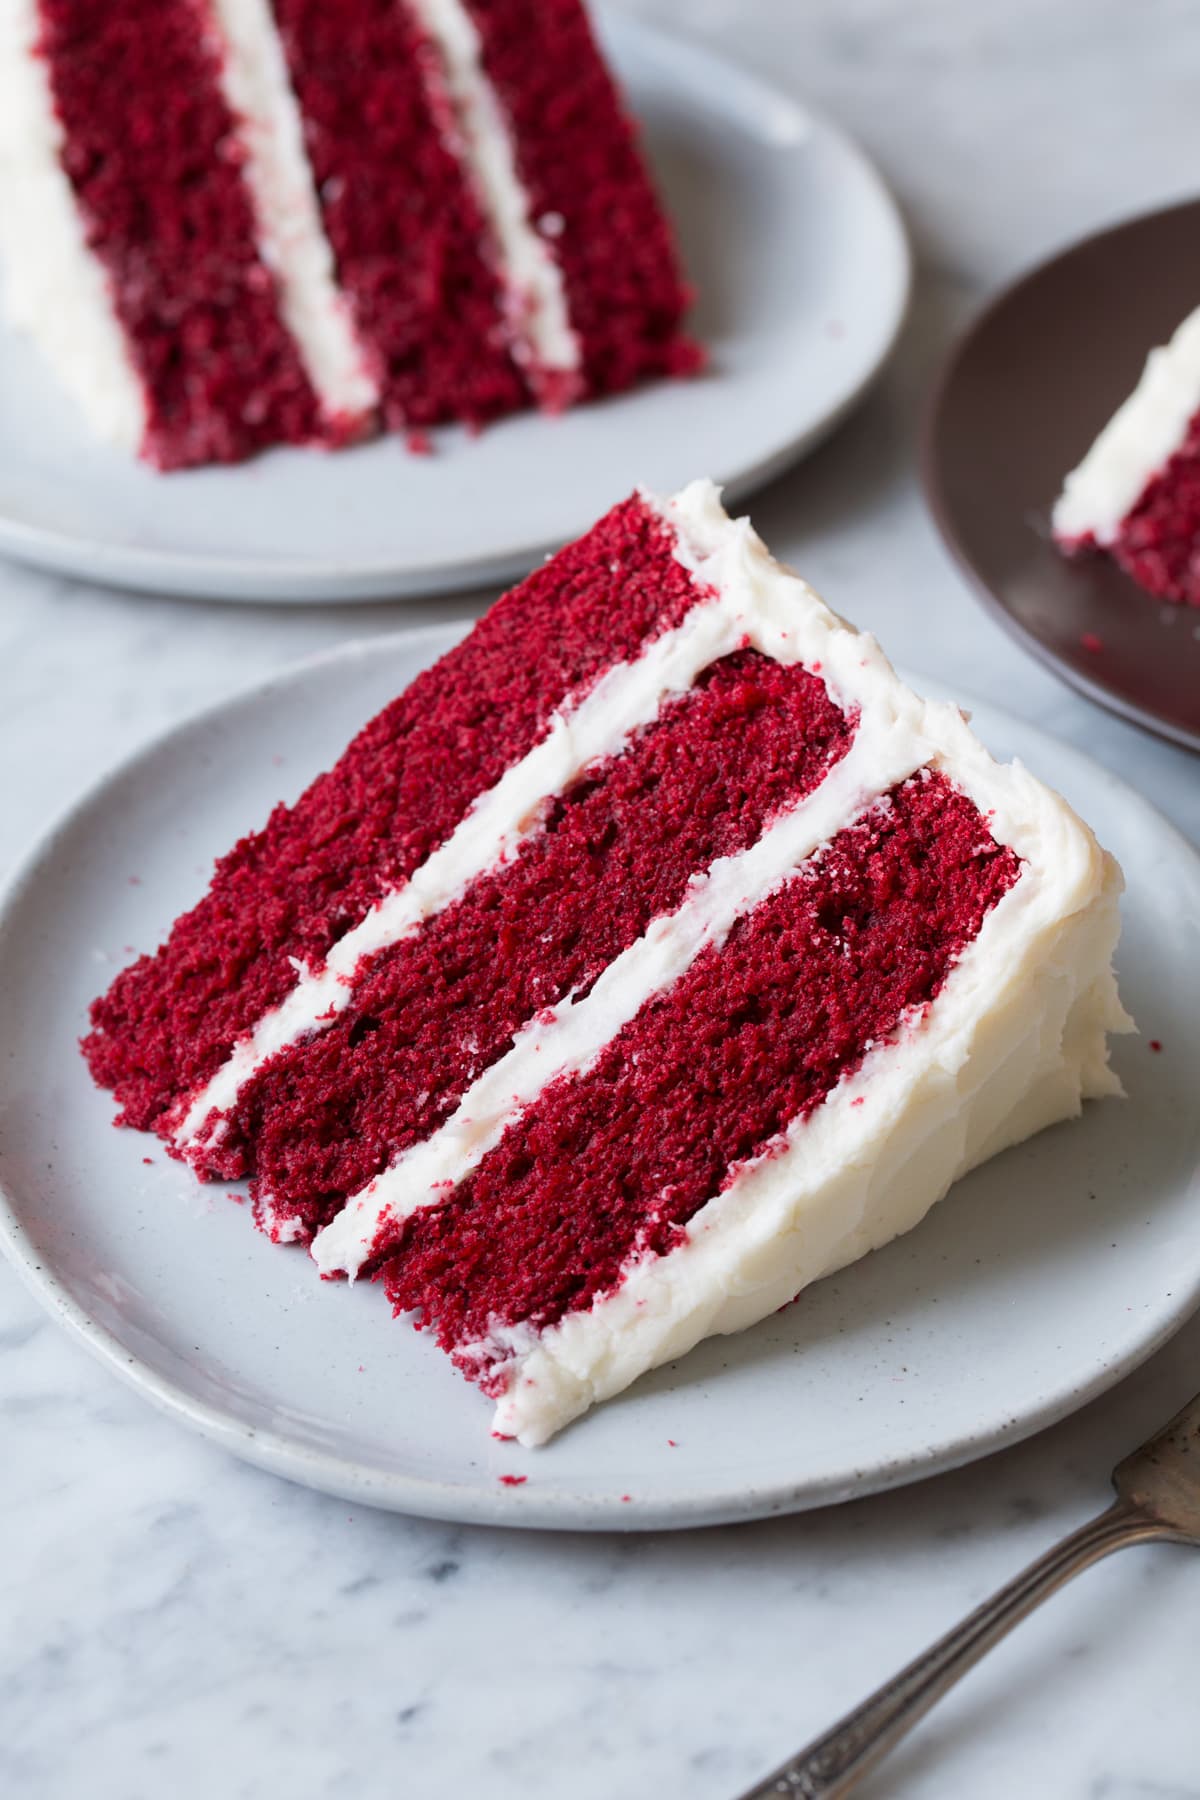
Now came the fun part – assembling the cake! I placed one cake layer on a serving plate and spread a generous layer of that delicious cream cheese filling over the top. Then, I carefully placed the second cake layer on top. To make it extra special, I decided to frost the entire cake with the remaining filling.
Using an offset spatula, I spread the filling evenly over the top and sides of the cake. It took a little bit of patience, but I got it to look pretty smooth. And there you have it – my red velvet cake with cream cheese filling, it is amazing!
- Mixed dry and wet ingredients separately, then combined.
- Baked cake layers and let cool.
- Made cream cheese filling by beating cream cheese, powdered sugar, and vanilla extract.
- Assembled cake by layering cake, filling, and more cake.
- Frosted the entire cake with the filling.
My Summary
It was a bit of work, but seeing that beautiful cake on the plate made it all worthwhile. And when I cut into it and saw that vibrant red cake with the creamy white filling, I knew I had done good. The taste was even better than it looked – moist, flavorful, and that cream cheese filling just tied everything together. It was the perfect balance of sweet and tangy. I will definitely be making this again. Maybe next time I’ll even try adding some fresh berries on top. The possibilities are endless!


