
Okay, so I’ve been wanting to get into more detailed baking, you know, like those cute little individual desserts you see on Instagram? So I finally decided to grab some silicone mini baking molds. I had no idea where to even start, to be honest.
Getting Started
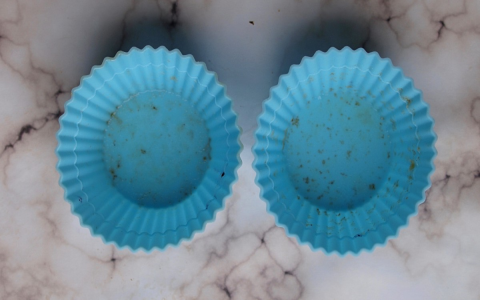
First, I just went online and searched for “silicone mini baking molds.” A ton of options popped up, different shapes, sizes, colors… it was a little overwhelming! I ended up picking a set that had a few different shapes – some hearts, some stars, and some basic rounds. Figured that would give me some variety to play with.
The First Attempt
- I decided to try a simple brownie recipe first. Nothing too fancy, just wanted to test out the molds.
- I whipped up the batter, and then came the slightly tricky part: getting the batter into those tiny molds.
- I tried using a spoon at first, but that was messy. Batter everywhere!
Then I remembered I had a piping bag from a cake decorating kit I bought, like, a year ago and never used. I filled that up, and it made things SO much easier. Still a little fiddly, but way better than the spoon.
Baking Time
I placed all the filled molds on a baking sheet – definitely recommend doing that, makes them much easier to handle. Then I popped them in the oven, following the brownie recipe’s baking time. I was a little nervous they’d stick, even though the molds said they were non-stick.
The Big Reveal
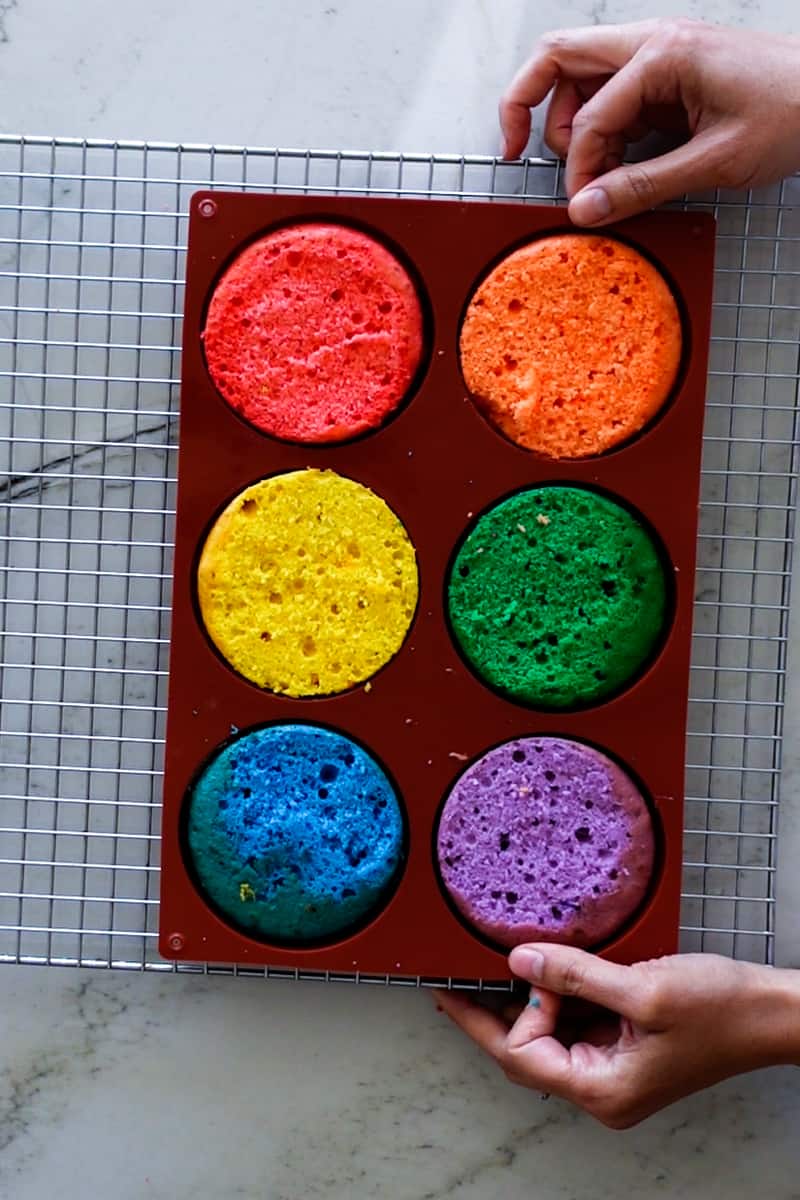
When the timer went off, I carefully took them out. Let them cool for a bit, which is the hardest part, right? Then I flipped the molds over, and… they popped right out! Seriously, it was like magic. Perfectly shaped little brownies, no sticking at all. Success!
Clean up was easy too, the silicone could go right into the dishwasher.
Lessons Learned
Overall, I’m super happy with these molds. They’re way easier to use than I thought.
Next time, I’m going to try making mini cheesecakes, or maybe even some little quiches. The possibilities are endless.


