

Okay, so today I wanted to try my hand at something I’ve seen all over baking shows – using a piping bag. Specifically, I wanted to get comfortable with a small piping bag, the kind used for detailed work on cakes and cookies. I’ve always admired those beautifully decorated pastries, and I figured it was time to give it a shot myself.
Getting Started
First, I gathered all the stuff I needed. I already had a few small piping bags that I picked up from a craft store a while back. Then, I made a simple buttercream frosting. Nothing fancy, just butter, powdered sugar, a bit of milk, and some vanilla extract. I mixed it all up until it was nice and smooth, and then I added a few drops of blue food coloring because, why not? Blue is a fun color.
Filling the Bag
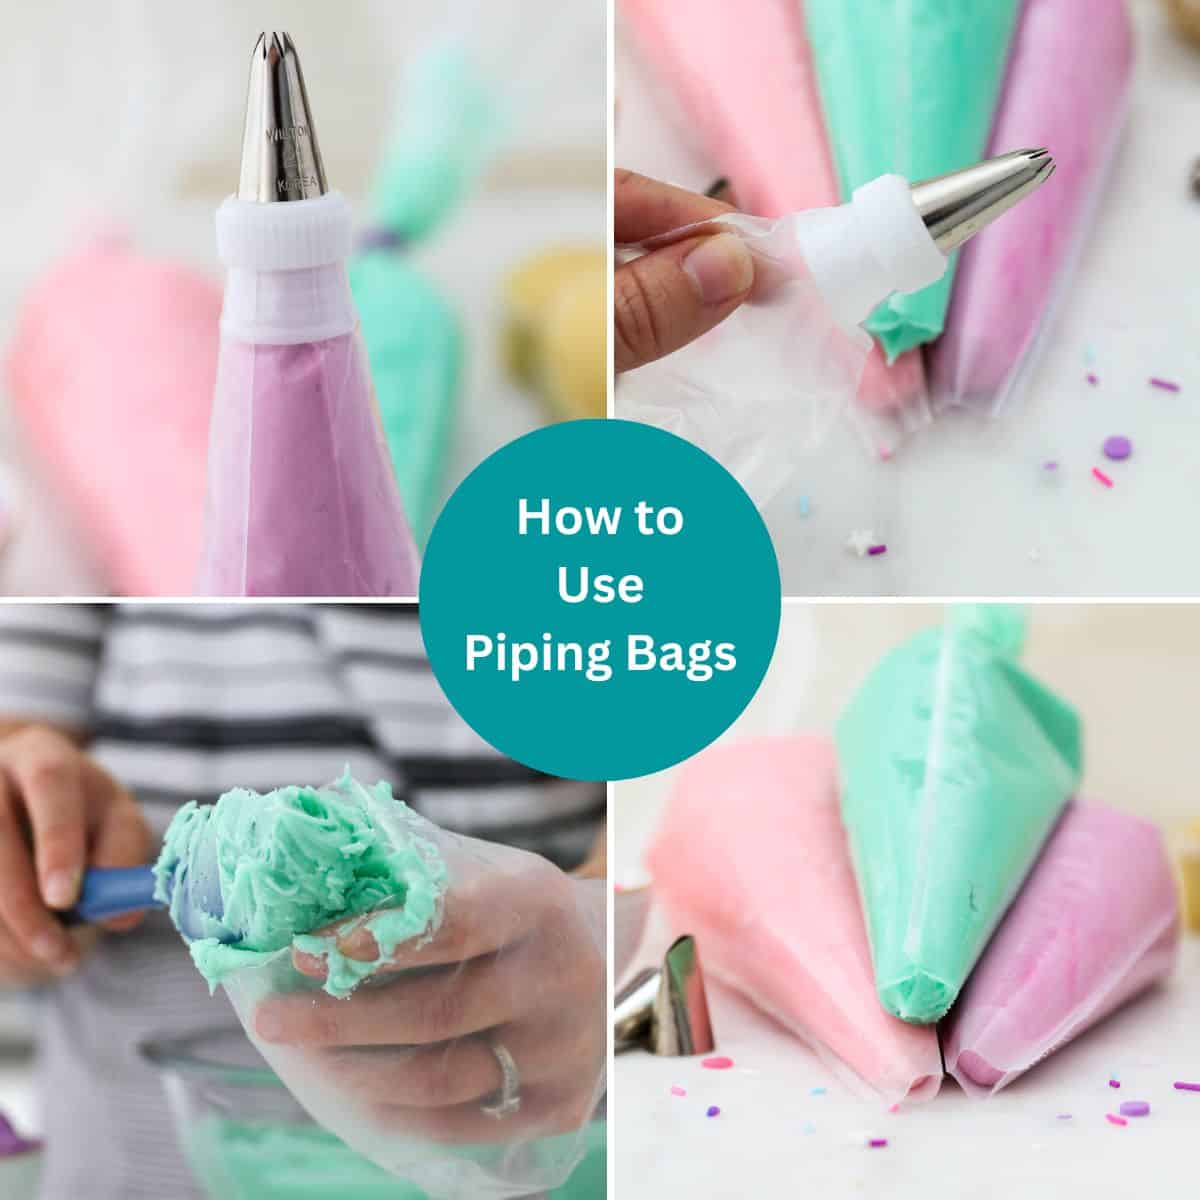
Next up, filling the piping bag. This looked way easier on TV. I took one of my small piping bags and fitted it with a small round tip. I snagged a tall glass from the cupboard and draped the piping bag over it, cuffing the top over the rim of the glass. This was a neat trick I saw online to keep the bag open and steady. Then, I grabbed a spatula and started scooping the blue frosting into the bag. I tried to avoid getting air bubbles in there, pressing the frosting down gently. It was a bit messy, but I managed to fill it up about two-thirds full.
Practice Time
With the bag filled, I twisted the top to close it off, making sure to squeeze out any excess air. I laid out a piece of parchment paper on the counter – this was my practice canvas. I held the bag at a 90-degree angle and started to squeeze gently. My first few attempts were shaky. Some lines were too thick, others too thin. But I kept practicing. I tried different pressures and angles. I made swirls, dots, and zigzags. Slowly but surely, I started to get the hang of it. My lines became more consistent, and I even managed to write my name, albeit a bit wonkily.
Decorating the Goodies
Feeling a bit more confident, I decided to decorate some cupcakes I had baked earlier. I piped little stars and rosettes on top of each cupcake. It wasn’t perfect, but it was fun! The cupcakes looked so much more special with the added frosting designs. Plus, they tasted extra good, maybe because I put in the effort to decorate them.
Cleaning Up
After I was done, it was time to clean up. I removed the tip from the piping bag and washed it with warm, soapy water. I tossed the used piping bag since it was a disposable one. I wiped down the counter and put away the leftover frosting in the fridge. It was a simple process, but it felt good to clean up as I went along.
Overall, using a small piping bag was a cool experience. It definitely takes practice, but it’s not as hard as it looks. I’m excited to keep practicing and trying out new designs. Maybe next time I’ll try making some intricate patterns on a cake. Who knows, maybe one day I’ll even get good enough to impress my friends and family with my baking skills. It’s all about having fun and enjoying the process, right?


