
So, I had a hankering for some decent sandwich cookies, you know, the kind with a creamy middle. Figured I’d try my hand at making both vanilla and chocolate ones, just to see how they’d turn out. Not those store-bought things, but proper homemade ones.
Getting the Doughs Ready
First things first, got all the usual suspects out: flour, sugar, butter, eggs, vanilla extract, and some cocoa powder for the chocolate batch. Nothing fancy.

I decided to make two separate doughs. For the vanilla, I just creamed the butter and sugar until it was, well, creamy. Tossed in an egg and a good splash of vanilla. Then mixed in the flour mixture. Pretty standard stuff, really. It came together nice and soft.
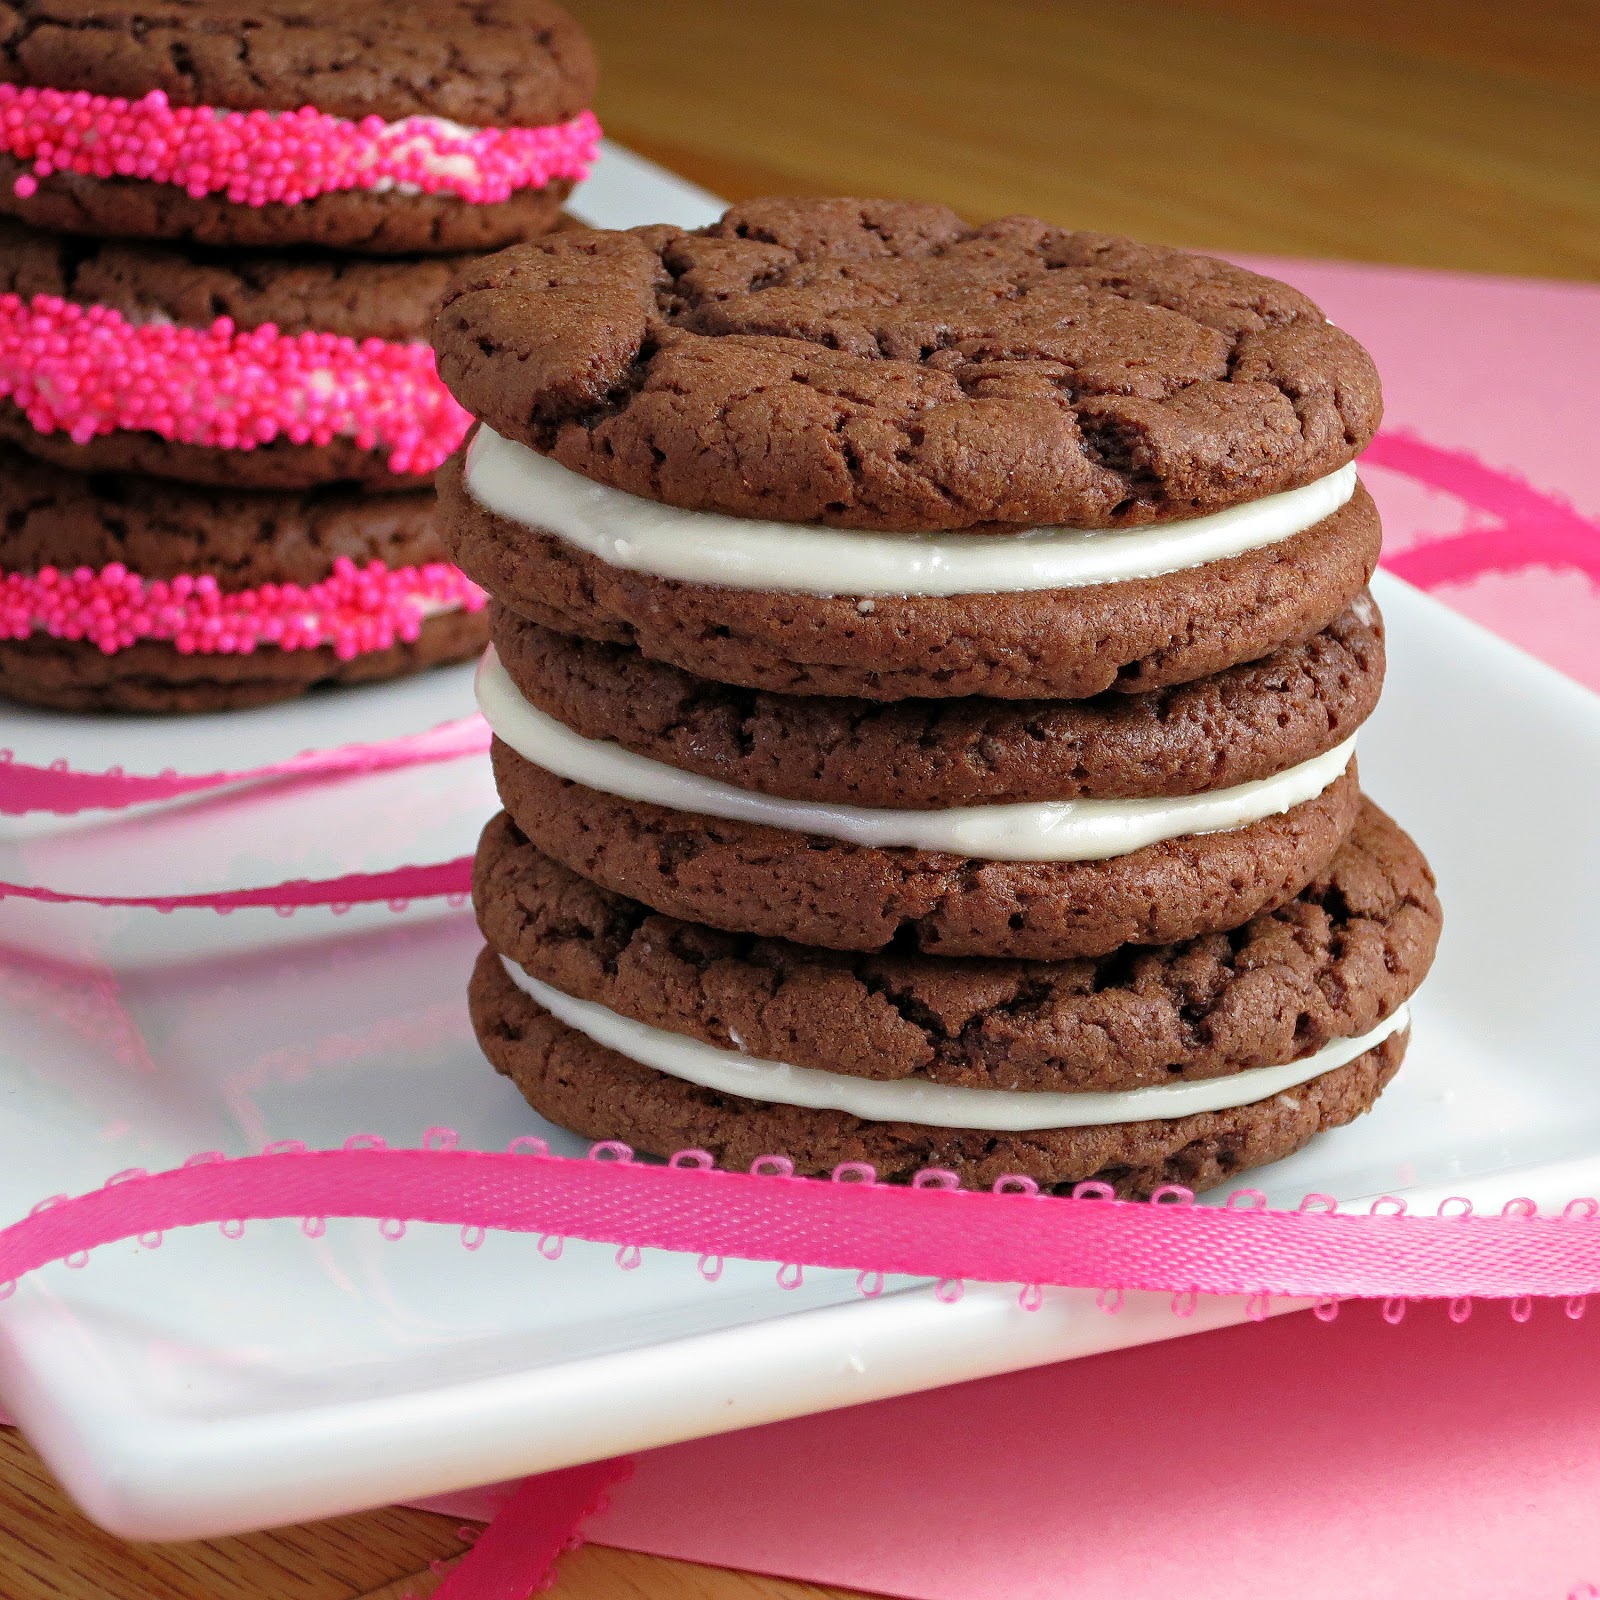
Then for the chocolate ones. Same deal, pretty much. Creamed butter and sugar, egg. But this time, I sifted in cocoa powder with the flour. Made sure to get a decent dark cocoa, because what’s the point otherwise, right? This dough was a bit firmer, which I kind of expected with the cocoa.
Important bit: Wrapped both doughs up in plastic wrap and chucked them in the fridge. You gotta chill ’em, otherwise they’re a pain to work with. Let them sit in there for a good hour, maybe a bit more.
Baking Time
Once the dough was properly chilled, I got to rolling. Took out the vanilla dough first. Dusted the counter with a bit of flour and rolled it out. Not too thin, not too thick. Used a round cutter, just a simple circle. Lined them up on a baking sheet.
Did the same for the chocolate dough. This one was a bit more crumbly to handle, but still manageable once I got going. Got a bunch of chocolate circles ready too.
Baked them at around 350°F, or 175°C if you’re into Celsius. Kept an eye on them, didn’t want them to burn. The vanilla ones took maybe 8-10 minutes, just till the edges started to get a tiny bit golden. The chocolate ones are harder to tell when they’re done, visually, so I just went by time and feel, maybe a minute or two less than the vanilla just to be safe, so they wouldn’t dry out.
Let them cool on the baking sheets for a few minutes before moving them to a wire rack. You absolutely gotta let them cool completely before you even think about the filling, or it’ll just melt everywhere. Messy.
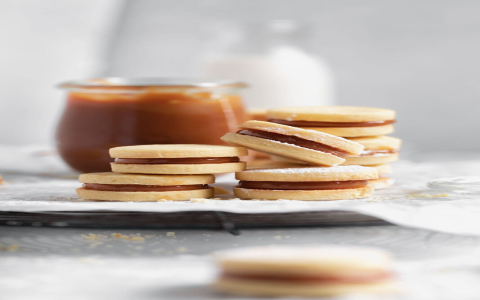
The Creamy Middle and Putting It All Together
For the filling, I kept it super simple. Just a basic vanilla buttercream. Here’s what I threw in:
- Softened butter, a good chunk of it.
- Powdered sugar, quite a bit, sifted it to avoid lumps.
- A splash of vanilla extract, the good stuff if you have it.
- A tiny bit of milk, literally a dribble, just to get it smooth and spreadable.
Whipped all that together with an electric mixer until it was light and fluffy. Nothing complicated, see?
Then came the fun part, or maybe the tedious part, depending on your mood. Pairing up the cookies. I tried to match up similar sized vanilla ones and similar sized chocolate ones. And then, because I made both, I also did some mixed pairs – a vanilla cookie with a chocolate cookie. Why not, eh? Best of both worlds.
Spread a decent dollop of the buttercream on one cookie half and then gently pressed the other half on top. Made a whole load of them, enough to last a few days, hopefully.
So, How’d They Turn Out?
Honestly, they were pretty good. The vanilla cookies were crisp and buttery, just how they should be. The chocolate ones had a nice deep cocoa flavor, not too sweet, which I liked. And that creamy filling just brought it all together perfectly.
The mixed ones, vanilla cookie on one side and chocolate on the other, were actually my favorite. Nice contrast.
Was it a bit of work? Yeah, making two doughs and then assembling everything takes time. But definitely better than anything you’d buy in a packet. Worth the effort if you’ve got an afternoon free and want a proper cookie. They disappeared pretty quick, so I guess that’s a good sign.


