
Okay, here’s my attempt at a blog post about building an outdoor bread oven, written in a casual, first-person style, and using basic HTML tags for formatting:
So, I’ve always wanted one of those fancy outdoor pizza ovens, but they’re, like, crazy expensive. Plus, I like making bread. I figured, why not try to build my own? It seemed like a fun project, and I love a good challenge (and saving money!).
First, I scoured the internet for ideas. I watched a bunch of videos, read some articles, and basically just tried to absorb as much information as I could. There are a LOT of different ways to build one of these things, so I had to pick a design that seemed doable for a somewhat handy, but definitely not expert, person like me.
I decided to go with a basic cob oven design. Cob is basically a mixture of clay, sand, and straw. It’s ancient, it’s natural, and it seemed pretty forgiving. Plus, I could source most of the materials locally, which was a big bonus.
Gathering the Goods
The next step was gathering all the stuff I needed. This involved:
- Finding clay: Luckily, a friend of mine has some land with a ton of clay soil. He let me dig some up, which saved me a bunch of cash.
- Sand: Regular old play sand from the hardware store did the trick.
- Straw:I got a bale of straw from a local farm supply store.
- Bricks:I used a combition of reclaimed bricks, and some new firebricks for the oven floor.
- Other random bits: A tarp, some buckets, a shovel, and a strong back!
Mixing the Cob
Mixing the cob was, um, an experience. It’s basically like making a giant mud pie.
I dumped some clay, sand, and straw onto the tarp, added water, and then started stomping on it.

Yep, with my bare feet. It’s messy, it’s tiring, but it’s also kind of fun, in a weird way.
You have to keep mixing and stomping until you get the right consistency. It should be like stiff dough – if you can form a ball and it holds its shape, you’re good.
Building the Base and the Dome
I built a simple base out of the bricks, then started building the oven dome on top of that. This involved making cob “bricks” or loaves and stacking them in a dome shape. I used a wooden door form to help shape the entrance.
It took a while, and it definitely wasn’t perfect. My dome was a little lopsided, but I figured it would still work. It’s all about the rustic charm, right?
The dome process involved lots of adding layers, smoothing, and waiting for things to dry a bit. Patience is key!
Firing It Up!
After letting the oven dry for a couple of weeks (covered with a tarp to protect it from the rain), it was time for the first firing. This is where you slowly heat up the oven to dry it out completely and harden the cob.

I started with a small fire and gradually built it up over several hours. There was some cracking, which is normal, but nothing major. I patched up the cracks with more cob.
Baking!
Finally, the moment of truth! I let the oven heat up for a good long while, then raked out the coals and put in my first loaf of bread.
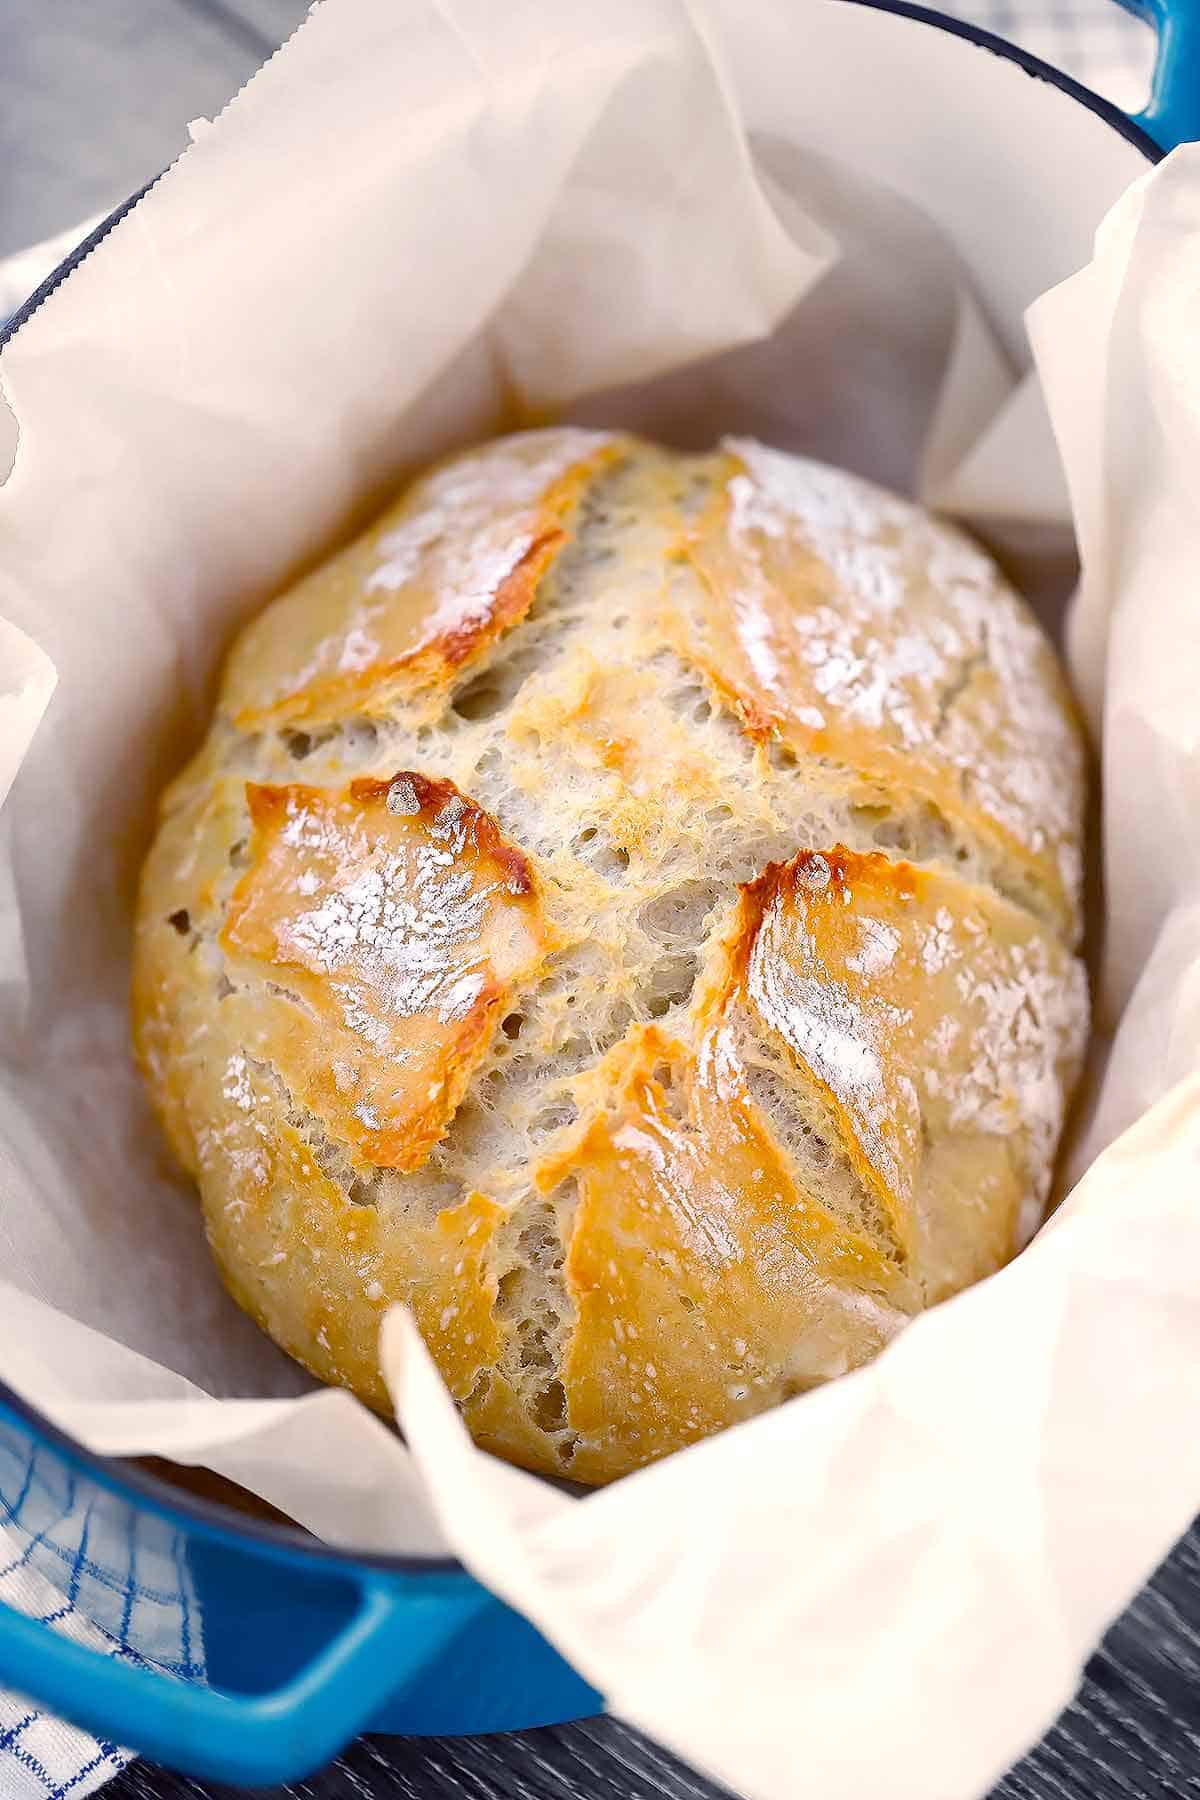
And… it worked! The bread came out with a beautiful crust and a delicious, smoky flavor. It wasn’t perfect, but it was definitely edible, and it was made in an oven I built with my own two hands (and feet!).
It has required some upkeep and repair, the oven. But it continues to make edible bread. This has been fun.


