
Okay, so I needed a flour sifter. The old one, you know, the crank-handle kind, finally gave up. The mesh was all wonky, and it was just making a bigger mess than it was helping. I wanted something simple and effective, so I went with a basic mesh flour sifter.
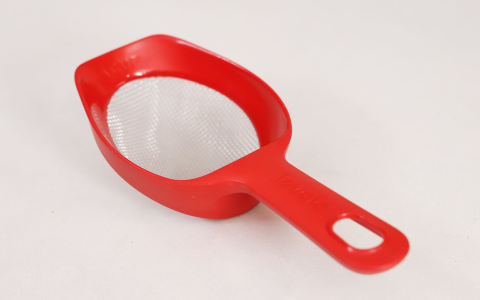
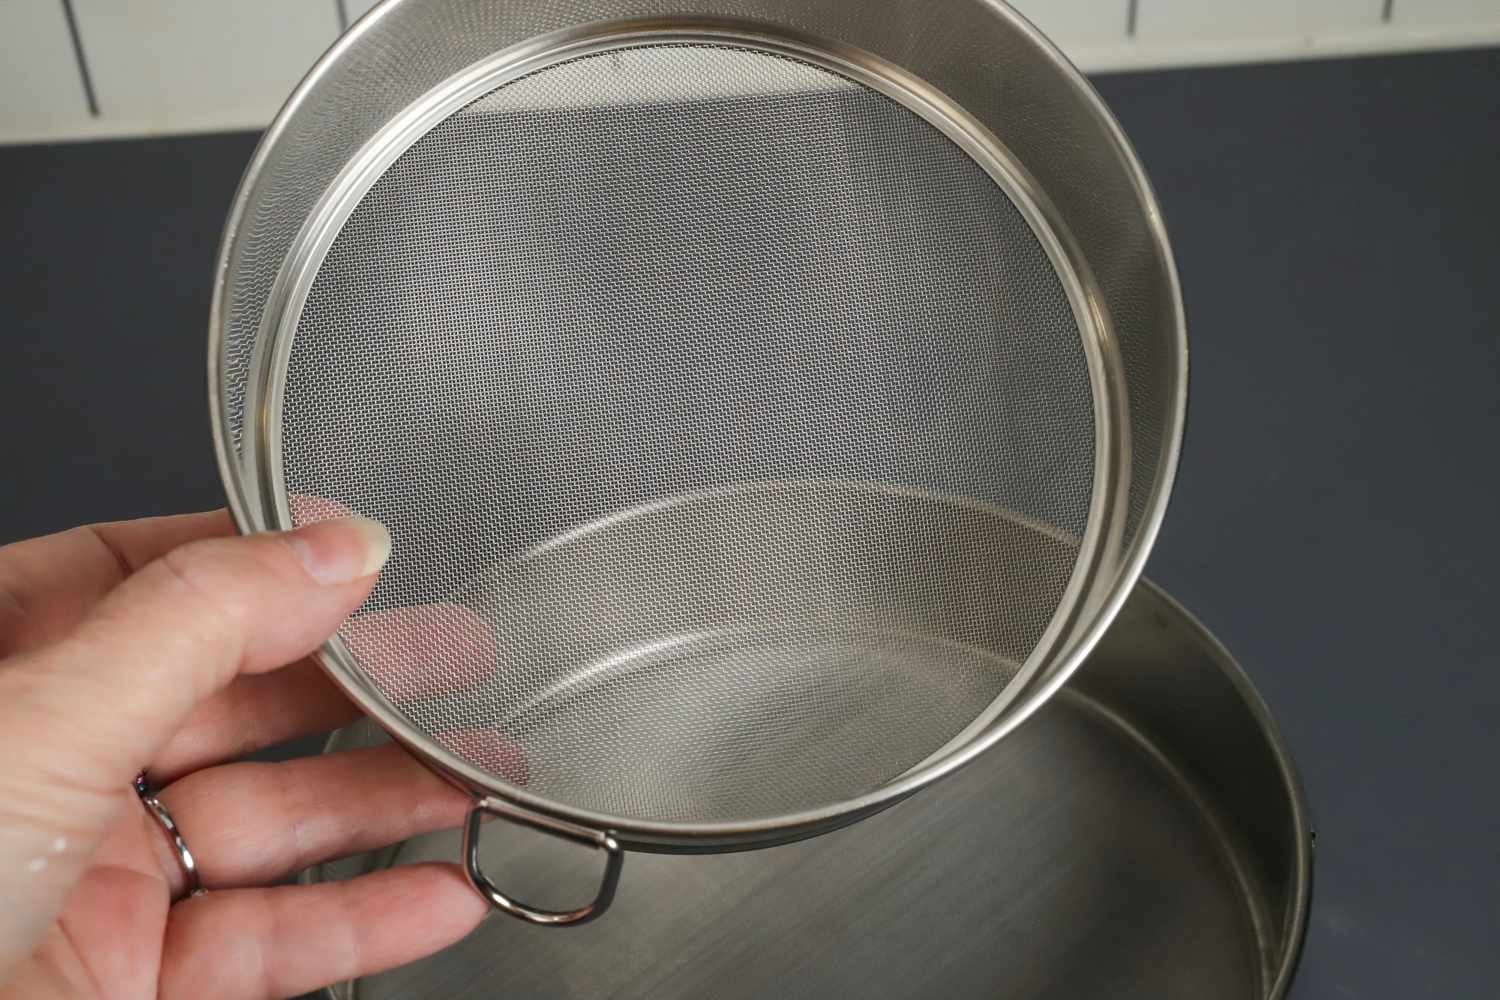
First thing, I unboxed the thing. It was pretty straightforward – just the sifter itself, no extra parts or anything. It’s basically a big, round, stainless steel cup with a fine mesh screen at the bottom.

Next, I gave it a quick wash. I always wash new kitchen stuff, you know? Just a little soap and warm water, rinsed it well, and dried it off with a towel.
Then came the actual sifting. I scooped some flour from the bag and dumped it into the sifter. I didn’t fill it all the way to the top, just maybe halfway, so it wouldn’t overflow.
Now, the fun part. I held the sifter over my mixing bowl and started tapping the side. You don’t shake it like crazy, just gentle taps. The flour started falling through the mesh like a little snowstorm – pretty satisfying to watch, actually.
- Tap, tap, tap. That’s the key. Don’t be too aggressive.
- Keep an eye on the bowl. You don’t want to overfill it.
- If some flour clumps up, just gently push it through the mesh with the back of a spoon. No big deal.
I kept tapping until all the flour had gone through, leaving behind any bigger lumps or bits. See? Nice, fluffy, evenly sifted flour. Perfect for baking!
The Result
The mesh flour sifter gets job done, and I got the flour perfect for baking!
It’s way easier to clean than my old crank sifter. Just rinse it out, maybe scrub it a little with a sponge, and you’re good to go.


