
Okay, so I’ve been craving those classic sandwich cookies lately, you know, the ones with the creamy filling? I decided to ditch the store-bought stuff and try making them from scratch. I figured, how hard could it be? Turns out, it’s a bit of a project, but totally worth it!
First, I had to find a recipe. I wanted something that would give me both vanilla and chocolate cookies, because, why choose when you can have both? I rummaged through a few cookbooks and browsed online, finally settling on a recipe that seemed pretty straightforward.
Getting Started: The Dough
I gathered all my ingredients: flour, sugar, butter, eggs, cocoa powder, vanilla extract, baking soda, salt… the usual suspects. I made sure my butter was softened – this is key for a good cookie dough!
I started with the vanilla dough. I creamed together the butter and sugar until it was light and fluffy. This took a little while, and my arm got a bit tired, but it’s important for the texture. Then, I beat in the egg and vanilla. In a separate bowl, I whisked together the flour, baking soda, and salt. Gradually, I added the dry ingredients to the wet ingredients, mixing until just combined. Don’t overmix it!
Next up, the chocolate dough. It was basically the same process, but with cocoa powder added to the dry ingredients. Easy peasy!
Once both doughs were ready, I wrapped them in plastic wrap and chilled them in the fridge. This step is crucial – it makes the dough easier to handle and prevents the cookies from spreading too much in the oven.
Rolling, Cutting, and Baking
After an hour I could move to next part.
After the dough had chilled, I took it out of the fridge and let it soften slightly. Then, I rolled out each dough on a lightly floured surface. I aimed for about 1/4 inch thickness.
I used a round cookie cutter to cut out the cookies. You can use any shape you like, of course. I just went with the classic circle.
Then, I placed the cookies on baking sheets lined with parchment paper. I baked them for around 10-12 minutes, until the edges were lightly golden. Keep an eye on them – they can burn quickly!
I let the cookies cool on the baking sheets for a few minutes before transferring them to a wire rack to cool completely.
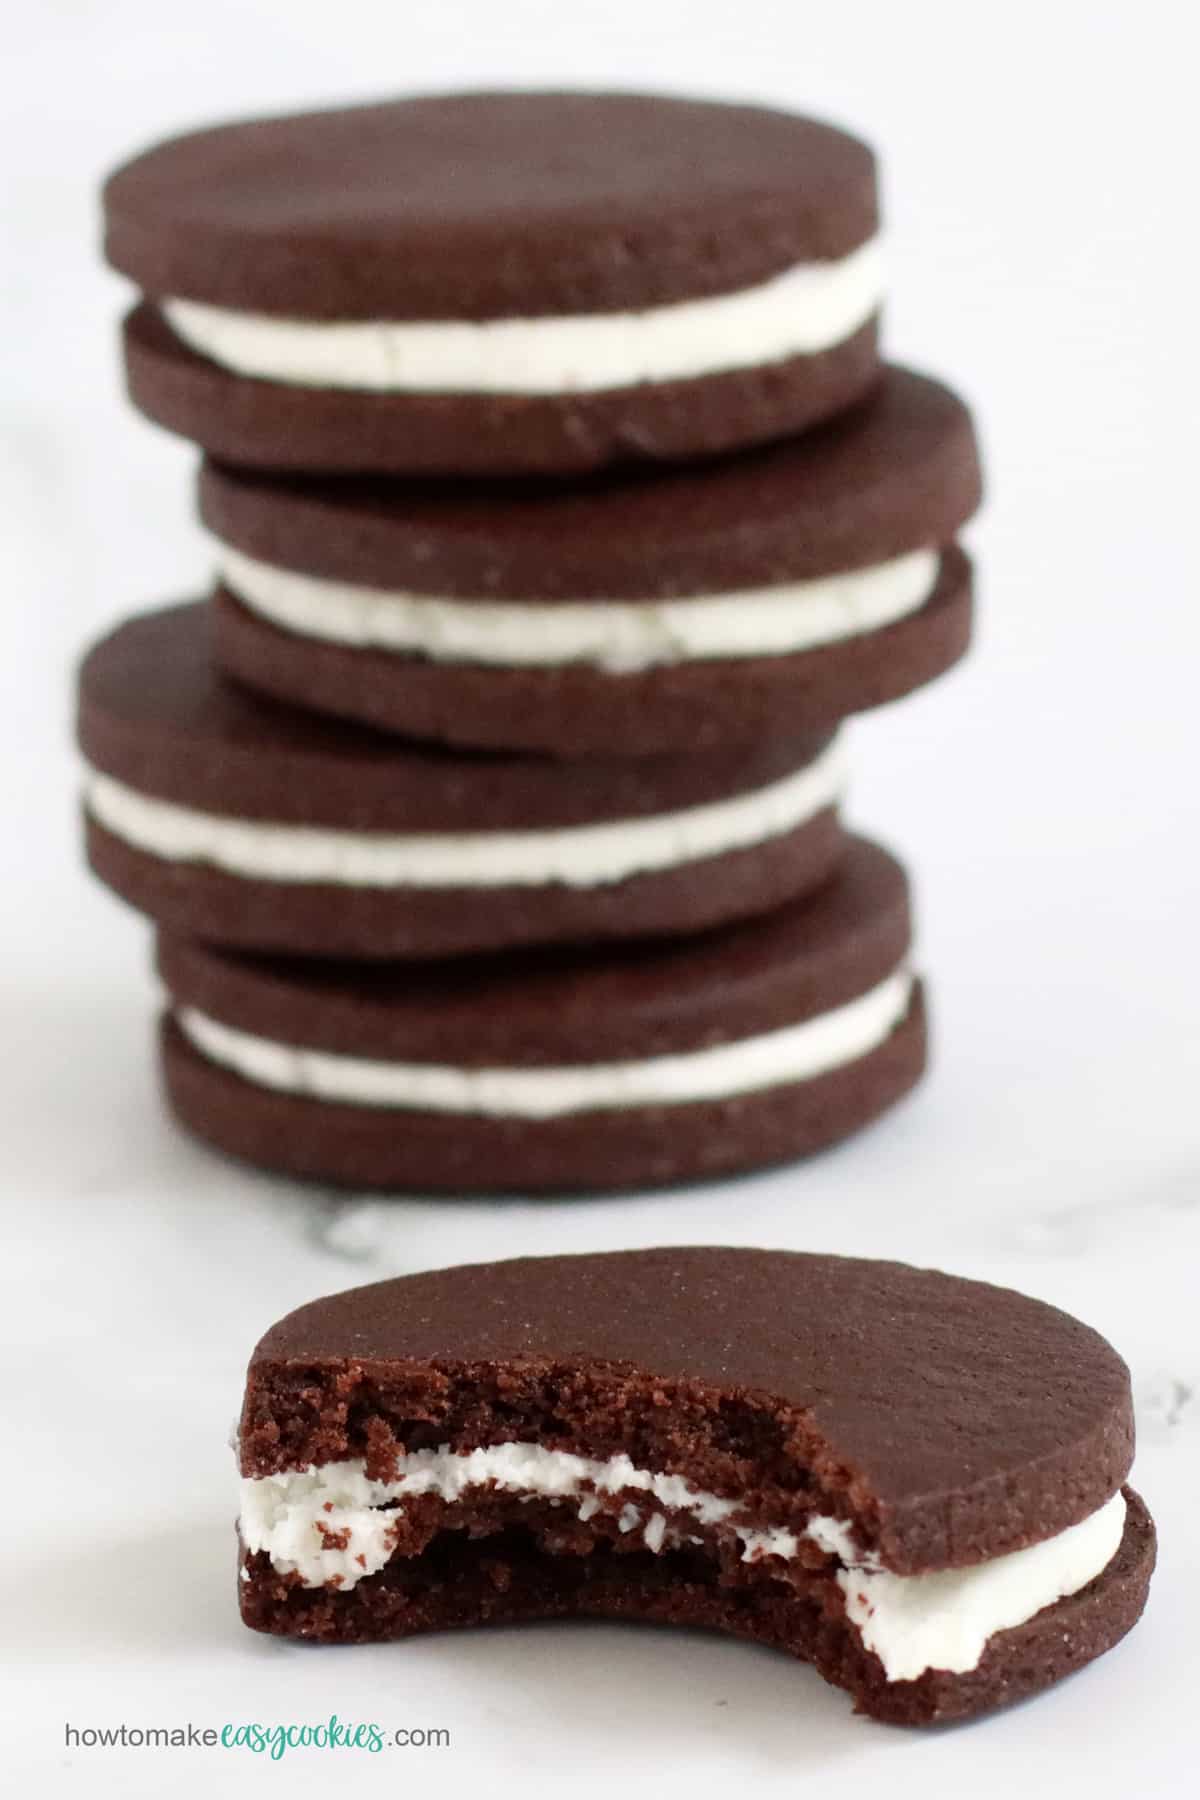
The Creamy Filling
While the cookies were cooling, I made the filling. It was a simple mixture of softened butter, powdered sugar, vanilla extract, and a little bit of milk. I beat everything together until it was smooth and creamy.
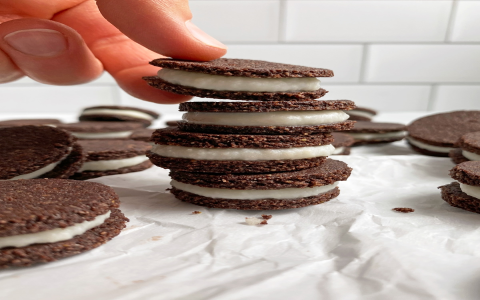
Assembly Time!
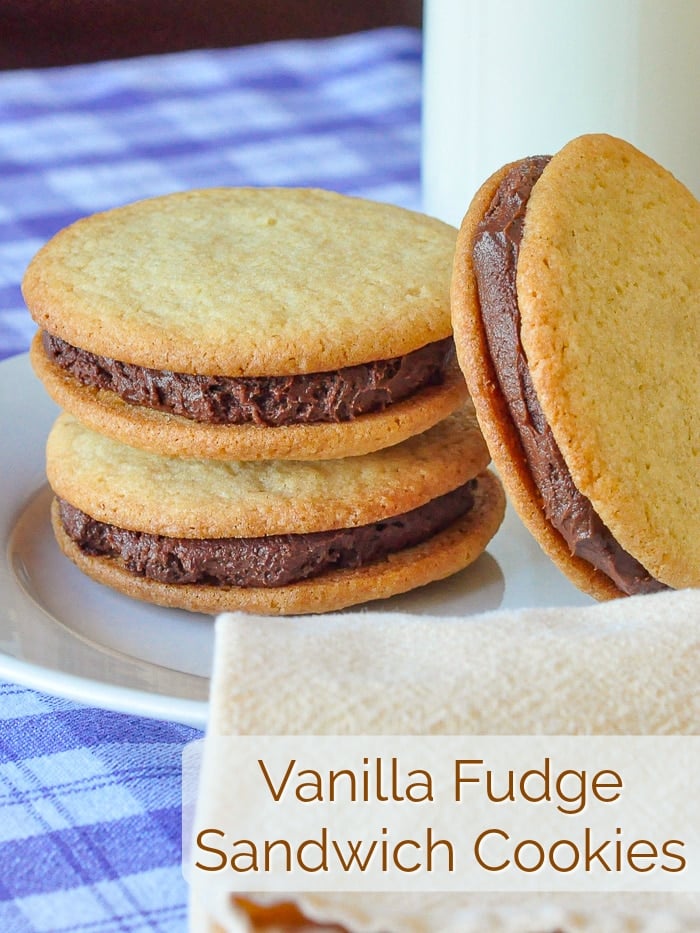
Finally, the fun part! I spread a generous amount of filling onto the bottom of one cookie (I used a vanilla cookie) and then topped it with another cookie (a chocolate one!). Instant sandwich cookie!
- The first batch I did, I put the filling too thick, that was not good.
- Be careful about the baking time.
And there you have it! Homemade vanilla and chocolate sandwich cookies. They were so much better than the store-bought ones, and the satisfaction of making them myself was awesome. It was a bit of work, but definitely a fun baking project!


