Alright, let me walk you through how I tackled this date chocolate cake the other day. I’d been seeing recipes floating around using dates as a sweetener and was curious, plus I had a bag of dates sitting in the pantry needing a purpose. So, I decided, why not give it a go?
Getting Started
First things first, I gathered everything I thought I’d need. Pulled out the flour, cocoa powder, baking soda, a pinch of salt – the usual dry suspects. For the wet stuff, I grabbed some eggs, oil (vegetable oil works fine), a bit of vanilla extract, and some milk. And of course, the star players: the dates and some chocolate chips I had leftover.

The dates needed some prep. Mine had pits, so I sat down and pitted each one. It’s a bit sticky, but necessary. I roughly chopped them up afterwards. Some recipes say soak them, but I skipped that this time, just chopped ’em fairly small.
Mixing it Up
Okay, mixing time. I got out two bowls. In the big one, I whisked together the flour, cocoa powder, baking soda, and salt. Just gave it a good mix to make sure everything was evenly distributed. You don’t want clumps of baking soda.
In the second bowl, I cracked the eggs, added the oil, milk, and vanilla. Whisked that up until it was combined. Nothing fancy, just mixed.
Then, I poured the wet ingredients into the big bowl with the dry ingredients. I started mixing it gently, just until it came together. You really don’t want to overmix cake batter, it can make it tough. Once it was mostly combined, I folded in the chopped dates and a generous handful of chocolate chips. Gotta have chocolate chips, right?
Baking Time
I preheated my oven, standard temperature, around 350°F (that’s about 175°C). While it was heating up, I prepped my baking pan. Just a simple round cake pan. Greased it well and dusted it with a bit of flour so the cake wouldn’t stick. Always a good idea.
Poured the batter into the pan, smoothed the top a little with a spatula. It looked pretty thick and lumpy because of the dates and chocolate chips, but that’s normal.
Into the oven it went. Now, the waiting game. The house started smelling really good after about 20 minutes – that warm, chocolatey, slightly caramelly smell from the dates. I checked it around the 30-minute mark using the old toothpick trick. Stuck it in the center, and it came out clean. Perfect.

The Result
I let the cake cool in the pan for about 10-15 minutes before carefully flipping it onto a wire rack to cool completely. Patience is key here; cutting into a hot cake is just messy.
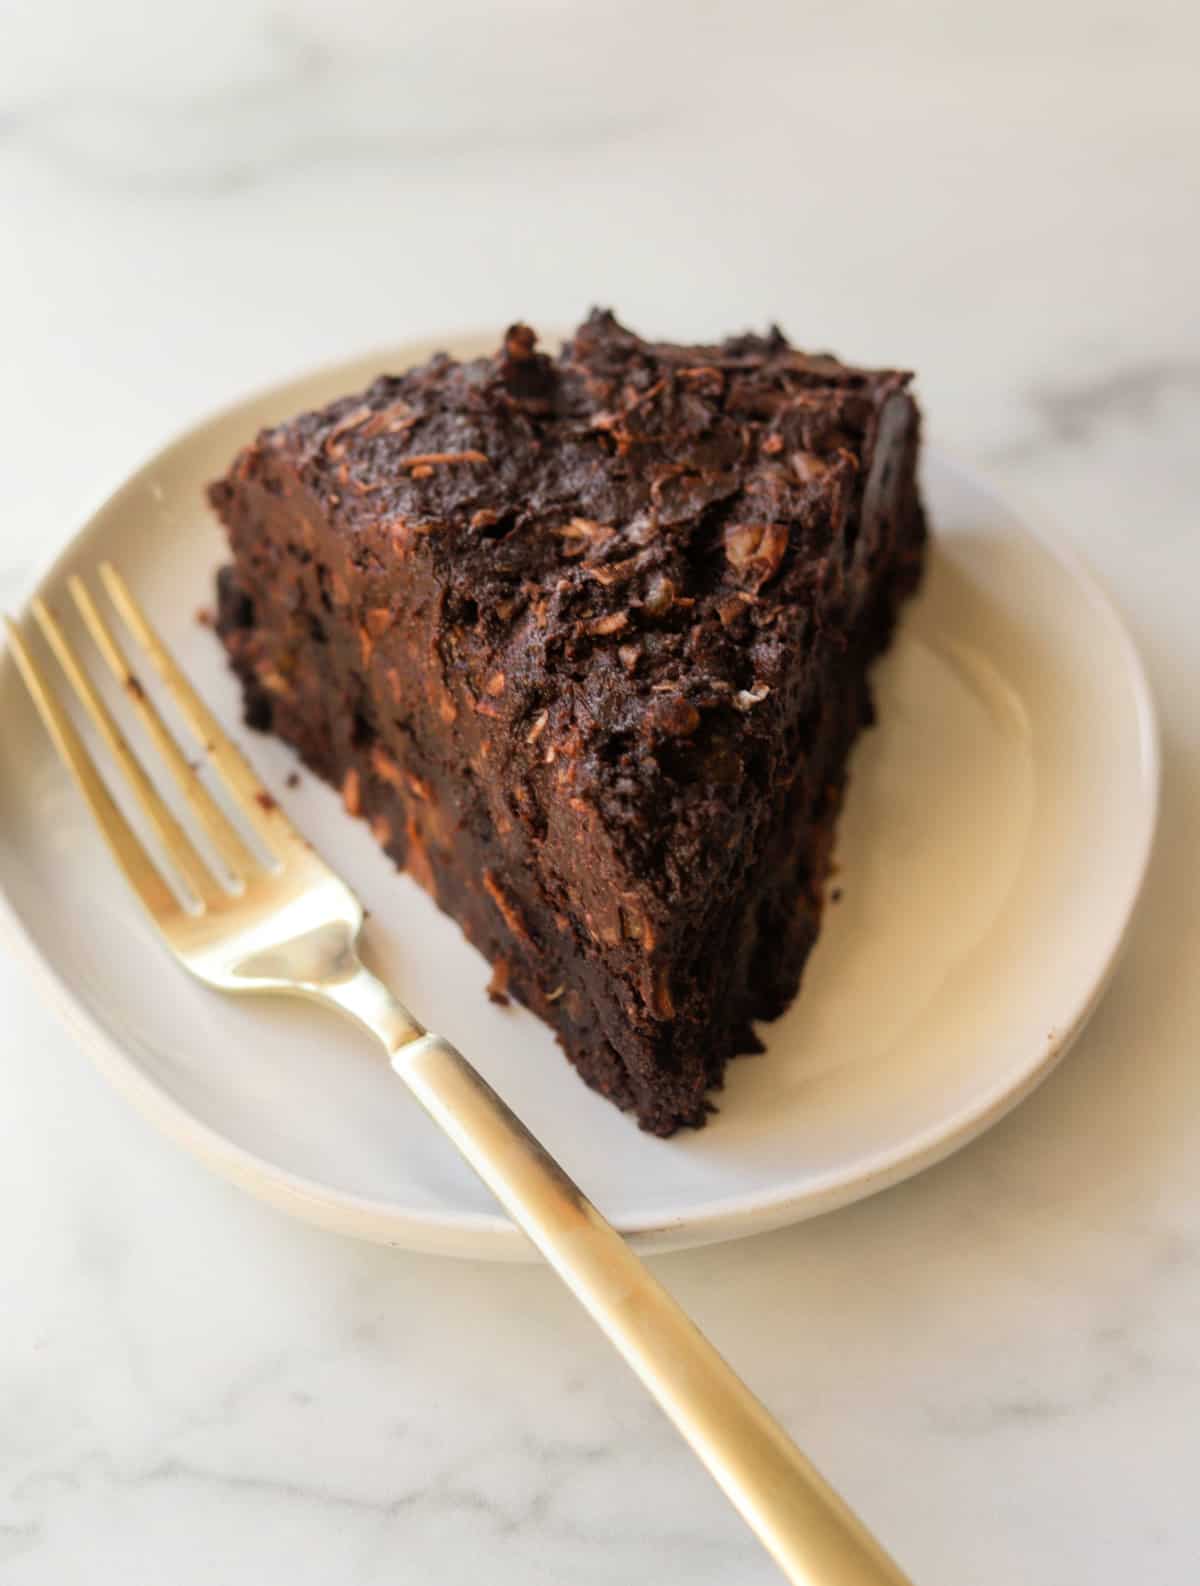
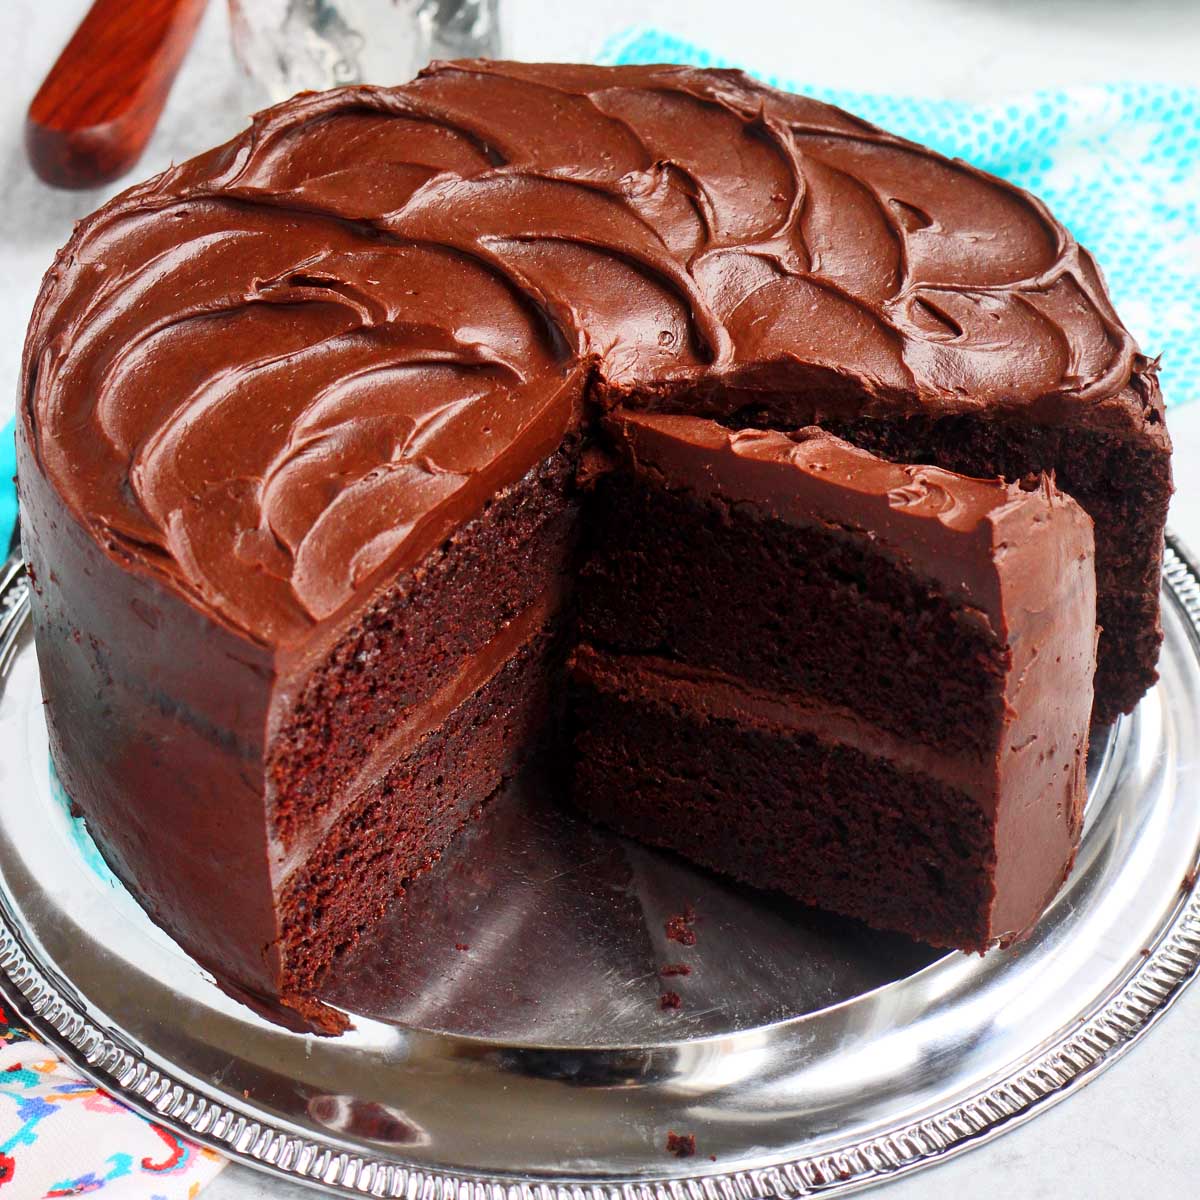
Once it was cool, I cut a slice. Here’s what I found:
- Texture: It was incredibly moist, definitely thanks to the dates. Not overly sweet either, which I liked.
- Taste: The chocolate flavor was deep, and the dates added this lovely, subtle caramel-like background note. The little pockets of melted chocolate chips were great too.
- Overall: Honestly, it turned out better than I expected. Really satisfying, dense but soft cake.
So yeah, that was my little experiment with the date chocolate cake. Definitely something I’d make again, especially when I want a treat that feels a bit more wholesome but still hits that chocolate craving. Simple process, great result.


