
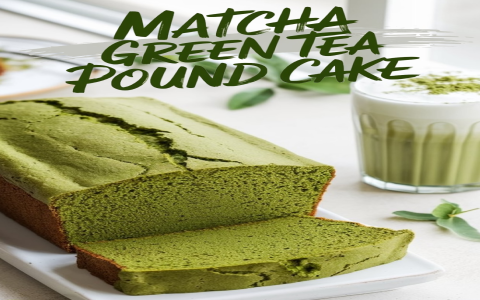
Getting Started with the Matcha Chiffon
Okay, so I got this idea to bake a matcha green tea chiffon cake today. Felt like something light and, you know, green. Chiffon cakes can be a bit fussy, but I figured I’d give it another shot. Always learning, right?
Prep Work – Getting Everything Lined Up
First things first, I pulled out all the stuff I needed. You know the drill:
- Flour
- Sugar (quite a bit for the meringue)
- Eggs – gotta separate these carefully
- Vegetable oil
- Water
- And the main event: Matcha powder. Good quality stuff makes a difference, I think.
Separating eggs is always a bit nerve-wracking. You get one drop of yolk in the whites and it messes up the meringue. Managed it okay today, though. Phew. Set the whites aside in a big clean bowl. You need a spotless bowl for meringue, absolutely no grease.
Making the Batter – Two Parts
Part 1: The Egg Whites. Got the electric mixer going on the whites. Started slow, then gradually added the sugar while ramping up the speed. Kept whipping until they formed stiff peaks. Like, when you lift the whisk, the peak stands straight up and doesn’t flop over. That’s the goal. Put that bowl aside.
Part 2: The Yolk Mixture. In another bowl, I whisked the egg yolks with the rest of the sugar, the oil, and the water. Whisked it ’til it was smooth and pale yellow. Then, I sifted the flour and the matcha powder right over the yolk mix. Sifting helps avoid lumps, supposedly. Gently mixed that just until it came together. You really don’t want to overmix this part, makes the cake tough. The batter turned this lovely shade of green.
Combining and Folding – The Delicate Bit
Now for the tricky part: combining the whites and the yolk mixture. You gotta be gentle here or you lose all that air you whipped into the whites.
I took about a third of the whipped egg whites and folded them into the matcha yolk batter first. Just to lighten it up a bit. Then, I gently folded in the remaining whites in two more goes. Used a big spatula, doing that whole ‘cut down the middle, sweep around the bottom, fold over’ motion. Repeated until just combined. No white streaks left, but still looking airy.
Getting Ready to Bake
Poured the finished batter into my tube pan. Important: Never grease a chiffon pan. The batter needs to cling to the sides to climb high. I smoothed the top gently with the spatula. Then, straight into the preheated oven. I think I had it at around 170°C (that’s like 340°F?).
Baked it for… I dunno, maybe 45 minutes? I check by lightly pressing the top. If it springs back, it’s usually done. A skewer test works too – stick it in, if it comes out clean, you’re good.
The Cool Down – Upside Down!
This is crucial for chiffon. As soon as it came out of the oven, I immediately flipped the entire pan upside down. Balanced the center tube on a sturdy bottle (a wine bottle works great, just saying). It has to cool completely like this. Completely. Takes a while, maybe an hour or two. If you don’t do this, the cake will just collapse on itself. Gravity helps keep it tall while it sets.
Getting it Out
Once it was totally, absolutely cool (patience is key!), I ran a thin knife or offset spatula around the outer edge of the pan, pressing against the pan, not the cake. Did the same around the center tube. Then, pushed up the removable bottom. Finally, slid the knife carefully under the bottom of the cake to release it from the base. Always a bit tense, hoping it doesn’t tear.
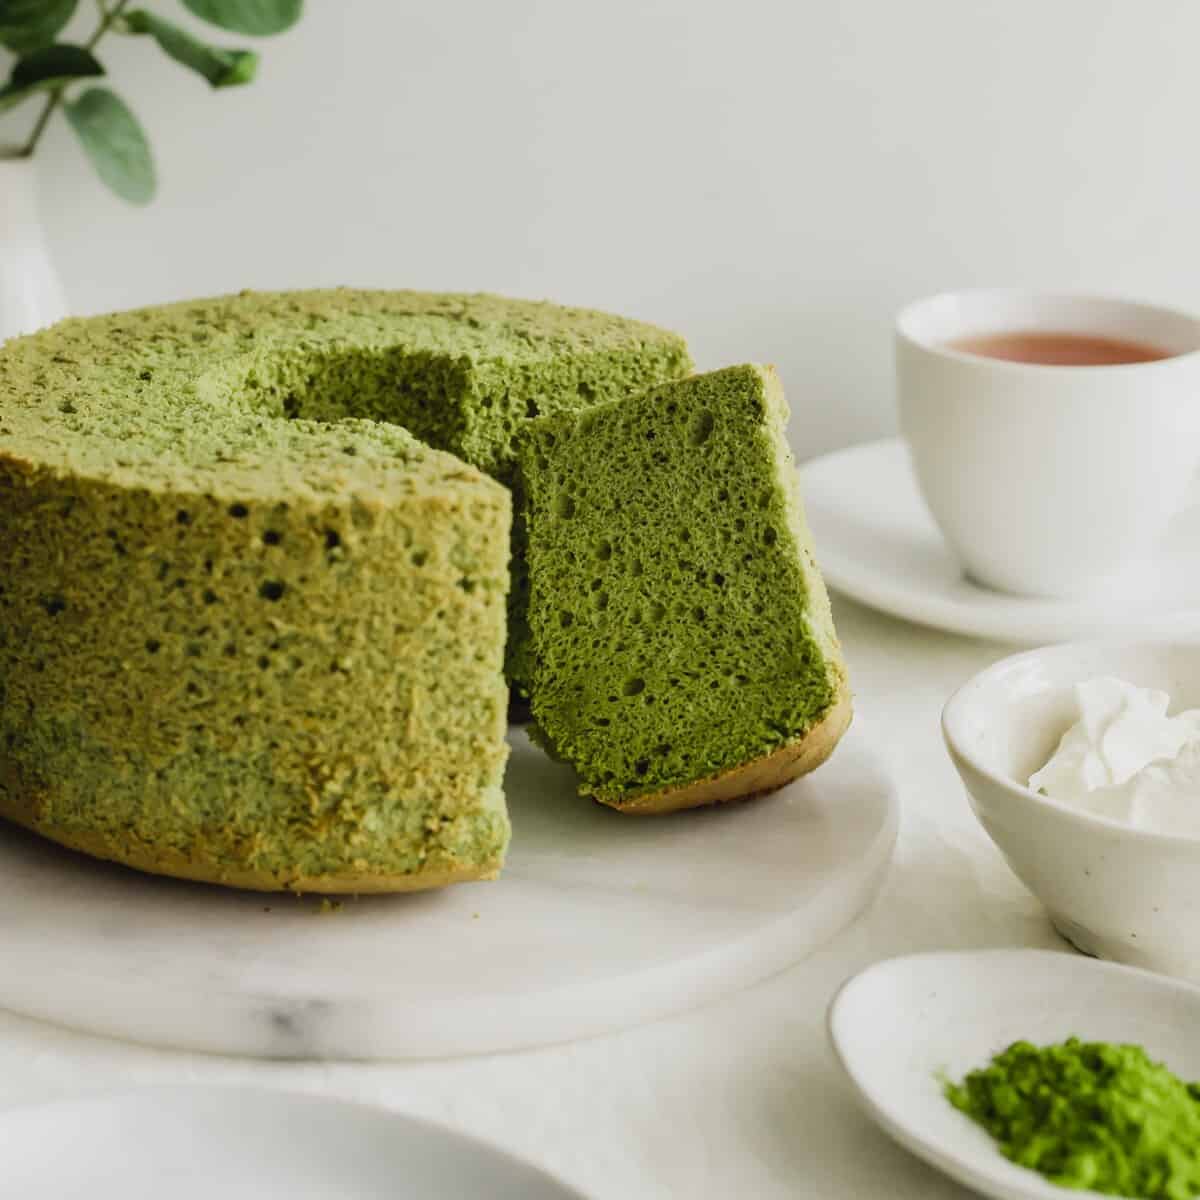
The Result – How’d it Go?
It actually came out pretty well today! Got decent height, it was nice and spongy. The matcha flavour was there, not too bitter, not too sweet. Looked pretty impressive with that natural green colour. Could it be fluffier? Maybe. Perhaps I could whip the whites a tad more next time, or fold a bit more carefully. But overall, a successful bake. Happy with this one. It’s definitely getting eaten fast.


