
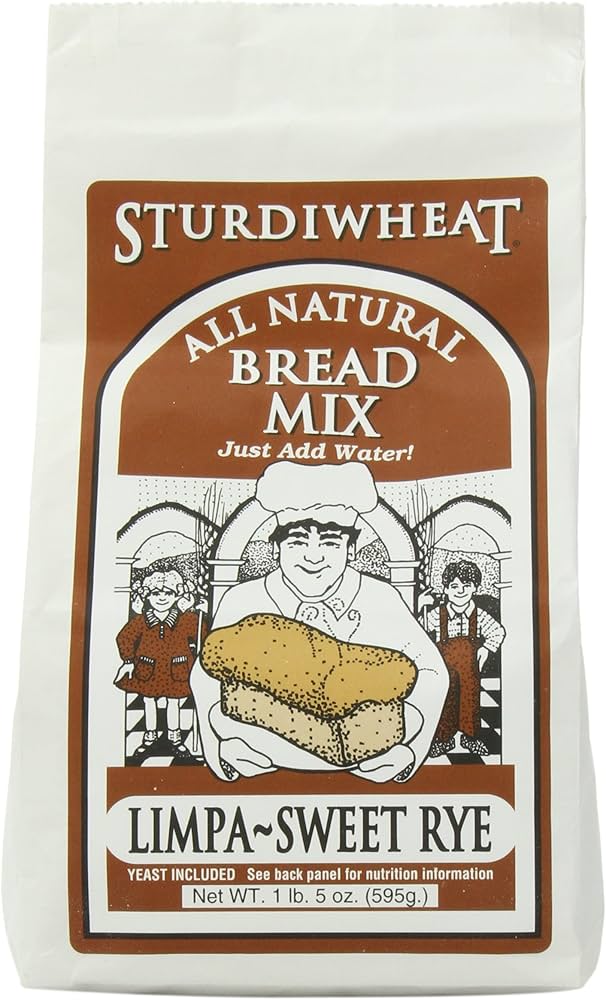
So, I’ve been wanting to send a care package to my friend who lives across the country, and I thought, what’s better than homemade bread? I decided to try making this Swedish rye bread called limpa. It sounded kind of exotic, and I figured it would travel well.
Getting Started
First, I looked up a bunch of recipes online. There are a lot of variations, but I picked one that seemed simple enough. I gathered all the ingredients: rye flour, all-purpose flour, yeast, molasses, some spices like caraway and fennel seeds, and orange zest. It was a bit of a shopping trip, but nothing too crazy.
Mixing and Kneading
I activated the yeast with some warm water and sugar. While that was doing its thing, I mixed the dry ingredients in a big bowl. Once the yeast was bubbly, I poured it in with the wet ingredients. I actually enjoyed getting my hands dirty, mixing and kneading the dough. It was kind of therapeutic. The recipe said to knead for about 10 minutes, so I put on some music and went for it. The dough was a little sticky at first, but it became smoother as I worked it.
First Rise
After kneading, I placed the dough in a greased bowl, covered it with a clean kitchen towel, and let it rise in a warm spot. This took about an hour. I took the time to clean up the kitchen and catch up on some emails. When I checked back, the dough had doubled in size. It was pretty cool to see.
Shaping and Second Rise
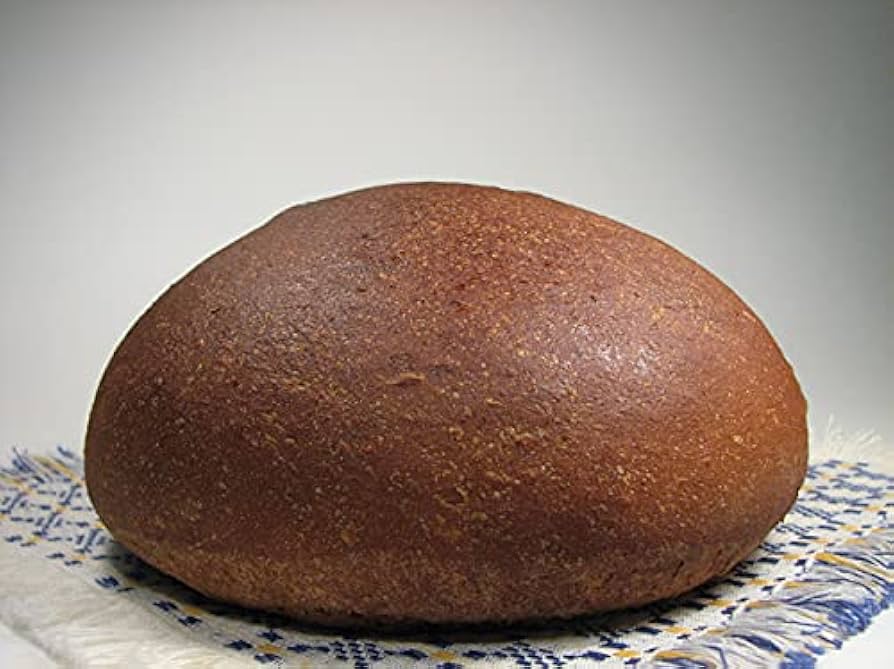
Next, I punched down the dough, divided it into two equal pieces, and shaped them into round loaves. I placed them on a baking sheet lined with parchment paper, covered them again, and let them rise for another hour. I used this time to preheat the oven to 375°F (190°C) and prepared an egg wash to brush on top of the loaves before baking.
Baking
Before putting the loaves in the oven, I brushed them with the egg wash, which would give them a nice golden-brown color. I also sprinkled some extra caraway seeds on top. I baked them for about 35 minutes. The smell in my kitchen was amazing—a mix of rye, molasses, and spices.
Cooling and Packing
Once the loaves were done, I took them out of the oven and let them cool completely on a wire rack. This was the hardest part because they smelled so good, and I wanted to cut into them right away. I bought some special boxes that would make them easy to transport. After they were completely cool, I wrapped each loaf tightly in plastic wrap and then in aluminum foil to keep them fresh. I also wrote a little note to my friend to include in the package.
Sending It Off
I packed the loaves into a sturdy box, making sure they were snug and wouldn’t get squished during shipping. I also added some bubble wrap for extra protection. I went to the post office, which was busier than usual, but after some waiting in line I was able to send it off. The guy there said it’s gonna take a couple days to get there. I hope my friend likes it!
Final Thoughts
Making limpa bread was a fun and rewarding experience. It was a bit of work, but definitely worth it. Now, I’m just hoping it arrives in good shape and that my friend enjoys this little taste of homemade goodness. I might even make it again just for myself!


