
So, I decided to give making a pie crust with Bob’s Red Mill Gluten Free Flour a go. Not their specific pie crust mix, mind you, but their all-purpose gluten-free baking flour. I’d heard mixed things about gluten-free crusts, mostly that they’re a pain, so I figured I’d see for myself.
What I Got Together
Pretty standard stuff, really. Here’s what I pulled out:
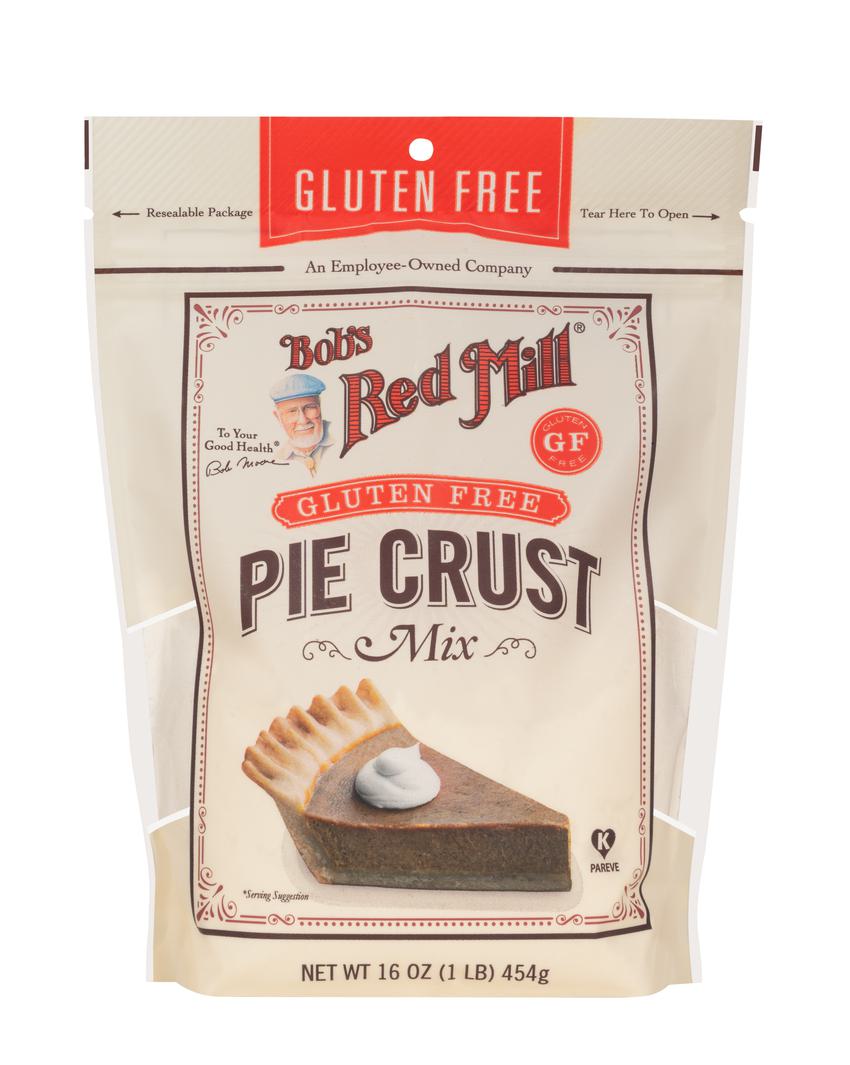
- The Bob’s Red Mill Gluten Free 1-to-1 Baking Flour (the one in the blue bag).
- Butter. Really cold butter, cubed up. I even stuck it in the freezer for about 15 minutes before I started.
- Ice water. Had a glass filled with ice and water, ready to go.
- A bit of salt.
- And I threw in a touch of sugar, just a teaspoon or so, because I like a hint of sweetness even in a savory pie crust sometimes. My flour blend already has xanthan gum, so didn’t need to add extra. Always check your flour blend for that.
How I Went About It
First, I mixed the flour, salt, and sugar in a bowl. Just whisked it up a bit to combine everything.
Then came the butter. I tossed the cold butter cubes into the flour. I used my hands for this part, working quickly to sort of pinch and rub the butter into the flour. Some people use a pastry blender or a food processor, but I wanted to get a feel for it. I kept going until it looked like coarse meal with some pea-sized bits of butter still visible. That’s what they say you should aim for, right?
Next up, the ice water. This is where I always hold my breath a little. I added it one tablespoon at a time. Gluten-free flours can be tricky; they absorb liquid differently. I stirred it gently with a fork after each addition. I was looking for the dough to just start coming together. You don’t want to overdo it with the water.
Once it started to clump, I tipped it out onto a piece of plastic wrap and used the wrap to help me gently press it into a disc. Didn’t knead it, just brought it together. Wrapped it up tight and stuck it in the fridge for a good hour. They say this helps the flour hydrate and the fat to chill again, making it easier to roll.
The Rolling Out Part – The Real Test
After chilling, I got it out. This is usually where gluten-free doughs show their true colors. I put the disc of dough between two sheets of parchment paper. Seemed like the safest bet to avoid a sticky mess and too much cracking.
And yeah, it did crack a bit around the edges as I rolled. Not gonna lie. Gluten-free dough just doesn’t have that stretch. I just kind of patched up the cracks as I went, pressing them back together. I rolled it carefully, not too thin, maybe about an eighth of an inch thick.
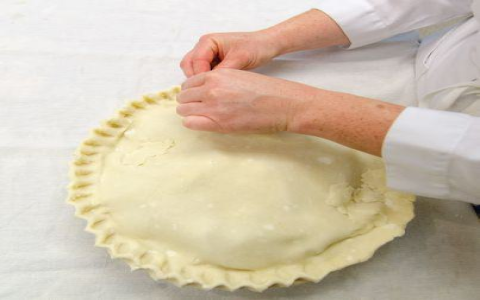
Getting it into the pie dish was the next hurdle. I peeled off the top layer of parchment. Then, I tried the old trick of flipping the whole thing – bottom parchment and dough – over the pie plate, then carefully peeling off the remaining parchment. It mostly worked. Had to do a little more patching and pressing here and there to get it settled in nicely. It wasn’t the prettiest crust I’ve ever made, but it was in the dish.
I just did a simple fork crimp around the edge. Nothing fancy.
So, How Did It Turn Out?
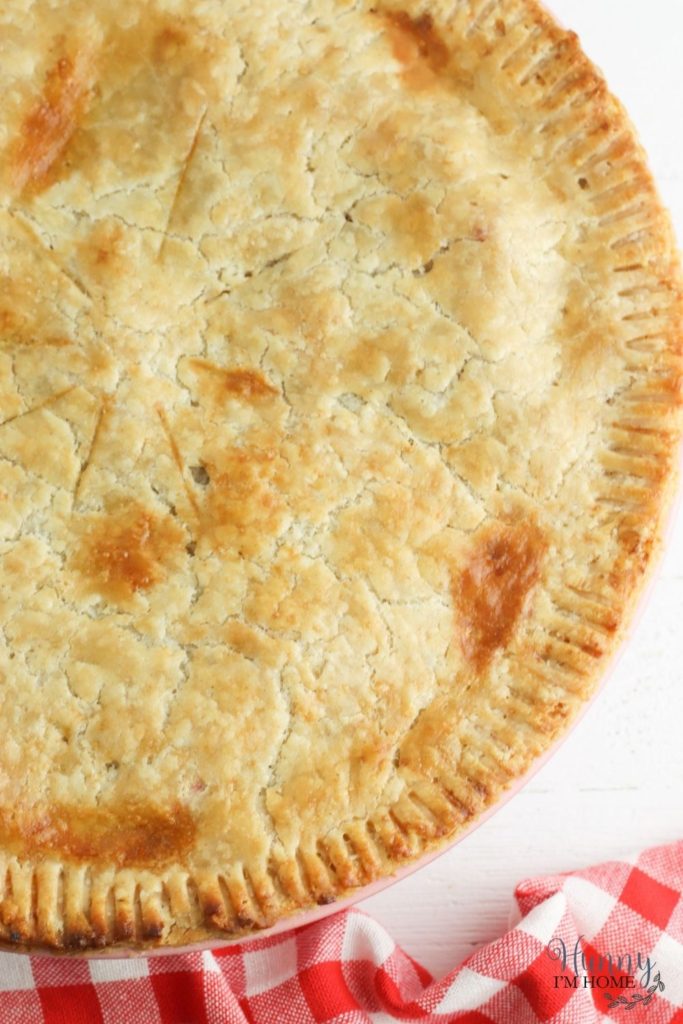
I pre-baked it for a bit before adding my filling, because that’s what my pie recipe called for. Pricked the bottom with a fork, lined it with parchment and pie weights, and baked it.
The result? Honestly, it was pretty decent. The texture was a bit more crumbly, more sandy than a traditional wheat flour crust, which I expected. It didn’t have that super flaky, layered thing going on, but it was tender. And it held its shape well, didn’t shrink too much or fall apart when I served the pie.
The taste was good too. The Bob’s Red Mill flour has a neutral flavor, so it didn’t interfere with the filling. It was definitely a workable gluten-free pie crust. Not quite the same as a classic one, but a solid option if you’re avoiding gluten.
I’d say the key things were keeping everything super cold, not overworking the dough, and being patient with the rolling. Using parchment paper was a lifesaver. Would I make it again? Yeah, I think so. It did the job.


