

Okay, so, I’ve been trying out these baking paper liners lately, and I gotta say, it’s been a bit of a learning curve. The whole point is to make cleanup easier, right? But there are some tricks to get them working just right.
Figuring Out Which Side Is Up
First off, figuring out which side of the paper goes up. You’d think it wouldn’t matter, but it totally does. Turns out, there’s a shiny side and a dull side. The shiny side is the one that’s been treated to be non-stick. So, yeah, you want the shiny side touching your food. I learned that the hard way after a batch of cookies stuck to the paper. Oops!
Making the Liners Stick
Next up, getting these things to actually stick to the pan. I found that a little bit of grease or even a spray of water on the pan before you put the paper down really helps. I used to just throw the paper in there, and it would slide all over the place. Not fun when you’re trying to pour cake batter!
Getting Extra Non-Stick Power
- I had this idea to grease the parchment paper itself.
- Thought it might make it even more non-stick.
- Tried it with my muffin tins.
- Just a light layer of cooking spray on the paper before I put the batter in.
- It worked! Muffins slid right out.
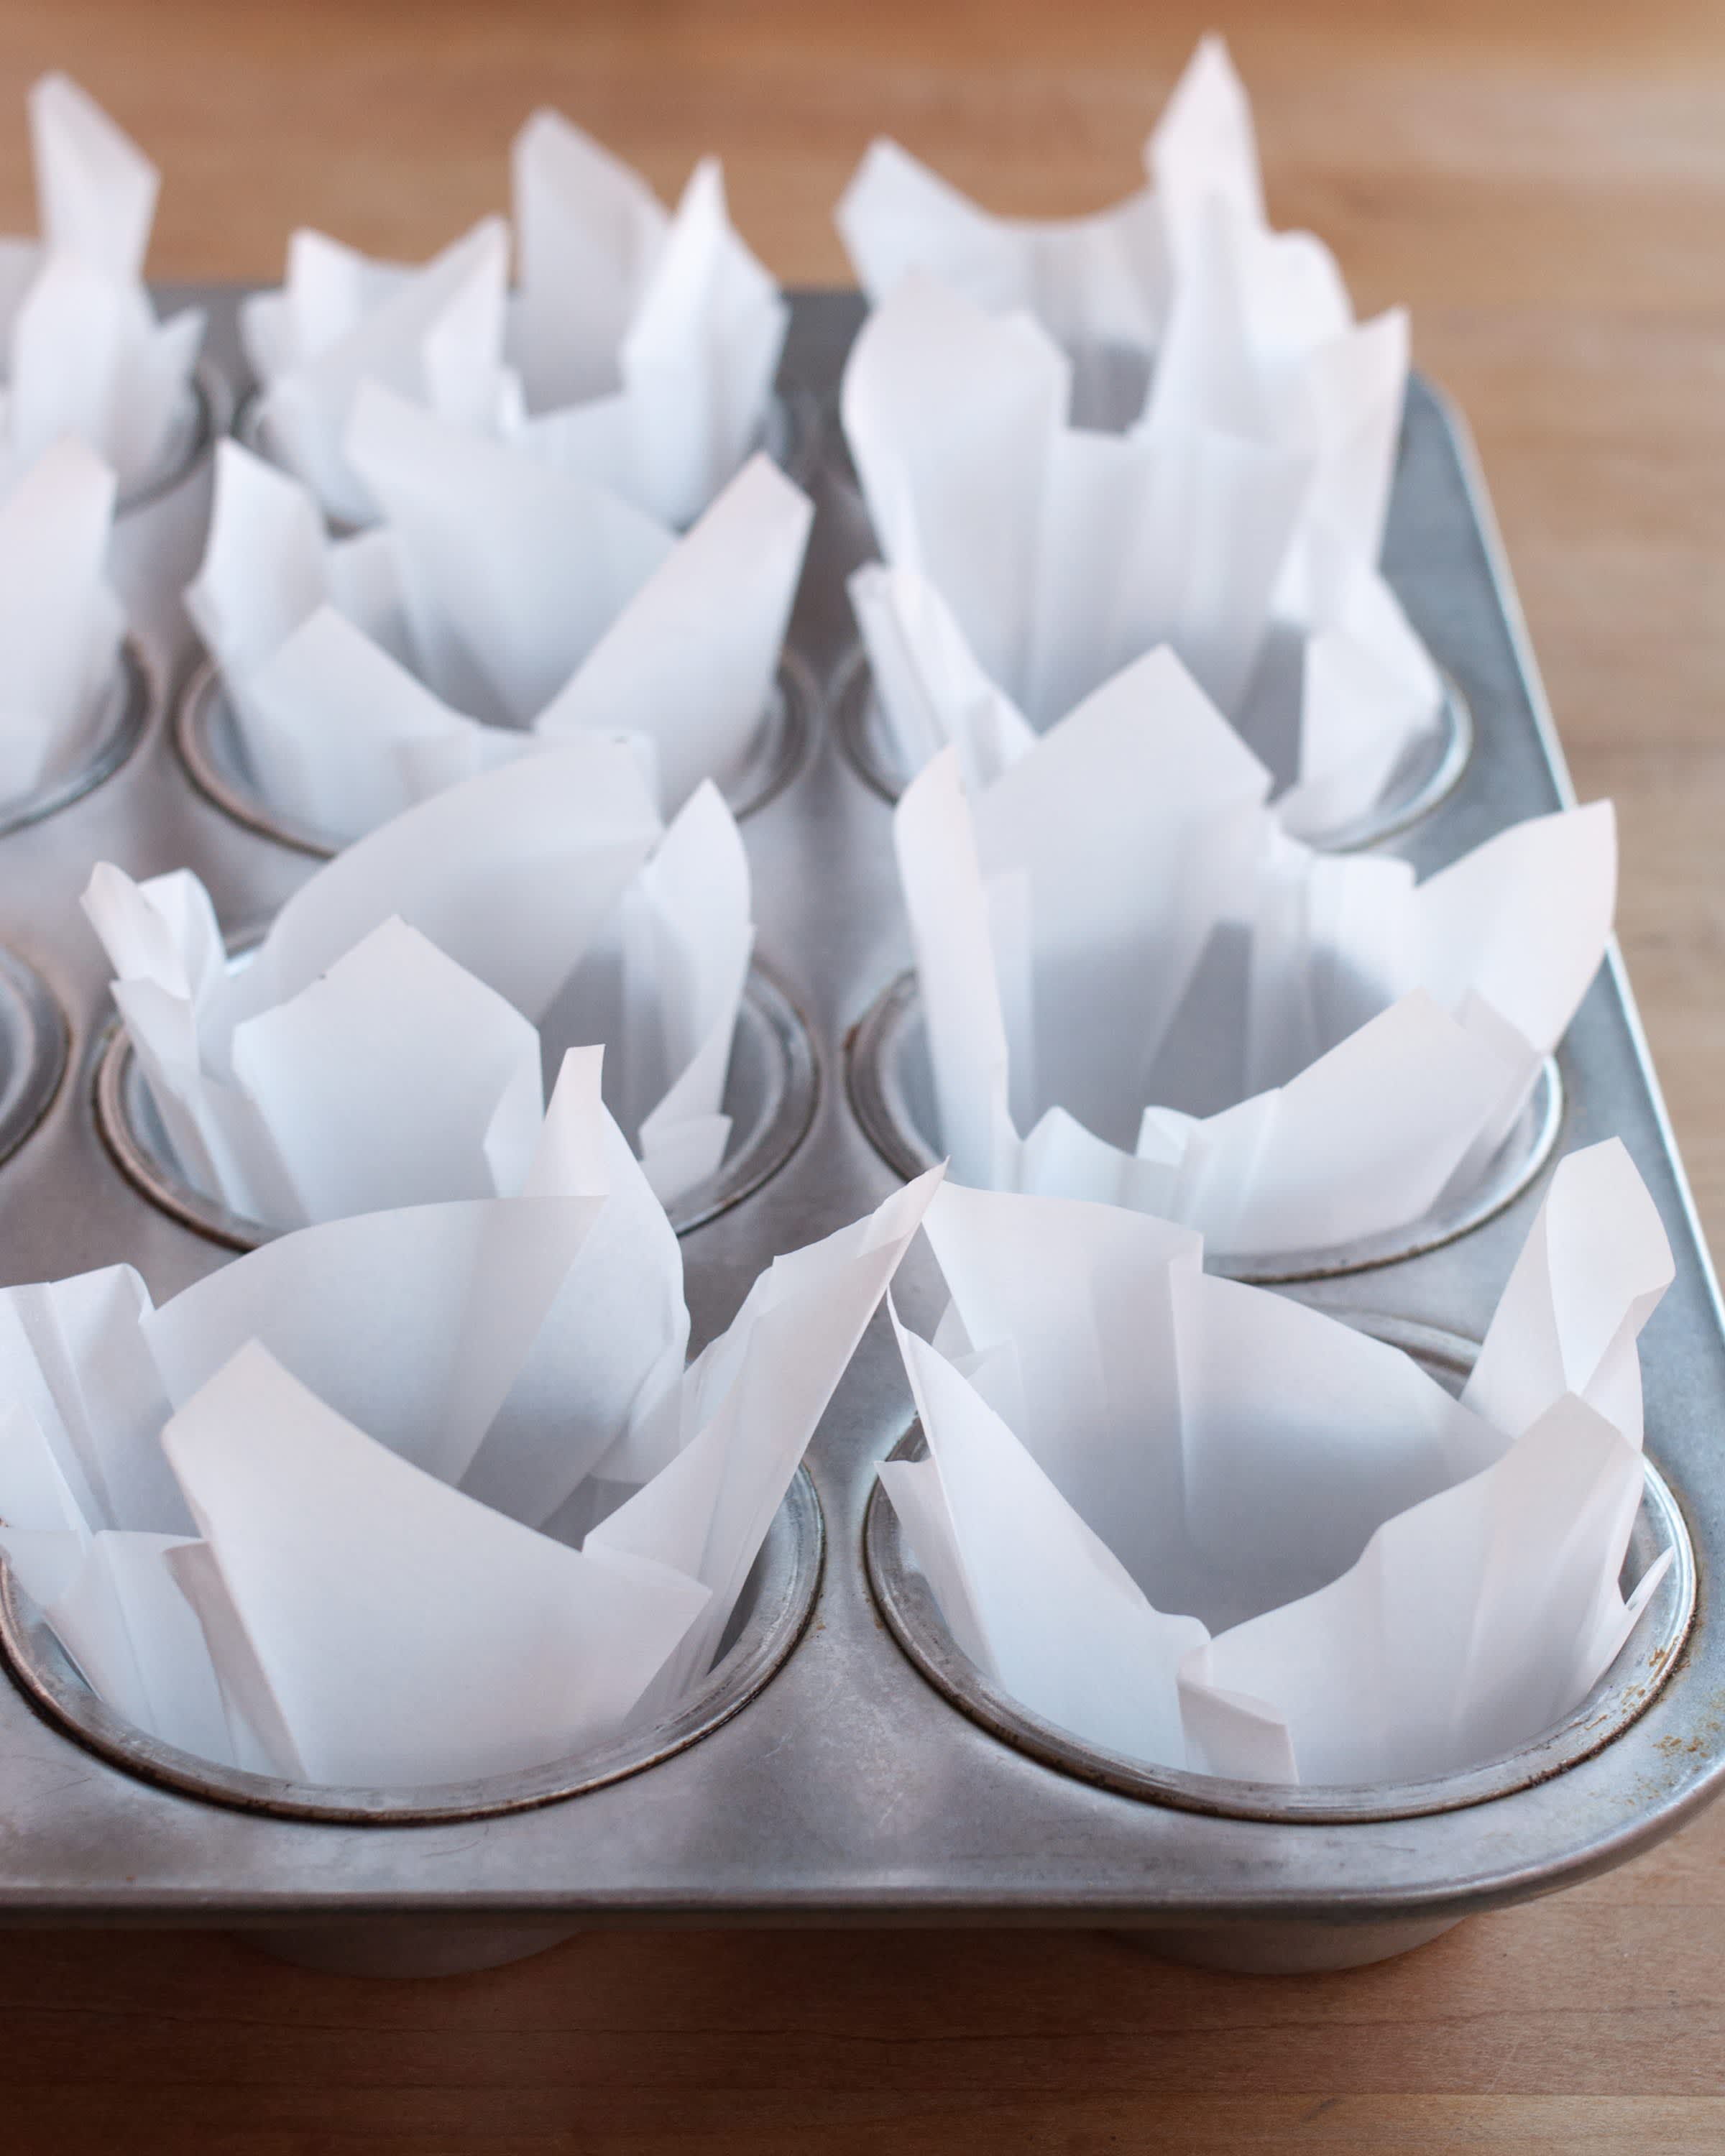
Experimenting with Different Liners
I’ve also been experimenting with different types of liners. They’ve got these pre-cut circles for cake pans, which are pretty handy. And then there are the cupcake liners, which are a whole different ball game. I used to think they were just for decoration, but they actually make a big difference in how the cupcakes bake and come out of the pan. When picking them out, I realized the material and size really do matter. I’m still figuring out which ones I like best, but it’s been a fun little experiment.
So, that’s my journey with baking paper liners so far. Still learning, still making a few messes here and there, but definitely getting better at it. It’s all about making baking a bit easier and more enjoyable, right?


