

Okay, so tackling a cheesecake up here in the mountains is always a bit of an adventure. The air’s thinner, things bake differently. I decided to give it another go, focusing on nailing that smooth, creamy texture without the dreaded cracks or sinking middle.
Getting Started: The Prep
First things first, I gathered all my stuff. Cream cheese (gotta be room temperature, seriously, leave it out for hours), sugar, eggs, vanilla, the usual suspects. For the crust, just graham cracker crumbs, a bit of sugar, and melted butter. I pressed that into my springform pan, making sure it was nice and even up the sides a little. Popped that in the oven for a quick pre-bake while I tackled the main event.
Mixing the Filling – Gently Does It
Now, the filling. This is where things get tricky at altitude. I’d read, and learned the hard way before, that beating too much air into the batter is a recipe for disaster. The cake puffs up like crazy in the oven and then collapses into a sad crater when it cools. So, I mixed the cream cheese and sugar on low speed, just until smooth. Added the eggs one at a time, mixing just until the yellow disappeared. Scraped down the bowl a lot. Really focused on keeping it dense, minimal air. Mixed in the vanilla last.
The Water Bath – A Must-Do
Couldn’t skip the water bath, especially up here. It helps the cheesecake cook gently and evenly, which is key to preventing cracks. I wrapped the bottom of my springform pan tightly in a couple of layers of heavy-duty aluminum foil. Don’t want any water leaking in! Placed the wrapped pan inside a larger roasting pan.
Baking Time Adjustments
Poured the batter into the crust. Then, carefully poured hot water into the larger roasting pan, enough to come about halfway up the sides of the cheesecake pan. Into the oven it went. Now, recipes usually give a time, but at high altitude, you almost always need longer. The lower air pressure means water evaporates faster and things just take more time to set. I started checking about 10 minutes after the sea-level recipe time would have ended. I was looking for the edges to be set but the very center to still have a slight wobble, like Jell-O.
- Patience is key: It definitely took about 15 extra minutes compared to what the recipe originally called for.
- Checking: Just gently nudged the pan to check for that jiggle.
The Cool Down – Slow and Steady
Once it looked right, I turned off the oven but left the cheesecake inside with the door cracked open for a good hour. Drastic temperature changes are the enemy! After that, I carefully lifted the springform pan out of the water bath (removed the foil) and let it cool completely on a wire rack on the counter. This took a few hours. Only when it was totally cool did it go into the fridge, covered loosely, to chill overnight. Rushing the cooling is just asking for cracks.
The Result
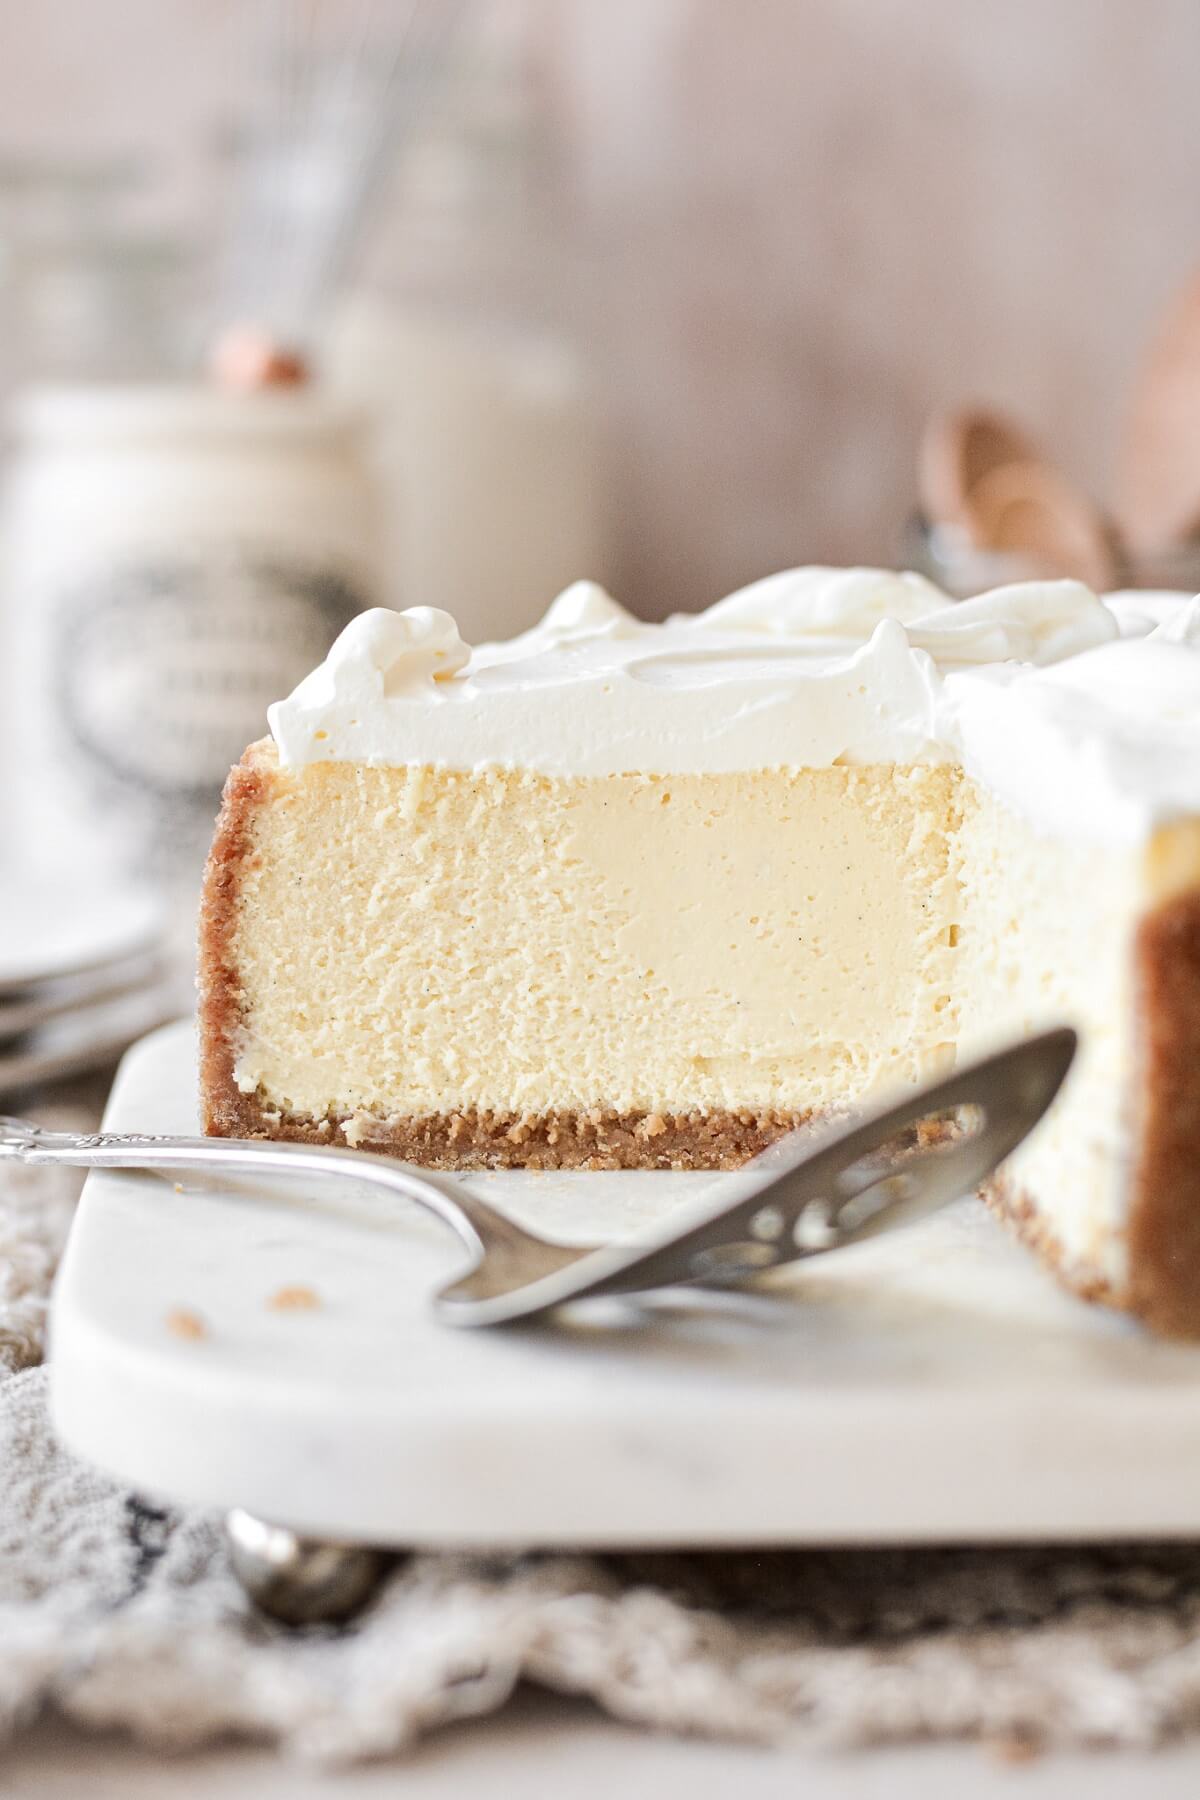
Woke up this morning, nervously took it out… and it looked pretty darn good! Almost no cracks, just a tiny one near the edge, but nothing major. The texture was smooth and dense, exactly what I was aiming for. The extra baking time and super careful mixing really seemed to do the trick this time. High altitude baking can be a pain, but getting that cheesecake right? Totally worth the effort.


