
Okay, so I’ve been seeing these adorable heart-shaped baked goods all over my feed, and I finally caved. I grabbed some heart baking molds to try it out myself. Let me tell you, it was a bit of an adventure!
Getting Started
First, I found these silicone heart molds online. They were pretty cheap, so I grabbed a couple of different sizes. I also made sure I had all my baking ingredients ready – flour, sugar, eggs, the whole shebang. I decided to go with a simple vanilla cake recipe to start.
The Baking Process
Mixing the batter was easy peasy. I just followed the recipe, nothing fancy. The tricky part was getting the batter into these molds. They’re kinda floppy, you know? I placed them on a baking sheet for stability, which definitely helped.
I carefully spooned the batter into each mold, making sure not to overfill them. I learned that the hard way with cupcakes once – batter everywhere! I popped them in the oven, which I had preheated, and waited. I kept checking like my cake is a baby.
The Results (and a Few Mishaps)
Okay, so not everything went perfectly. Some of the cakes stuck to the molds a little, even though I greased them. I think I needed to let them cool a bit longer before trying to pop them out. Lesson learned!
- Tip 1: Grease the molds well!
- Tip 2: Let the cakes cool completely. Patience is key!
- Tip 3:Don’t overfill the molds! Less is More.
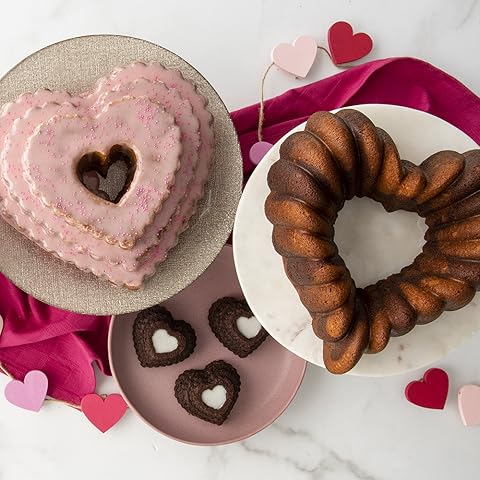
But, even with a few slightly imperfect edges, they still looked super cute! I dusted some with powdered sugar, and they looked like something straight out of a bakery (well, almost!). I even made frosting for some, it was so sweet.
Overall, it was a fun little baking experiment. I’m definitely going to try making brownies or maybe even some heart-shaped cookies next time. These molds are just too cute not to use again!


