
Okay, so I’ve always wanted a bread oven, especially one I could use outdoors. You know, get that rustic, wood-fired flavor. I finally decided to just go for it and build one myself. It was… an experience, to say the least.
Getting Started
First, I spent hours looking at pictures online, trying to figure out what kind of oven I wanted. There are so many different styles! I ended up going with something pretty basic – a dome shape. Figured it would be the easiest for a first-timer.
Then came the materials. Oh boy. I needed firebricks, regular bricks, sand, clay, and a bunch of other stuff I didn’t even know existed. I made like five trips to the hardware store. I’m pretty sure the guys there started recognizing my truck.
The Build
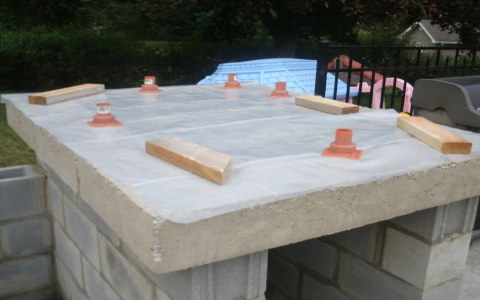
I started by building a solid base. This was important, because the oven is HEAVY. I used cinder blocks and made sure it was perfectly level. I learned that the hard way – my first attempt was a little wonky, and I had to redo it.
- Layer 1: Cinder blocks, nice and level.
- Layer 2: A layer of concrete to make it extra sturdy.
Next up was building the actual oven floor. I used firebricks for this because they can handle the super high temperatures. Laying them out in a circle was trickier than I thought it would be. There was a lot of trial and error, and some… creative brick cutting.
Then I create a sand form to make the dome, it looks very creative.
The Dome
Building the dome was the real challenge. I used a sand form – basically, a big mound of wet sand shaped like the inside of the oven. Then, I started layering bricks over the sand, using a mixture of clay and sand as mortar. This part was messy. Very, very messy. I was covered in clay, the bricks were covered in clay, the dog was covered in clay… you get the picture.
It took a few days, letting each layer dry a bit before adding the next. Slowly but surely, the dome started to take shape. I left an opening in the front for the door, of course. And I built a little chimney at the top, because, you know, smoke.
Finishing Touches
Once the dome was done, I carefully dug out all the sand from the inside. This was a surprisingly satisfying moment. Then I built a small brick archway around the opening, just to make it look a little nicer.
I let the whole thing dry for a couple of weeks, then did a few small test fires to cure the clay. This was important to prevent cracking. Finally, it was time for the first real bake!
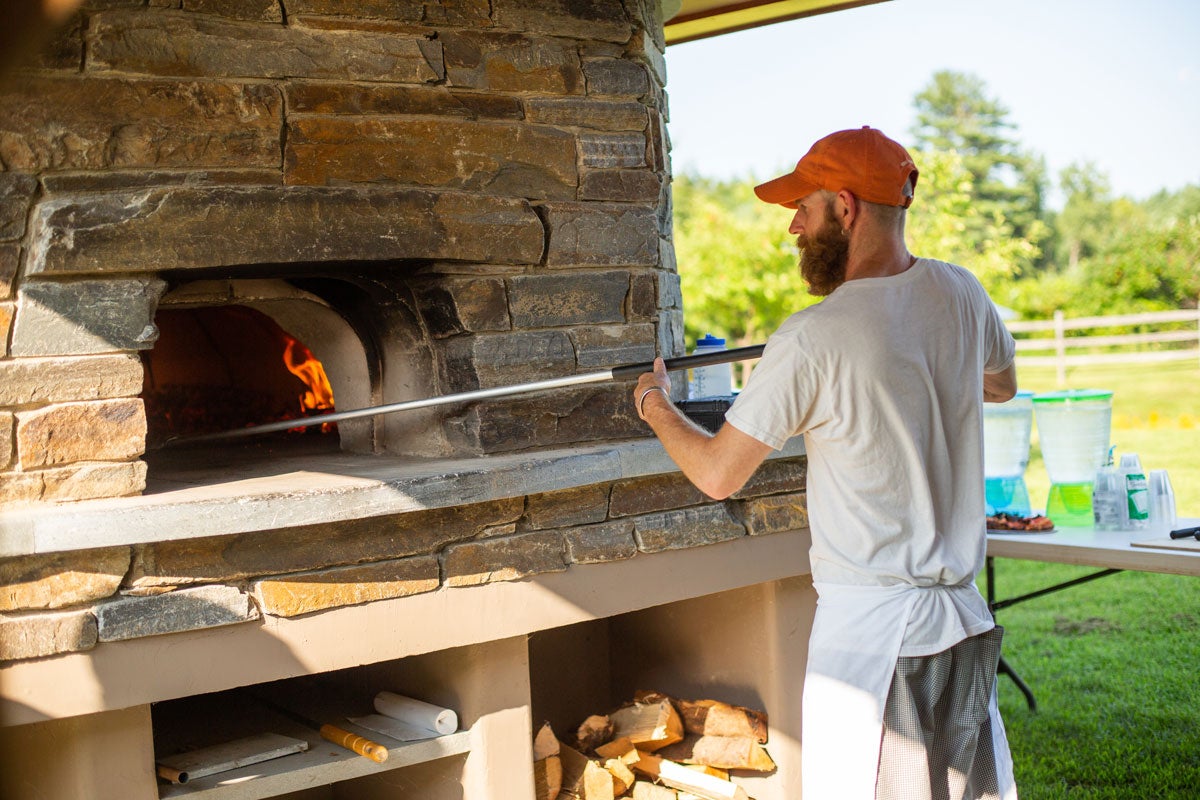
The First Bake
I built a big fire inside the oven and let it burn for a few hours to get it really hot. Then, I raked out the coals and let the temperature settle. I tossed in a loaf of sourdough, closed the door (I made a makeshift door out of some scrap metal), and waited.
The smell was amazing. And when I pulled out that first loaf, all golden brown and crusty… man, it was worth all the effort. Best bread I’ve ever tasted. Seriously.
It’s not perfect, my oven. It’s a little rough around the edges, and the dome isn’t perfectly symmetrical. But I built it with my own two hands, and it makes amazing bread. That’s good enough for me. Now,If I can do it, anyone can. Just be prepared for a lot of work, a lot of mess, and a lot of trips to the hardware store!


