
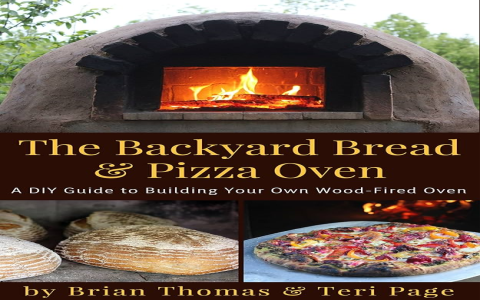
Okay, guys, so I finally did it – I built a brick bread oven in my backyard! Let me tell you, it was a journey, but totally worth it. I’ve always loved the idea of baking my own bread, and there’s just something special about a brick oven. So, I rolled up my sleeves and got to work.
First things first, I had to plan it out. I mean, you can’t just start stacking bricks, right? I did some reading, watched some videos, and sketched out a rough design. I decided to go for a simple dome shape – seemed the most doable for a newbie like me. After I had a plan, it was time to gather the materials. I ended up using a mix of old bricks I had lying around and some new ones I picked up. Oh, and a bunch of sand and cement mix, of course.
The foundation was the first real step. I dug a shallow pit and filled it with gravel. I leveled it and made it compact and sturdy cause this is where the whole oven would be sitting. Then, I laid down a layer of concrete. It was a bit of a workout, mixing and pouring all that concrete, but I managed. I let it set for a couple of days, just to be sure it was solid.
Next up, building the actual oven. I started by laying out the base layer of bricks in a circle, using my trusty level to make sure everything was even. Then, slowly but surely, I started building upwards, using more cement mix to hold the bricks together. It was like a giant, heavy puzzle. The dome shape was a bit tricky, had to angle the bricks inwards as I went up. There were moments when I thought the whole thing might collapse, but I kept at it, one brick at a time.
After what felt like forever, the dome was complete! I left a small opening at the front for the door and a little chimney at the top for smoke. I let the whole thing dry for a good while, like a week or so. You really don’t want to rush this part, trust me.
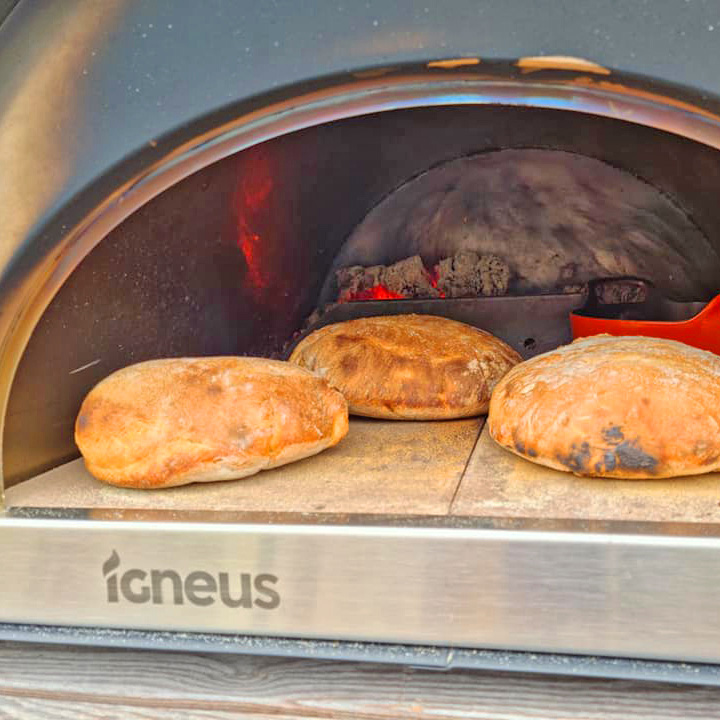
Finally, the moment of truth – the first bake! I built a small fire inside the oven to heat it up. I read somewhere that you want the oven to be “real hot” before you start baking, and let me tell you, they weren’t kidding! After some trial and error, I figured out the right temperature and timing.
- Tip #1: Spraying some water inside before putting the dough in really helps keep the crust soft.
- Tip #2: Make sure that oven is super-hot before you even think about baking.
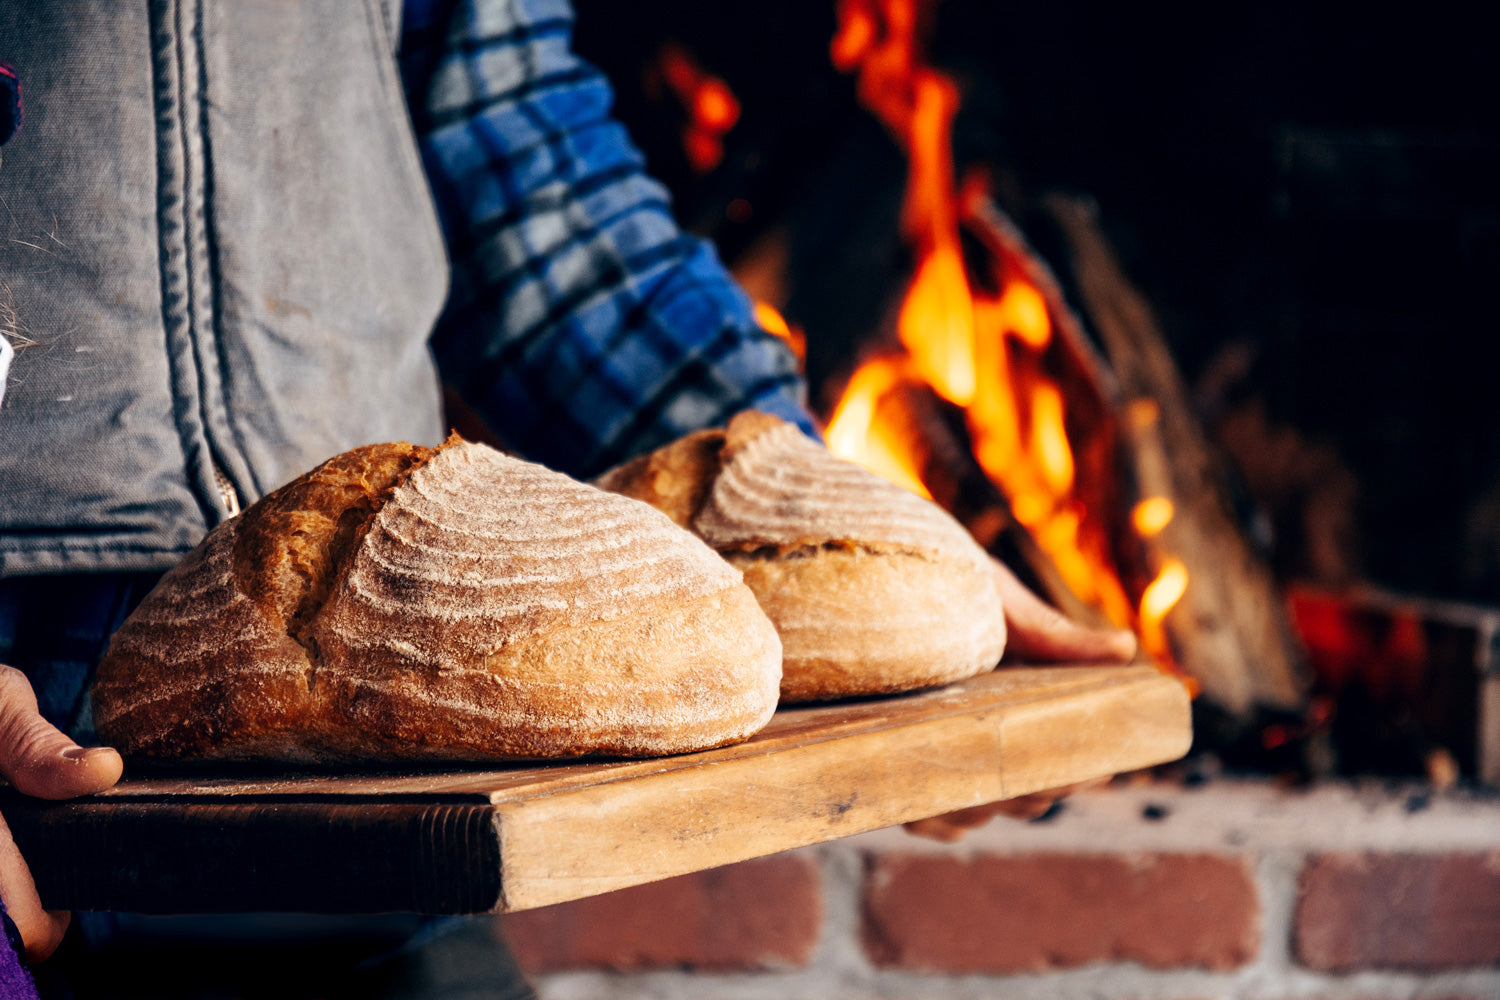
The first loaf was… well, it was edible. Definitely not the prettiest, but it tasted amazing! That brick oven flavor is something else. Over the next few weeks, I experimented with different types of bread, pizza, and even roasted a chicken in there. Each time, I learned something new, tweaked my technique a bit. You can even cook many other foods in it, like fish, sausages, cakes, etc.
Now, I’m no expert, but I’m pretty darn proud of my little brick oven. It’s not perfect, it doesn’t get quite as hot as professional ones, and you can’t really get that smoky flavor, but it gets the job done. And, there’s just something so satisfying about baking bread in an oven you built with your own two hands. It’s become a real centerpiece in my backyard, and I can’t wait to keep experimenting with it.
So, if you’re thinking about building your own brick oven, I say go for it! It’s a challenge, for sure, but a rewarding one. Just be prepared for some hard work, a bit of frustration, and a whole lot of delicious bread.


