
Okay, here’s my take on sharing my experience with disposable piping bags, just like a casual, been-there-done-that blogger would.
My Piping Bag Adventures (The Disposable Kind!)
Alright, so let’s talk piping bags. I’ve been baking for, like, ever. And for the longest time, I was all about those reusable canvas ones. Seemed eco-friendly and all that, right? Well, lemme tell you, cleaning those things is a PAIN. Seriously. I would spend ages scrubbing, and they’d still smell vaguely of buttercream from, like, three Christmases ago. Yuck!
So, eventually, I caved and tried disposable piping bags. I mean, the thought of just tossing it after I was done? Genius! Here’s how my journey went, from newbie to (sort of) pro:
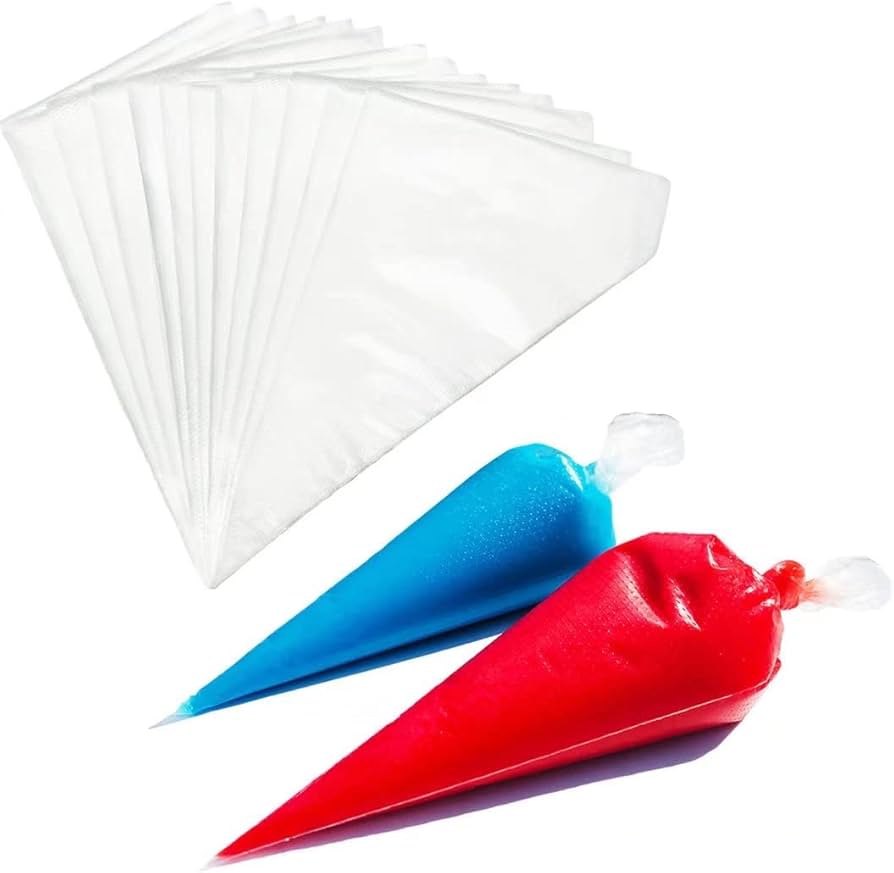
Getting Started (And Making a Mess): I bought a roll of those clear plastic disposable bags. Looked simple enough. I grabbed my favorite star tip, snipped the end of the bag, and… disaster! The tip went right through the bag! Lesson number one: don’t get too scissor-happy. Seriously, start small! Like, REALLY small. I had frosting everywhere. It was a sticky situation, literally.
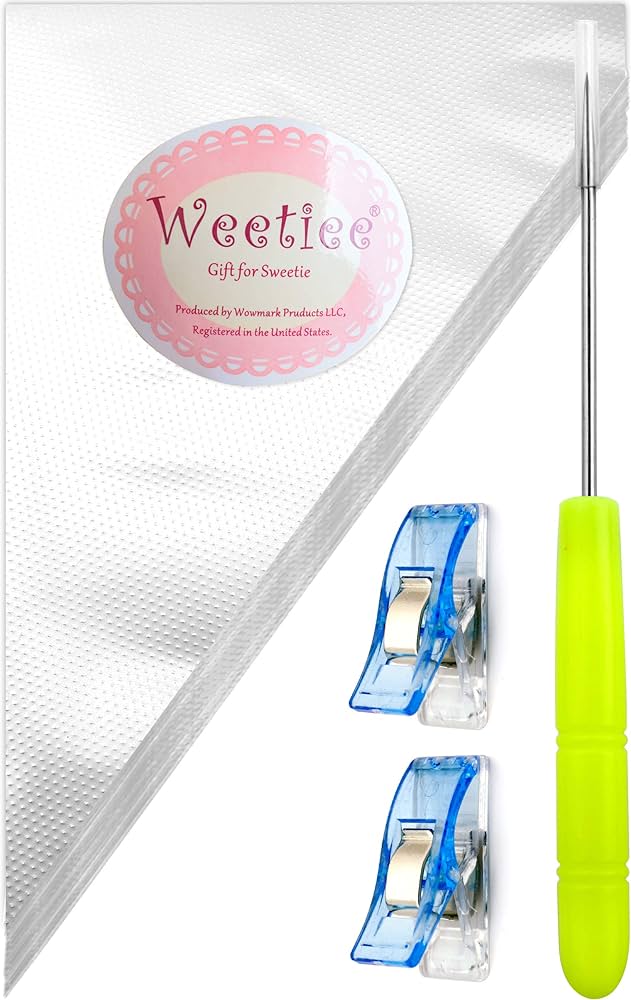
Finding the Right Size (And Thickness): After the initial frosting explosion, I realized bag size matters. Those tiny ones are good for, like, writing names on cupcakes. If you’re doing anything bigger, you need a decent sized bag. I found some that are around 12-16 inches, and those work great for most of my stuff. Also, the thickness makes a difference. Some of the super cheap ones are so thin they feel like they’re going to burst. Spend a little extra for the thicker ones; they’re worth it.
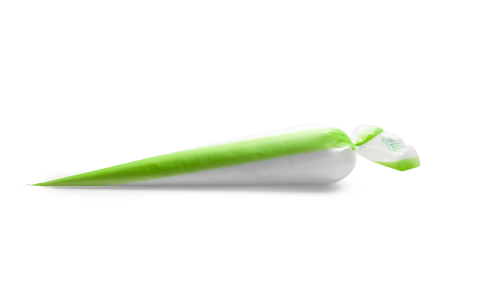
Loading the Bag (Without Getting Frosting All Over): This is key. I learned the hard way. Fold the top of the bag down, like, halfway. This creates a nice cuff that keeps the frosting from getting all over your hands. Then, scoop the frosting in with a spatula. Don’t overfill! About halfway full is usually good. Then, unfold the cuff and twist the top closed. Secure it with a rubber band or a piping bag tie. This keeps the frosting from oozing out the top.
Practice Makes Perfect (Kind Of): Let’s be real, my piping skills are still a work in progress. But using disposable bags has made practicing so much easier. I can just whip up a batch of buttercream, practice my rosettes, and then toss the bag without feeling guilty. I’ve found that using a consistent pressure is the hardest part. Squeezing too hard leads to wobbly lines, not enough pressure leads to… well, nothing. Just keep practicing!
Cleaning Up (The Best Part!): This is where disposable bags really shine. When you’re done, just toss it! No scrubbing, no soaking, no weird buttercream smells lingering in your kitchen. It’s seriously the best.
My Current Go-To: Now I bulk buy a specific brand of thicker disposable piping bags. I keep a stash in my baking cupboard so I am ready to go at any moment.
So, yeah, that’s my disposable piping bag story. They’ve made my baking life so much easier. If you’re still wrestling with those reusable canvas bags, give disposables a try. You might just become a convert!


