
Okay, here we go, my take on those 10-inch cake pans!
Alright, so I decided to get serious about my baking game, and that meant investing in some decent cake pans. I’d been using these flimsy things I picked up at the dollar store, and my cakes were always uneven and just…sad-looking. Time for an upgrade! I finally bit the bullet and ordered a couple of 10-inch cake pans.
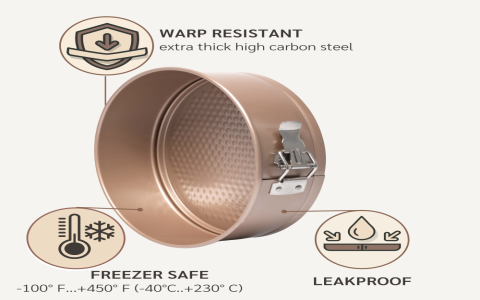
First things first, I did a little research. I wasn’t trying to buy the most expensive one, just a solid set that wouldn’t warp in the oven. I ended up going with a brand I’d seen a bunch of bakers online recommending. They were supposed to be good for even heating, which was my main goal.
When they arrived, I gave them a good wash with soap and hot water. Gotta get rid of any manufacturing residue, you know? Then, I dried them really well. Nobody wants a rusty cake pan!
For my first bake, I decided to go classic: a simple vanilla cake. I preheated the oven to 350°F (175°C) and got to work on the batter. This is where I usually mess things up, but I was determined to follow the recipe to the letter this time.
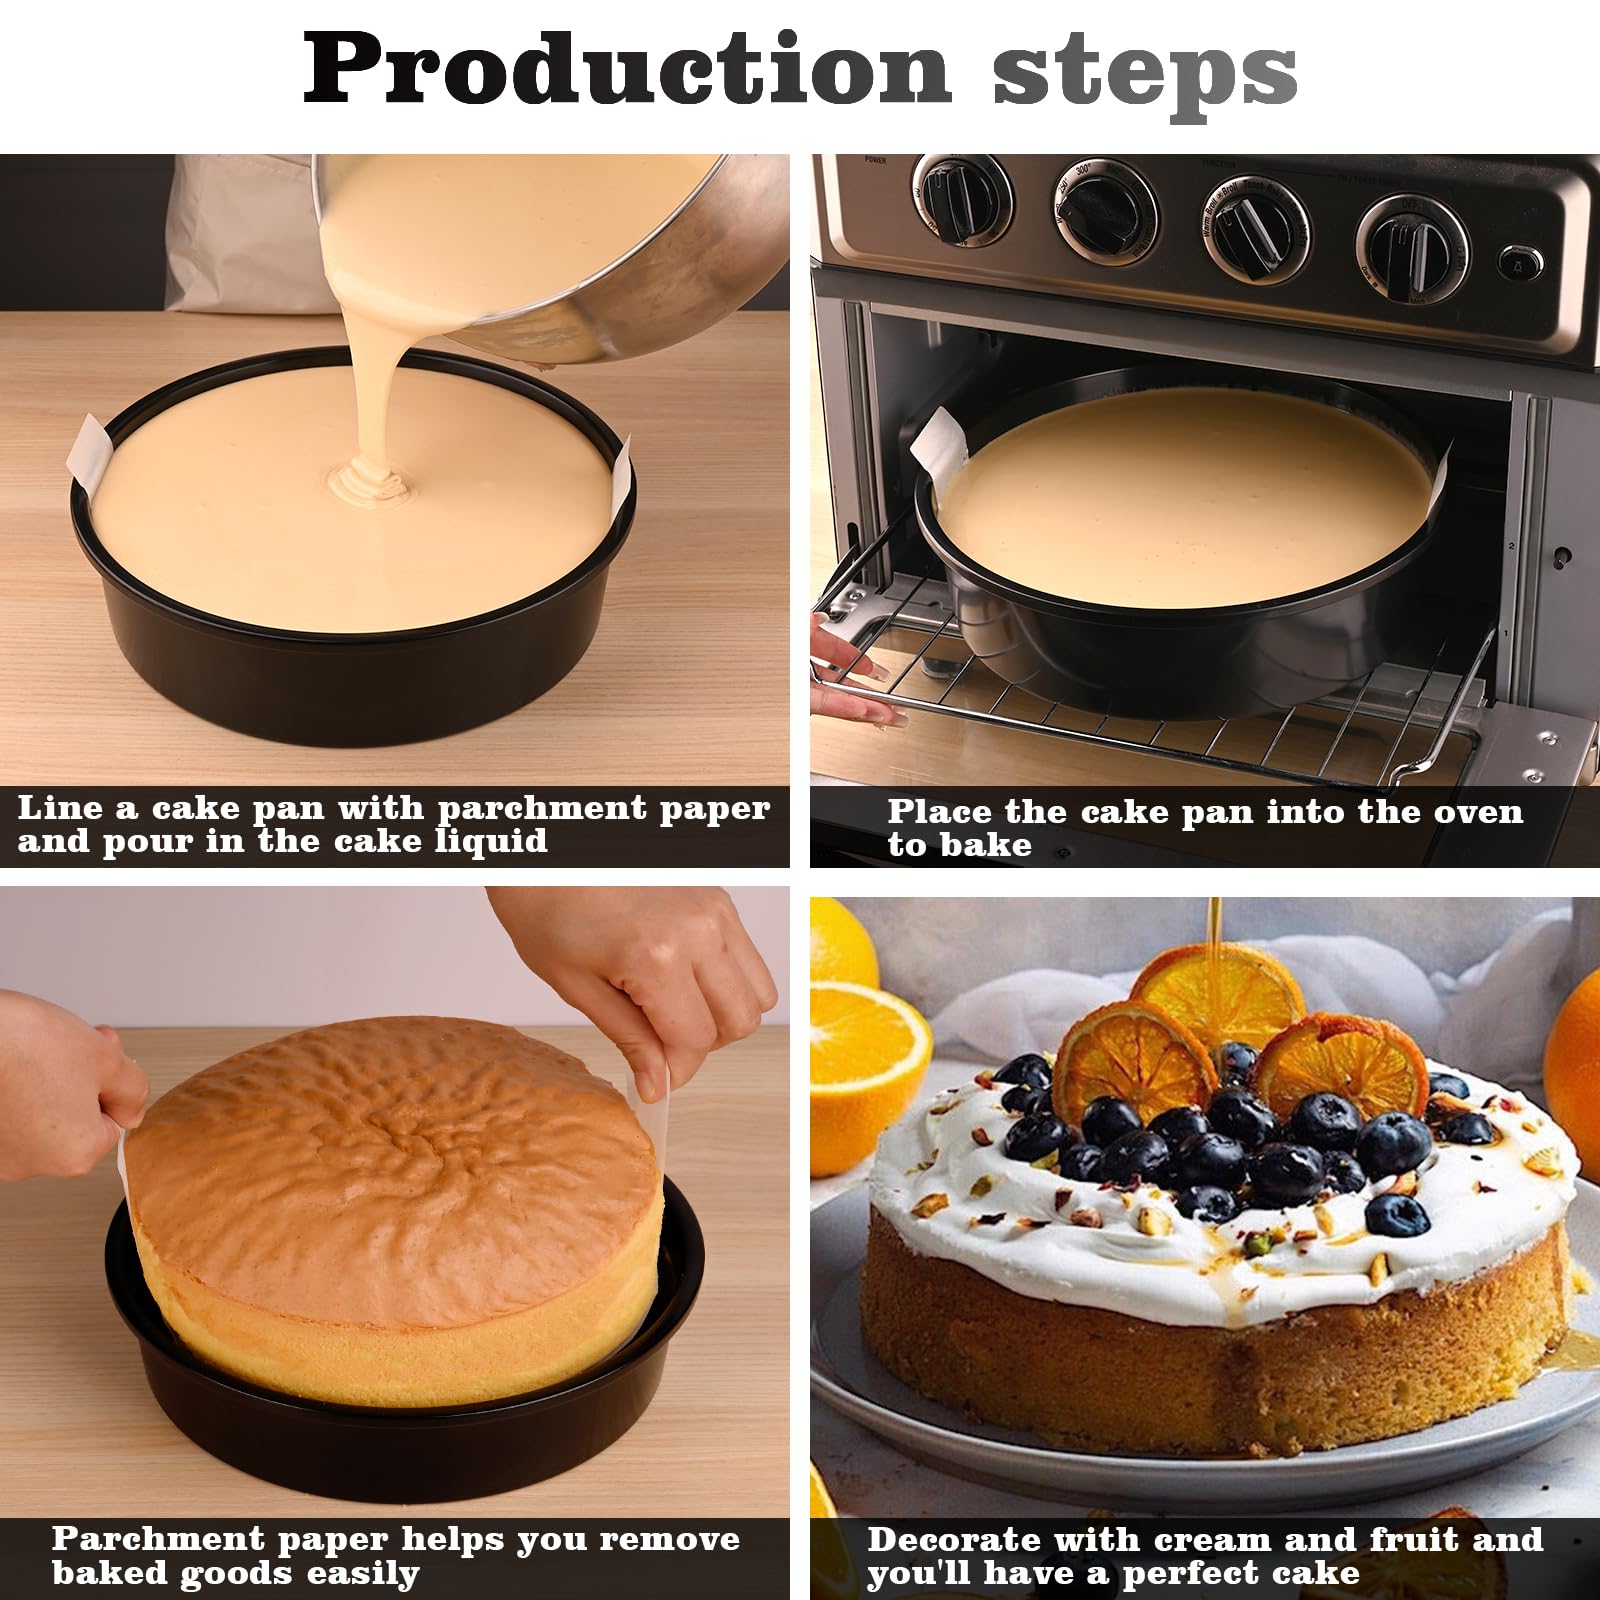
Now, here’s a tip I learned the hard way: grease and flour those pans like your life depends on it! I used shortening and then a generous coating of flour, tapping out the excess. I even lined the bottoms with parchment paper for extra insurance.
I divided the batter evenly between the two pans. I eyeballed it at first, but then I thought, “Nah, let’s be precise.” So, I grabbed my kitchen scale and made sure each pan had the same amount of batter. Maybe a little extra, but that’s okay.
Into the oven they went! The recipe said to bake for about 30-35 minutes, but I started checking them around 25 minutes. I used a toothpick to test for doneness – when it came out clean, I knew they were ready.
I let the cakes cool in the pans for about 10 minutes before inverting them onto a wire rack. And…success! They came out clean, no sticking, and they looked pretty darn even. I was so proud!
While the cakes were cooling completely, I whipped up a batch of buttercream frosting. I went with a basic vanilla flavor, but I added a touch of almond extract for something special. I wasn’t too sure at first but damn it tasted good!
Once the cakes were completely cool, I leveled them off with a serrated knife. You know, to get rid of those little domes that always form. Then, I spread a generous layer of frosting between the two layers and all over the outside.
I even got a little fancy and added some sprinkles. Because why not? It was my first cake using my new pans, so it deserved some extra flair. I used a cake scraper to smooth out the frosting, but I’m still working on getting that perfectly smooth finish.
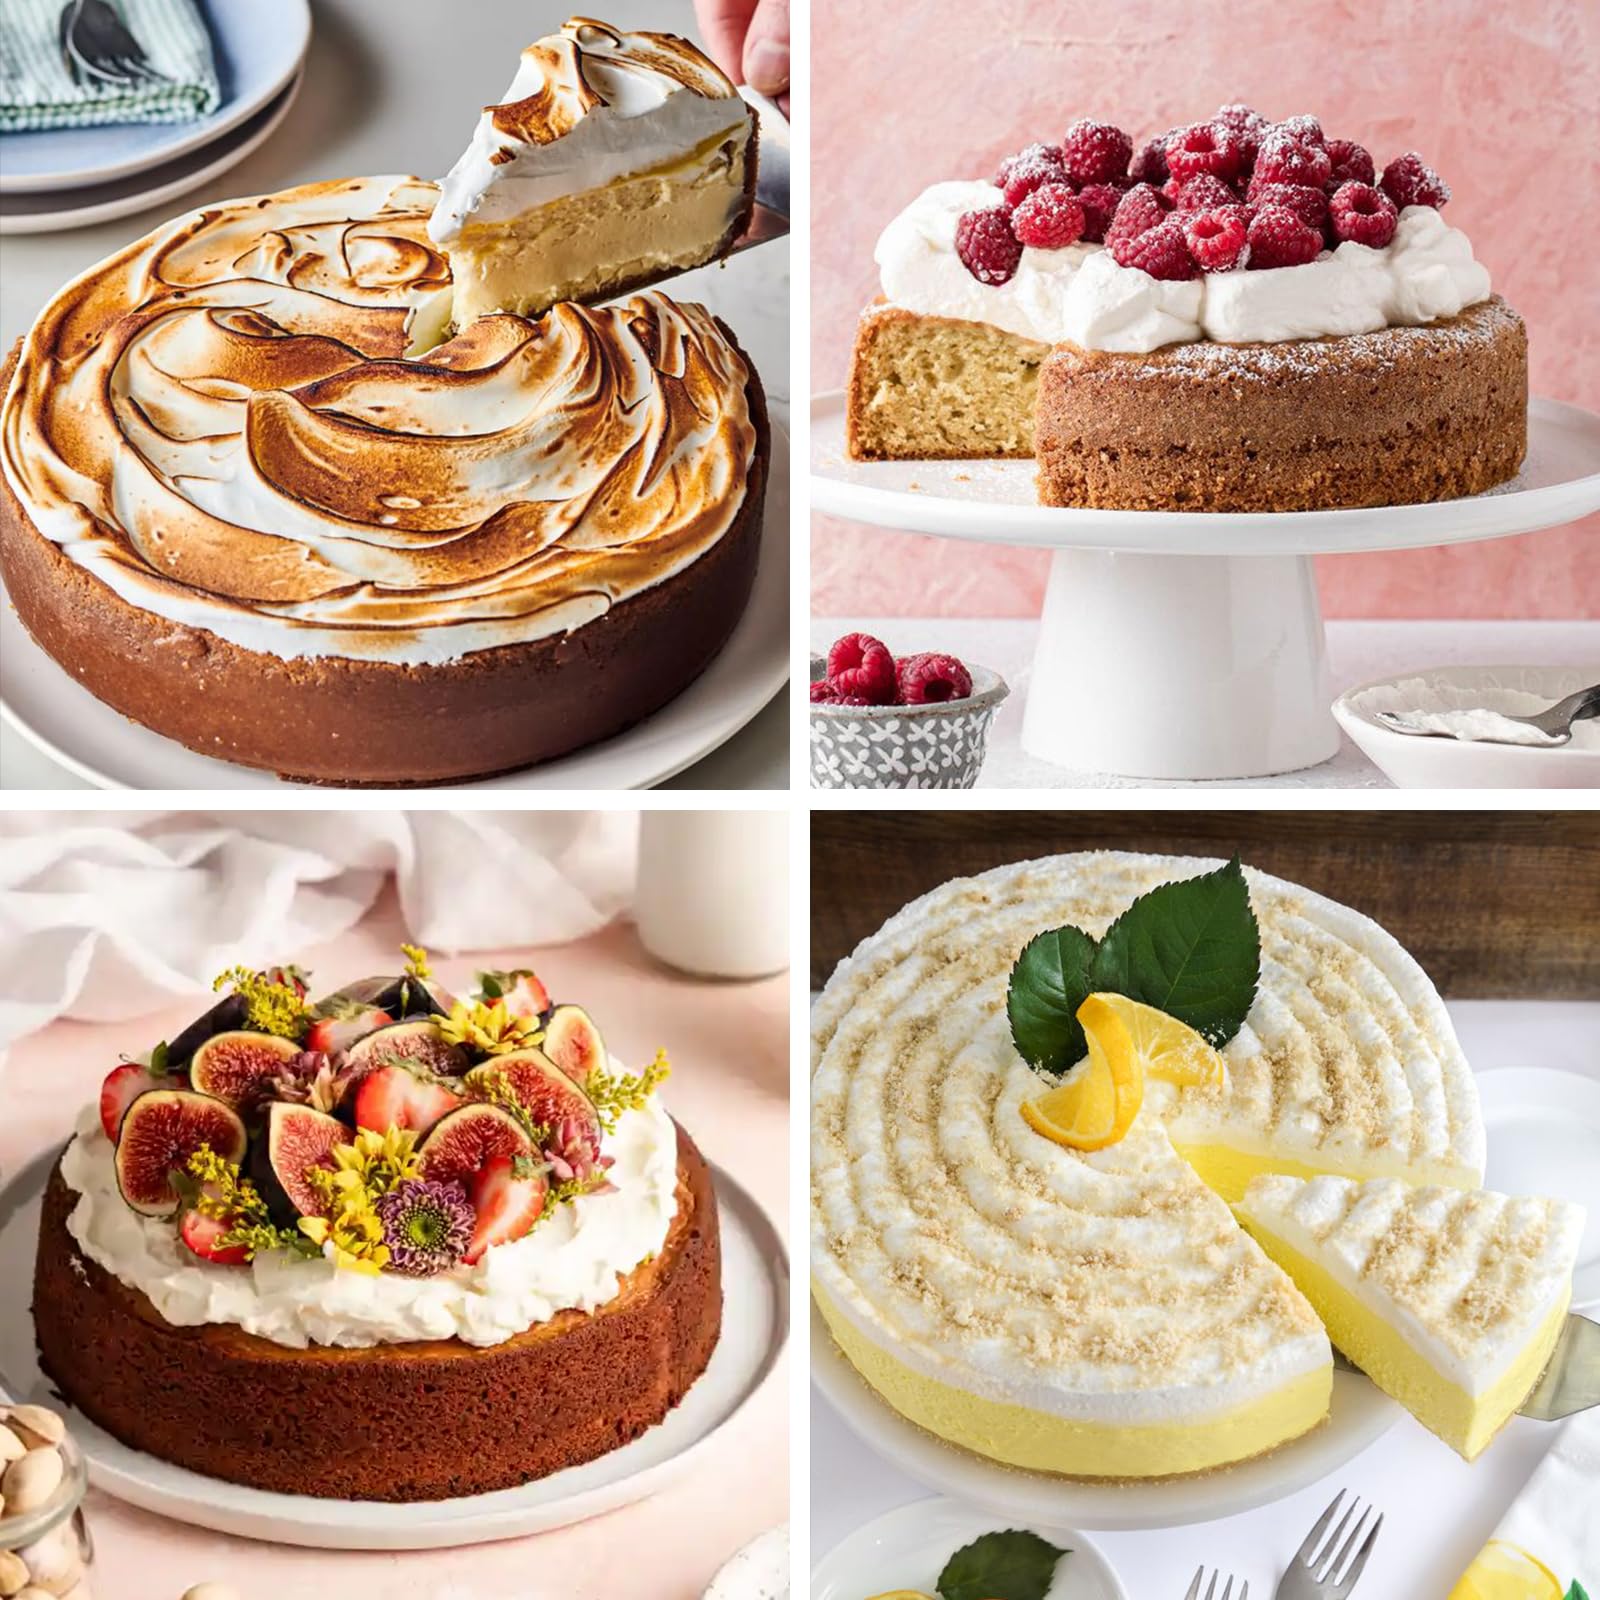
The final result? A beautiful, delicious vanilla cake that was actually even and tasted amazing. The 10-inch cake pans made a huge difference! Definitely worth the investment. Now I just need to find more excuses to bake cakes!
- Grease and flour those pans thoroughly! Seriously, don’t skip this step.
- Use a kitchen scale to divide the batter evenly. It makes a difference.
- Let the cakes cool completely before frosting. Trust me on this one.
I’m already planning my next baking project. Maybe a chocolate cake with raspberry filling? Or a carrot cake with cream cheese frosting? The possibilities are endless!


