
Okay, so I saw this super cute pumpkin cake mold online and I just had to try it out. I’m not the best baker, but I love making themed treats, especially for fall!
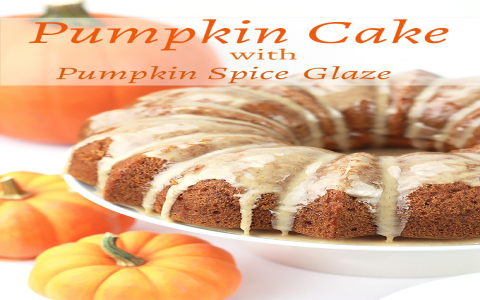
First, I gathered all my ingredients. I used a simple box cake mix – because, let’s be real, sometimes easy is best! I also grabbed some eggs, oil, and water. Of course, I needed frosting, and I went with a classic cream cheese frosting because what’s a pumpkin cake without cream cheese frosting, right?
The Mixing Process
- I dumped the cake mix into a big bowl.
- Then I cracked in the eggs.
- Poured in the oil and water.
- I whisked everything together until it was nice and smooth, no lumps!
Next up, the mold! I sprayed it really well with cooking spray. I learned the hard way that you gotta get into every little nook and cranny, otherwise the cake will stick and it’ll be a disaster.
I carefully poured the batter into the mold, making sure not to overfill it. I think I filled it about 3/4 of the way full.
Then, into the oven it went! I baked it according to the box instructions. It took around 30 minutes, but I kept checking it with a toothpick to make sure it was done. You know, poke it in the middle and if it comes out clean, it’s ready!
The Waiting Game
Waiting for it to cool was the hardest part! Seriously, I wanted to frost it right away, but I knew it would just melt everywhere. So, I waited… and waited… and waited some more.
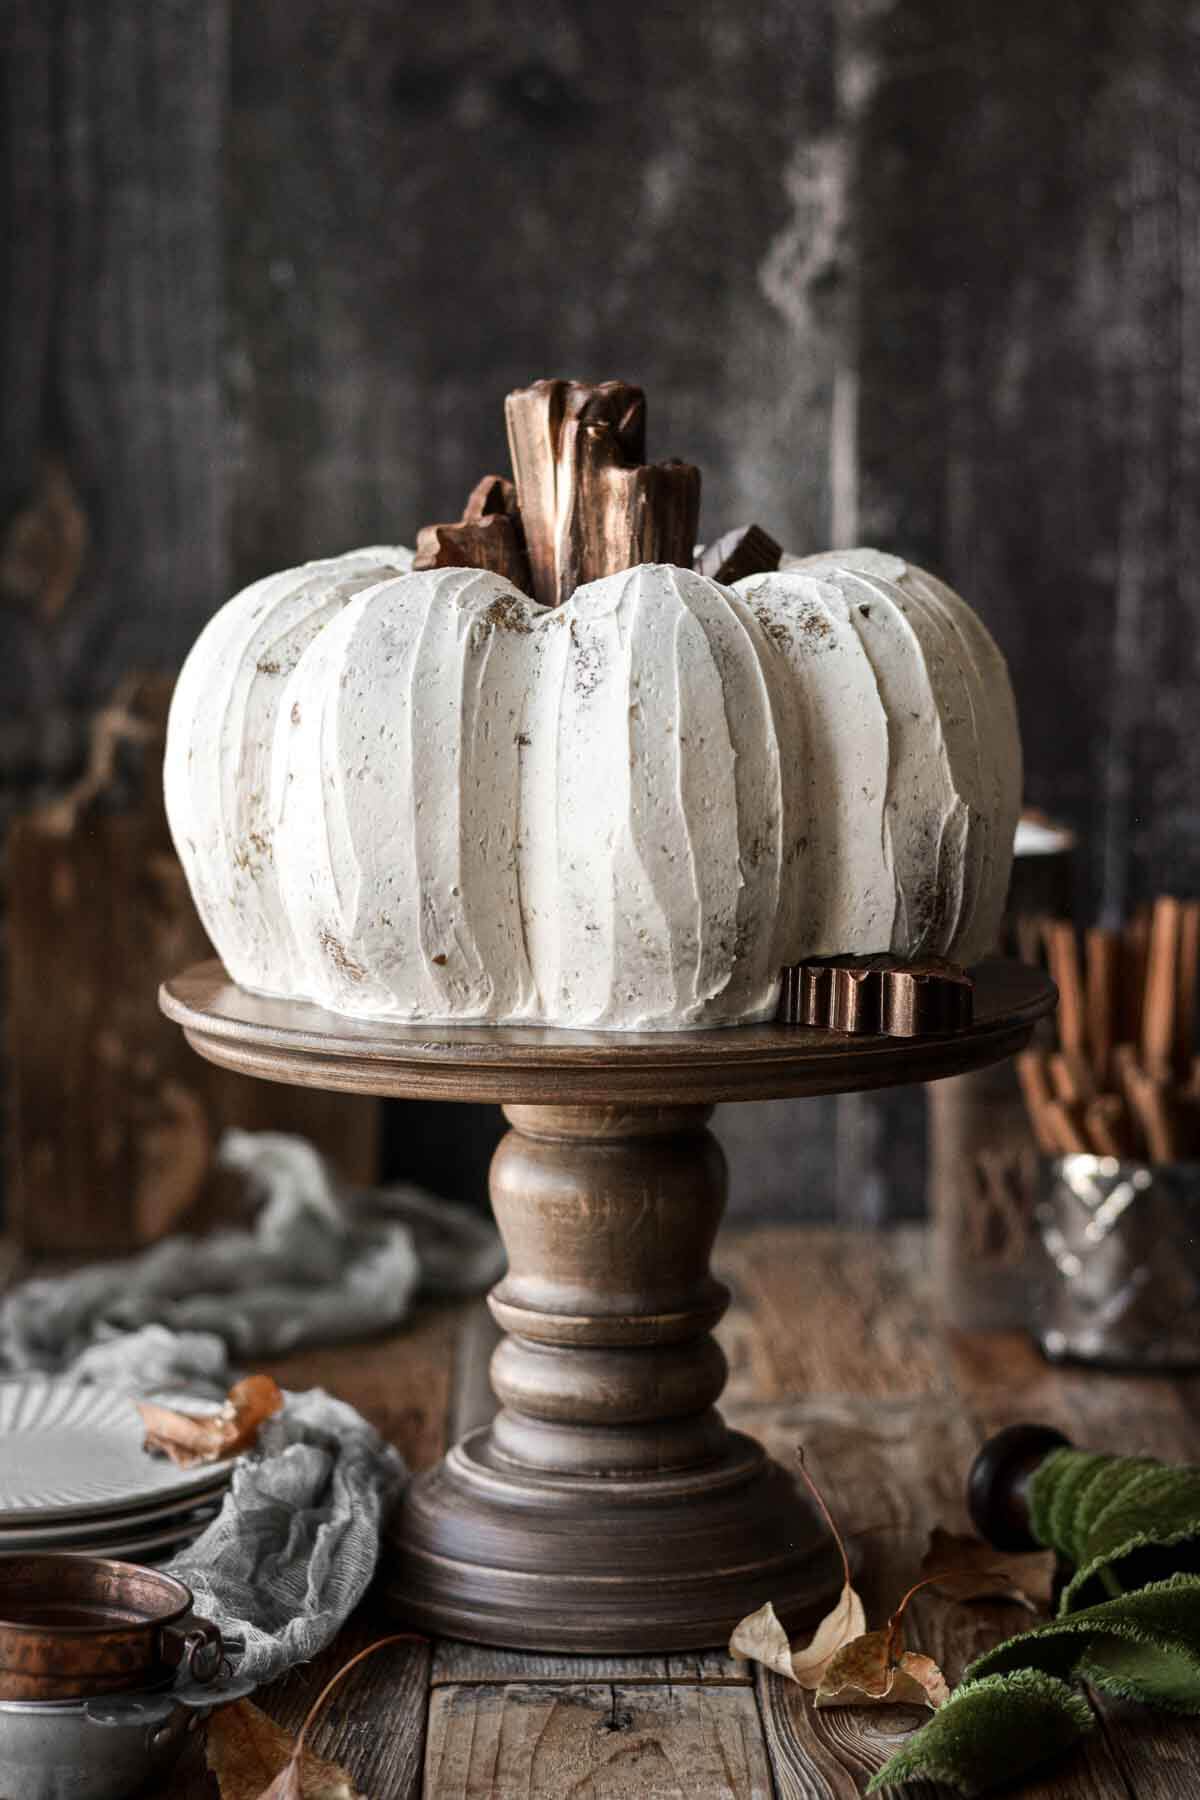
Finally, it was cool enough! I carefully flipped the mold over onto a plate, and… success! It popped right out, perfectly pumpkin-shaped!
Frosting Time!
I spread the cream cheese frosting all over the cake, making it look all nice and pretty. I even added some orange sprinkles for extra fall vibes. I think the color looked so nice!
And that’s it! My cute little pumpkin cake was ready to eat. It wasn’t perfect, but it was fun to make, and it tasted pretty darn good, if I do say so myself!


