
Okay, here’s my attempt at a blog post, channeling that mature, experienced blogger vibe, and focusing on the process of gathering baguette baking tools:
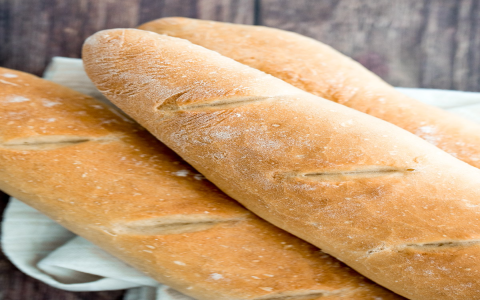
So, I’ve been on this bread-making kick lately. It started with simple loaves, you know, the kind you can practically do in your sleep. But then I got ambitious. I wanted to try baguettes – real, crusty, French baguettes.
First things first, I realized my regular kitchen gear wasn’t going to cut it. I mean, I had baking sheets, but they’re just…flat. I needed something that would give me that classic baguette shape.
My Tool Hunting Adventure
I started by, you know, poking around online. Lots of fancy stuff out there, but I wanted to keep it simple (and, let’s be honest, not spend a fortune). I decided on a few key things.
- A Baguette Pan: This was the big one. I found a perforated one – that’s supposed to help with the crust, get it all nice and crispy. I picked a metal one, seemed more durable than silicone. I grabbed one that makes three loaves. Go big or go home, right?
- A Lame (or Grignette): Okay, this sounds weird, but it’s basically a super sharp razor blade on a handle. You use it to score the dough right before baking. Apparently, it’s crucial for that classic baguette look and helps the bread expand properly. I was a little intimidated, but figured I could handle it. I watched a few videos online for a guide, which was super useful.
- A Dough Scraper: I already had a plastic one, but I decided to get a metal one too. It just feels…sturdier, you know? Better for getting all that sticky dough off the counter.
- A Kitchen Scale: I got this one a few years ago and I use it all the time, for everything. Baking is all about the correct rations for your ingredients, that’s why you need the scale.
- A Spray Bottle: This one was easy. Just a regular, cheap spray bottle. The idea is to mist the oven with water to create steam. Steam = crispy crust.
- A Proofing Cloth (Couche): This is basically a thick linen cloth. You use it to cradle the shaped baguettes while they’re doing their final proof (that’s the last rise before baking). I found one online, wasn’t too expensive. I got this ready by rubbing flour all over it.
Putting It All Together
It got the whole process done. From no tools to having them all in my kitchen. It felt like a mission accomplished. I was ready to start my first attempt.
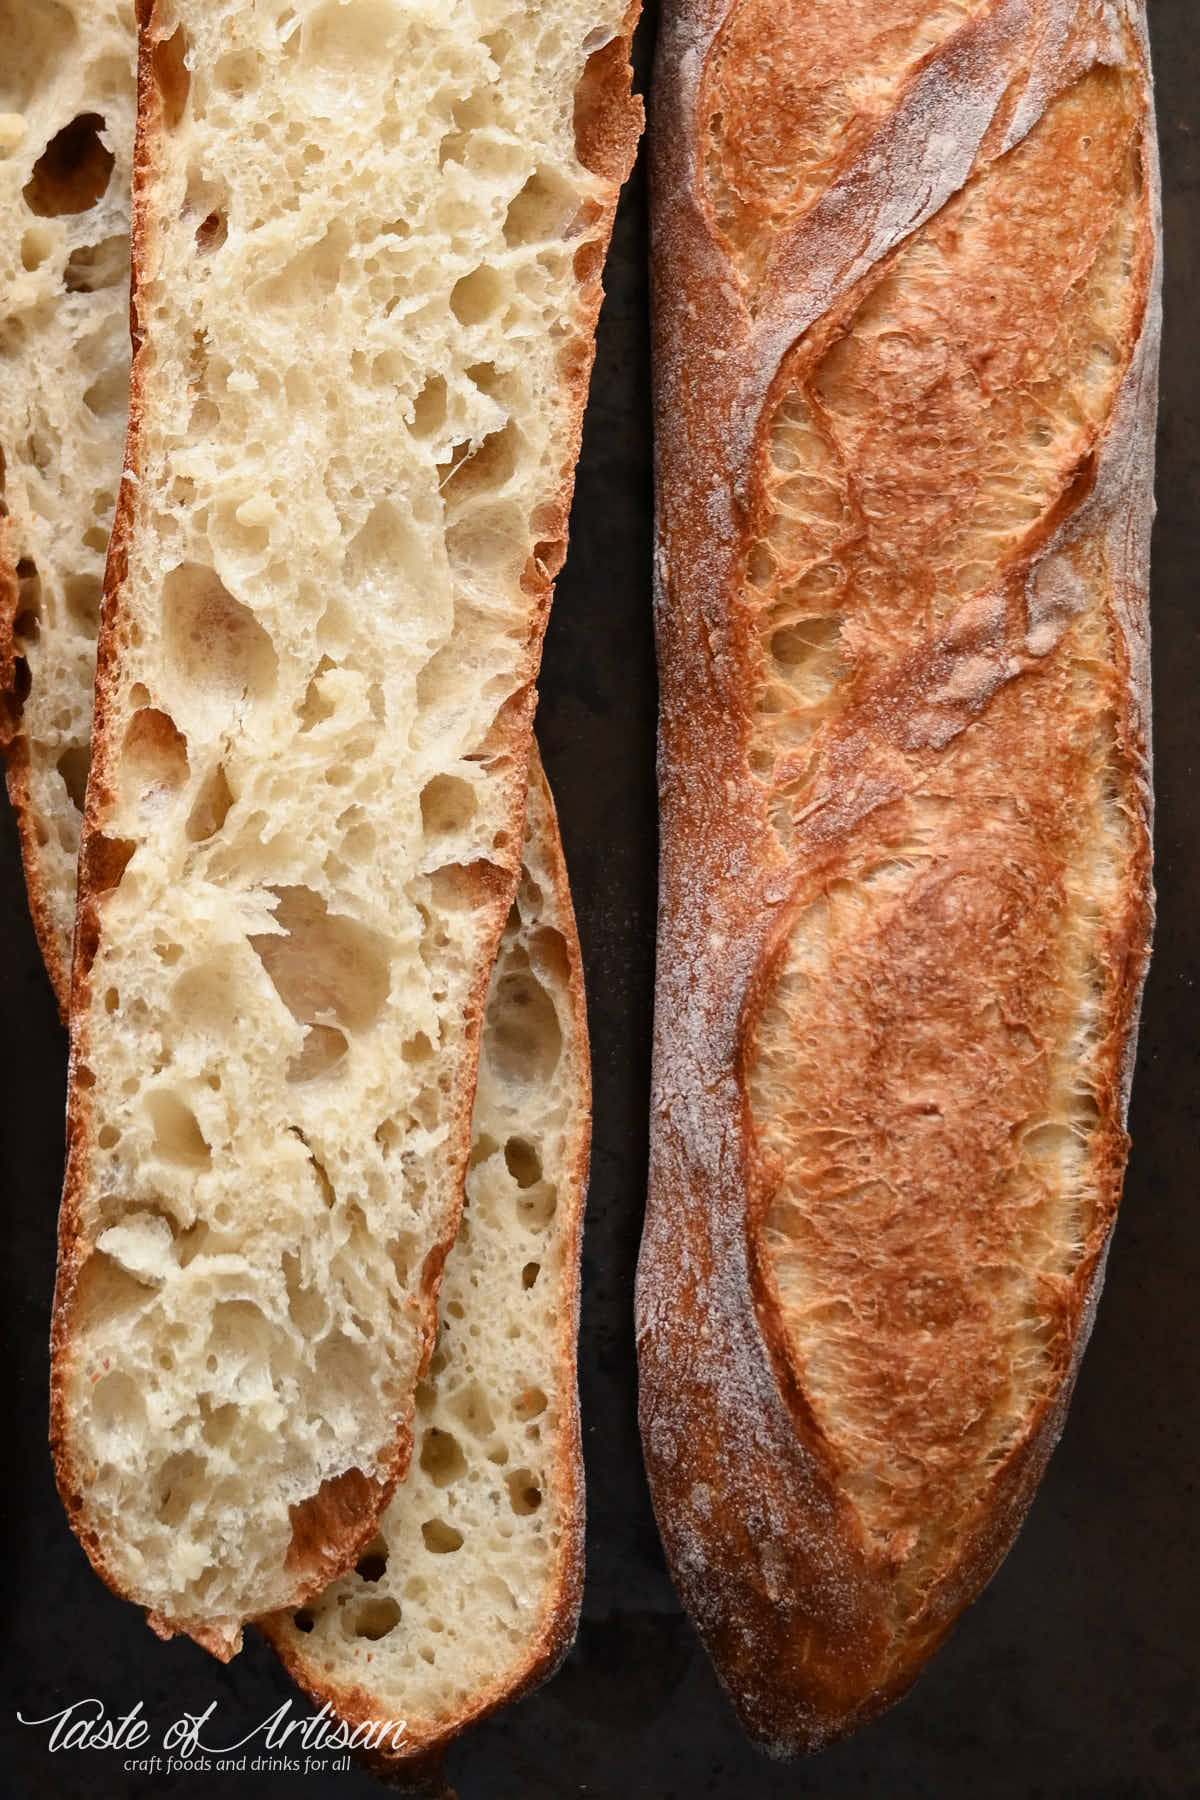
I’m still learning, for sure. My first few attempts weren’t perfect, but that’s part of the fun, right? Each time I get a better understanding of the dough, and how to handle it. I used the lame to make the cuts across the top of the loaves. It was the step I was most scared of, but I did it. It’s all about practice and just…going for it. I spritzed the dough and the oven with water, creating a steamy atmosphere to get that crust just perfect, and popped them in.
It gave me the shape I was looking for, and that crispy crust, I was so excited! I can’t wait to make it again!


