

Alright, let’s talk about these panettone baking molds. I recently got really into trying to make a decent panettone at home. It’s one of those baking mountains I decided I needed to climb.
My First Goofs
So, first attempts? Kind of messy. I didn’t have the proper molds. I tried using some tall pots I had, lining them with parchment paper. What a hassle! Getting the paper just right, making sure it was tall enough… ugh. The bake was uneven, and the shape was just… sad. Not that classic tall, domed look at all. More like a weird, slumped cake.
I even thought about getting adjustable metal cake rings, but that seemed like overkill and still needed careful lining. Plus, I read about how panettone needs to hang upside down right after baking, and figuring that out with a heavy metal tin sounded like asking for trouble, or at least a dropped loaf.
Finding the Paper Ones
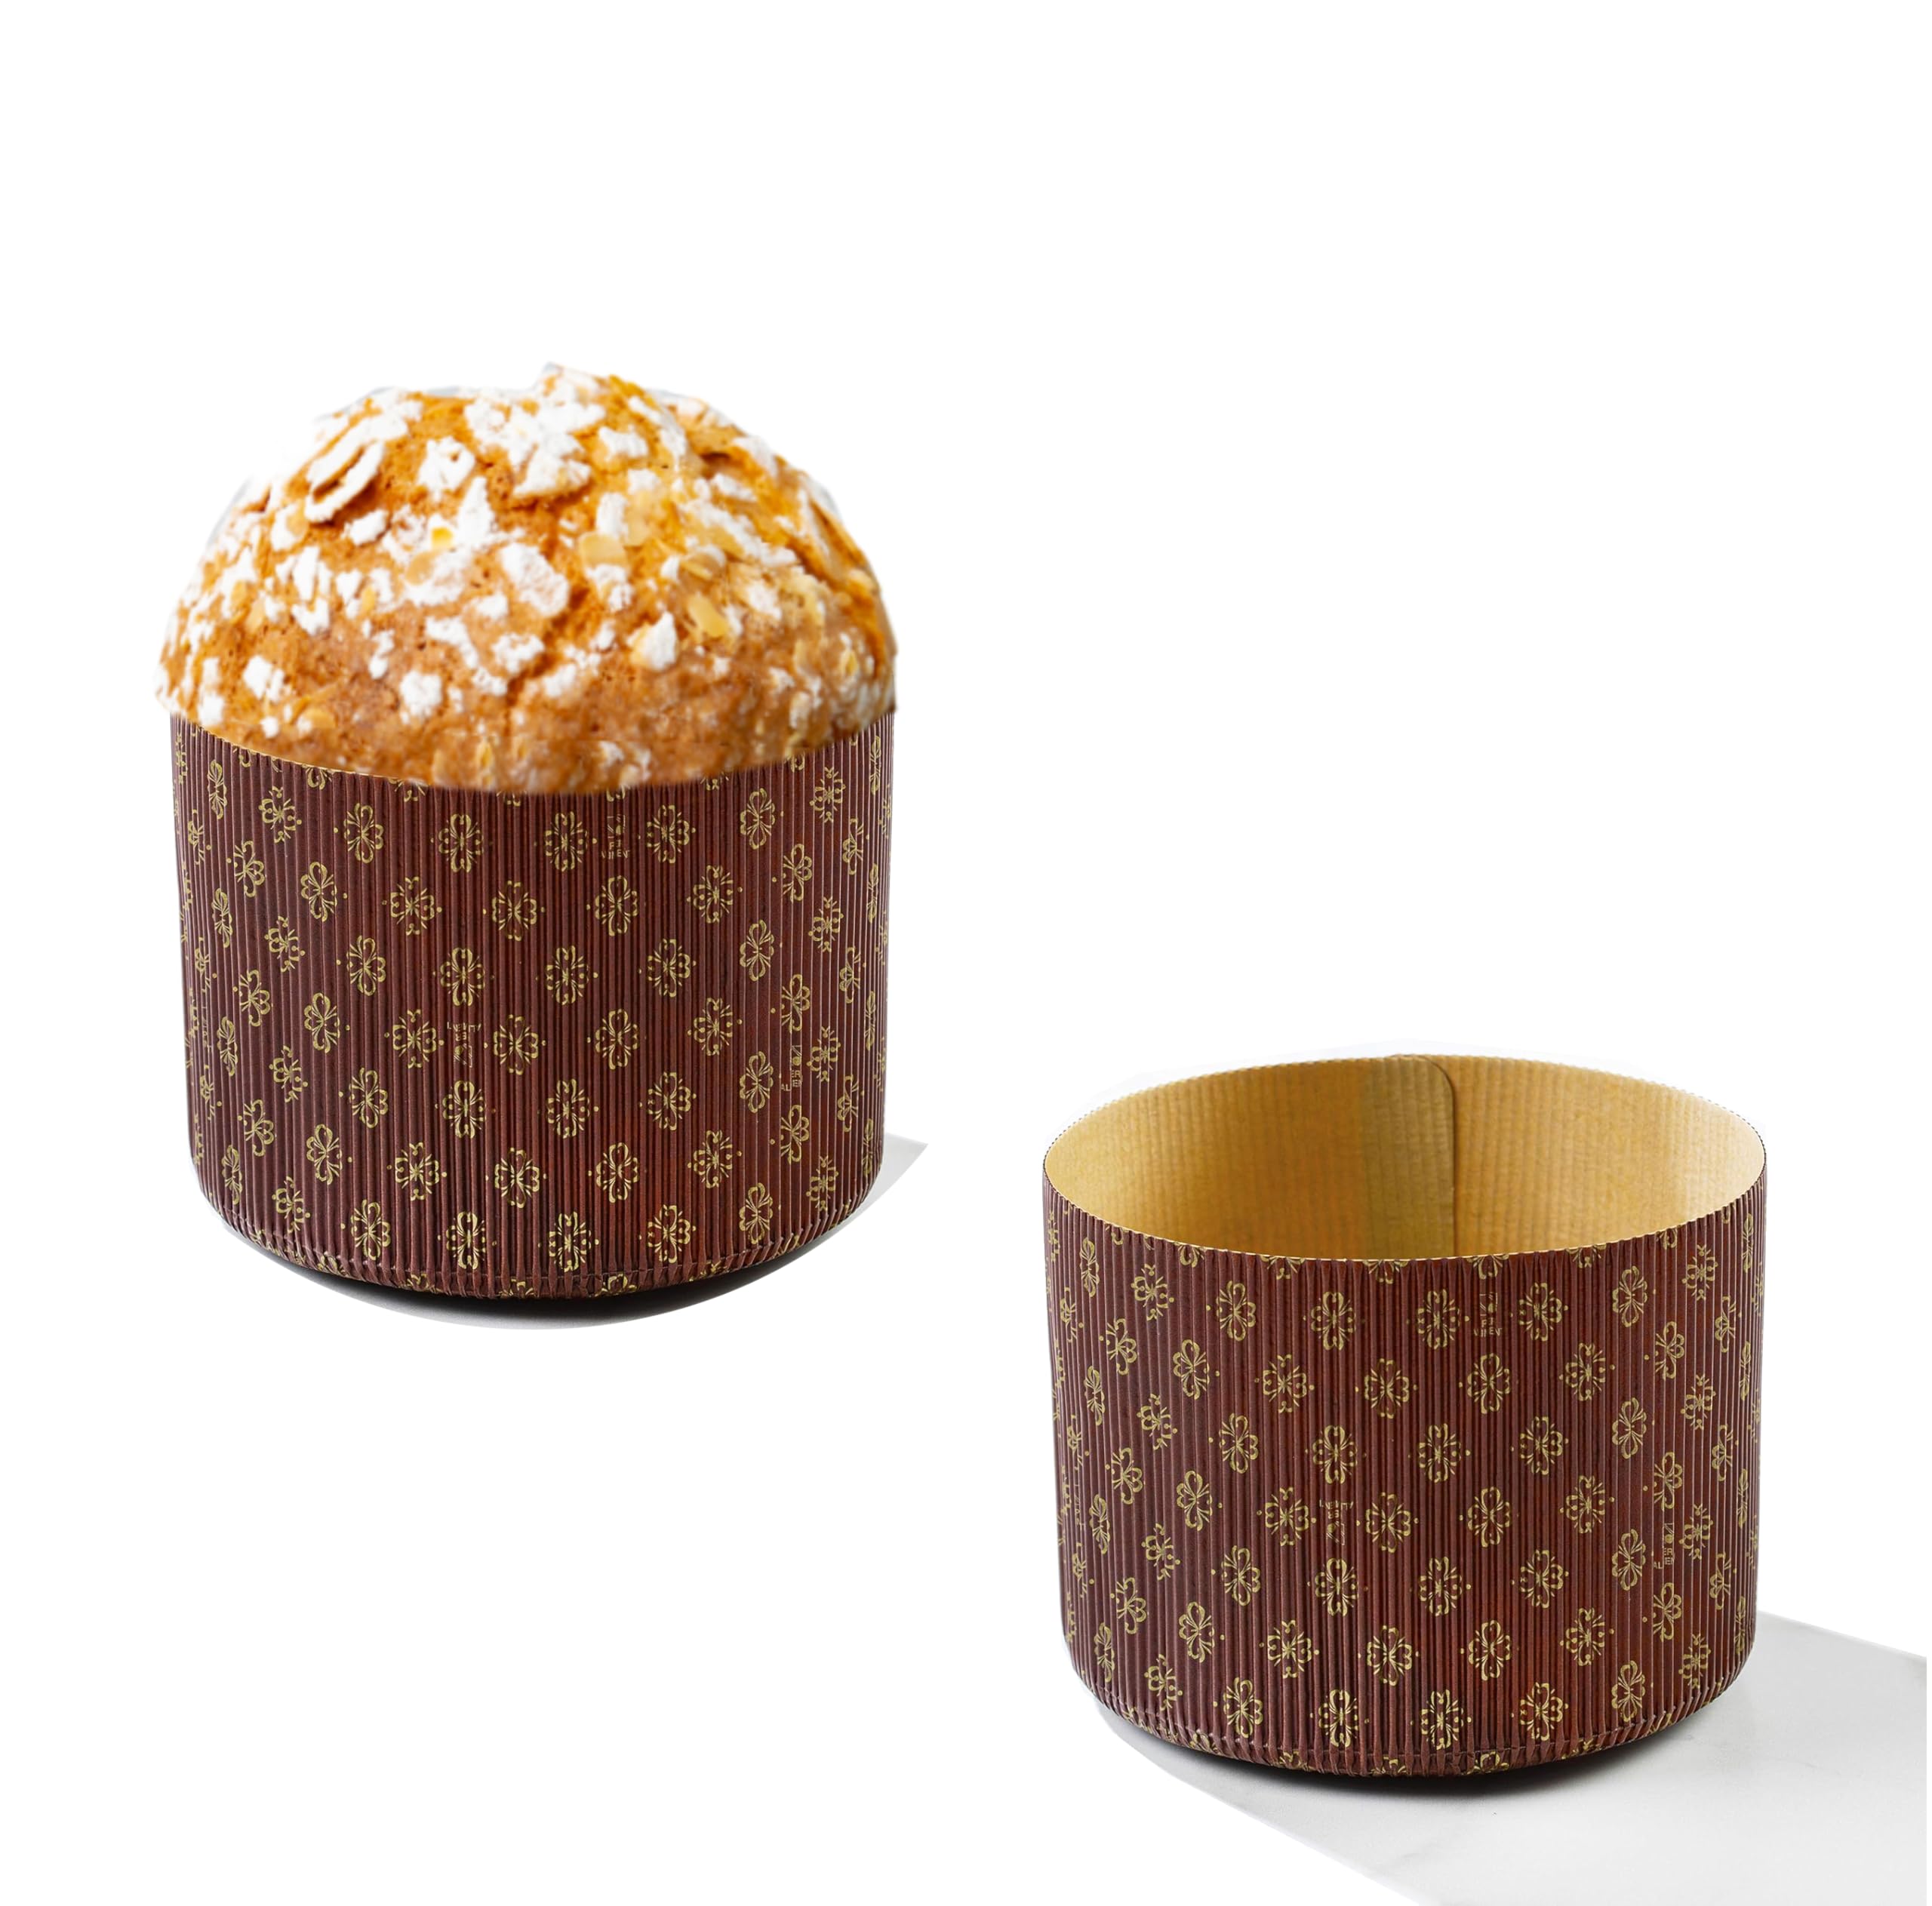
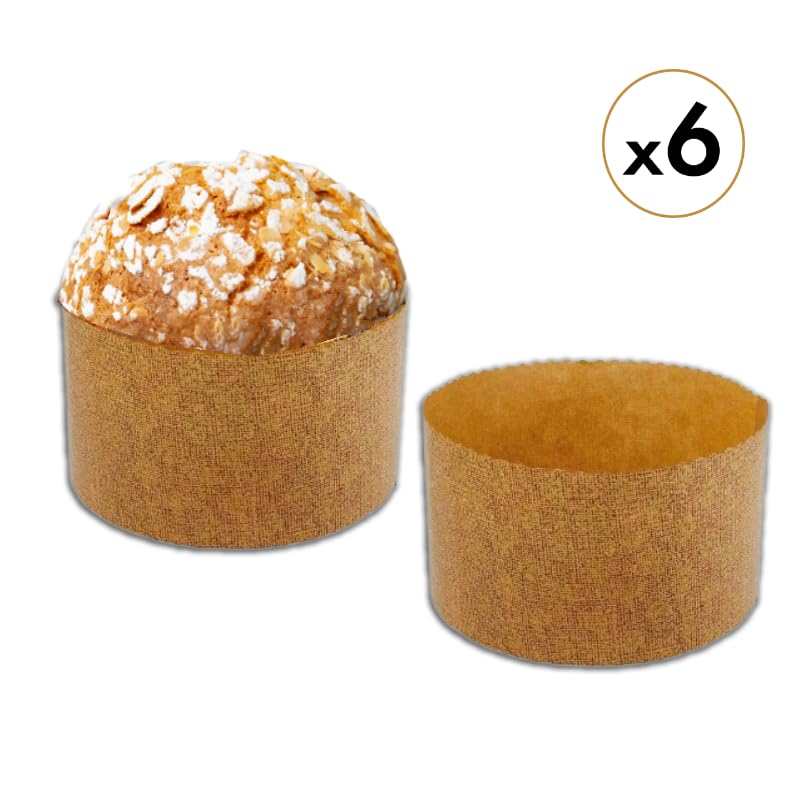
Then I saw them – the proper paper panettone molds. You know, the brown ones with the slightly wavy tops. I ordered a pack online, not really sure what to expect. They felt a bit thin when they arrived, honestly. I thought, “Is this really going to hold up all that dough?” They just looked like fancy paper cups.
Giving Them a Whirl
Making the dough is a whole saga in itself, took ages, but once it was ready for the final proof, I just plopped it straight into one of those paper molds. No greasing, no flouring, nothing. That was already a win in my book.
- I placed the dough inside.
- Let it do its final rise right there in the paper case.
- It rose beautifully, tall and straight, the paper walls supporting it perfectly.
Then came baking. I put it straight onto the oven rack. The paper browned nicely along with the bread, didn’t burn or anything weird. It just… worked. The heat seemed to get through just fine. The crust came out evenly colored.
The Upside-Down Trick
Now, the crucial part. As soon as it came out of the oven, I grabbed my long metal skewers. I remembered reading you have to pierce the bottom of the mold, near the base, and hang it upside down immediately to stop it from collapsing. The paper was sturdy enough to hold the skewers! I pushed two skewers right through the paper and the bottom of the loaf, parallel to each other. Then I quickly suspended the whole thing between two chairs. It felt like some kind of crazy baking trapeze act! But it worked. The panettone hung there, cooling, and kept its amazing height.
Final Thoughts
Honestly, these paper molds are the way to go. Yeah, they’re single-use, which isn’t my favorite thing usually, but for panettone? They make the process so much simpler.
- No lining or greasing.
- Perfect shape support during proofing and baking.
- Makes the upside-down cooling thing totally manageable.
- Plus, they look pretty traditional when you serve or gift the panettone right in its baking paper.
I was skeptical at first, thought they seemed flimsy. But they held up great, from the long proofing time right through the heat of the oven and the weirdness of hanging it upside down. Definitely sticking with these paper molds for my future panettone adventures. Made a huge difference compared to my early struggles.


