
Okay, here’s my attempt at writing a blog post about making a flourless Passover chocolate cake, following your instructions:
So, I decided to tackle a flourless chocolate cake for Passover. I’ve seen these recipes floating around, and honestly, they always seemed a little…intimidating. But hey, I was feeling adventurous!
First, I gathered all my ingredients. The list was surprisingly short – which, let’s be real, is always a win. We’re talking:
- Good quality chocolate (I used semi-sweet)
- Lots of eggs
- Sugar
- Butter
- A pinch of salt
- Coco power
The Melting Begins
I started by melting the chocolate and butter together. I went with the double boiler method because I’m always paranoid about burning chocolate. Just put a heat-safe bowl over a pot of simmering water, tossed in the chocolate and butter, and stirred until it was all smooth and glossy. Took it off the heat and let that cool down a bit.
Egg-cellent Adventures
Next up: eggs. I separated the yolks from the whites. This part always feels a little like a science experiment. The whites went into a big, clean bowl, and I whipped them with an electric mixer until they formed stiff peaks. I felt so pround when reach this step.
Then, in another bowl, I whisked the egg yolks with the sugar until they got all pale and fluffy. It took a bit of arm work, but we got there! Once the chocolate mixture was cool enough, I poured it into the yolk mixture and gently folded them together.
Fold, Don’t Stir!
This is where the magic happens. I gradually added the whipped egg whites to the chocolate mixture. The key here is to fold everything together super gently. You don’t want to deflate all that air you worked so hard to get into the whites.
Once it was all combined – no streaks of egg white remaining – I poured the batter into a springform pan that I’d greased and lined with parchment paper. I put some coco power at the bottom.
Bake and Wait
Into the oven it went! I baked it at a relatively low temperature (around 325F) for what felt like forever. The waiting is always the hardest part. I kept poking it with a toothpick to check if it was done. You want it to come out with a few moist crumbs, not completely clean.
The Big Reveal
Finally, I took it out of the oven and let it cool completely in the pan. This is important, apparently, because it helps the cake set. Then, I carefully ran a knife around the edge and released the sides of the springform pan.
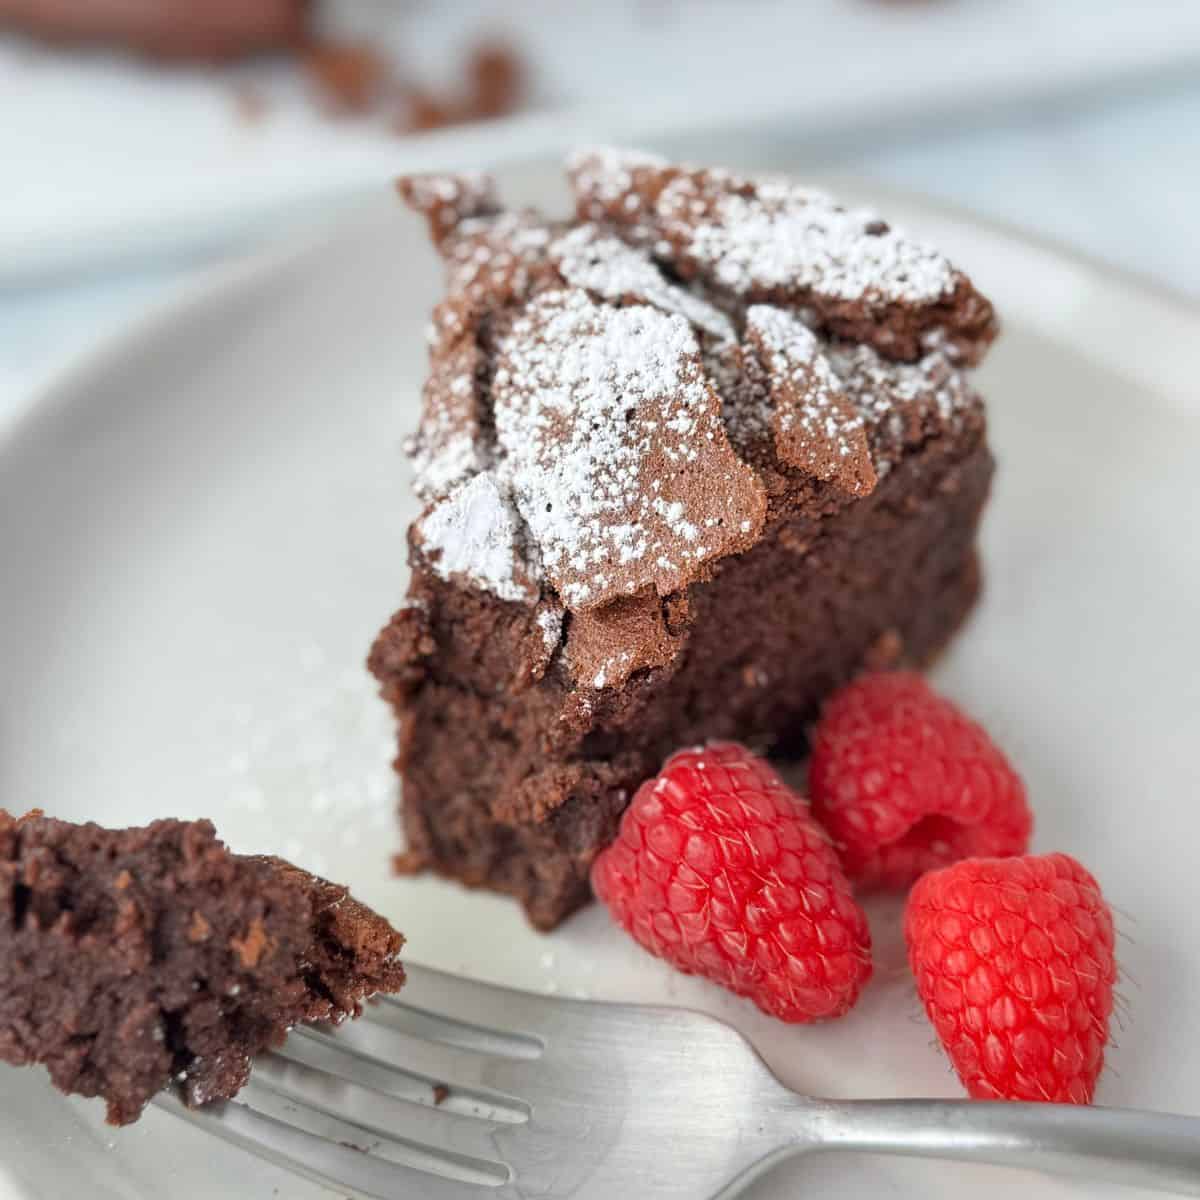
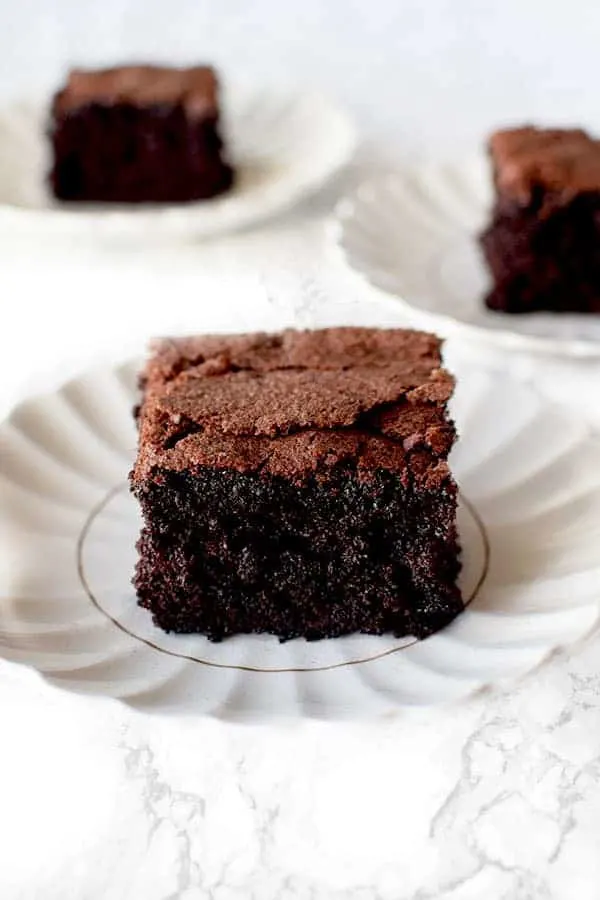
The result? A rich, dense, intensely chocolatey cake. It was definitely a bit fudgy in the center, which is exactly what I was going for. I dusted the top with a little cocoa powder because, why not? And that’s it!
Honestly, it was way easier than I expected. If I, the queen of occasionally-burnt cookies, can do it, you definitely can!


