
Well now, if you’re lookin’ to make them little cake pops, you sure came to the right place! They’s all the rage now, especially at parties and weddings. You see, those tiny cakes on sticks is just so cute, and they’re real easy to eat too, no messin’ around with forks and plates. If you want ’em to turn out just right, best thing you can do is use a cake pop baking mold. Let me tell ya why.
First off, let’s talk about that batter. You can’t be makin’ cake pops without the cake batter, can ya? You make it just like you would for any ol’ cake. Eggs, sugar, flour, a bit of butter, and all the good stuff you need for a nice sweet treat. Then you go ahead and mix it up, real good-like. You don’t wanna leave no lumps in there. You gotta make sure the batter’s smooth, or it just won’t work in the mold properly.
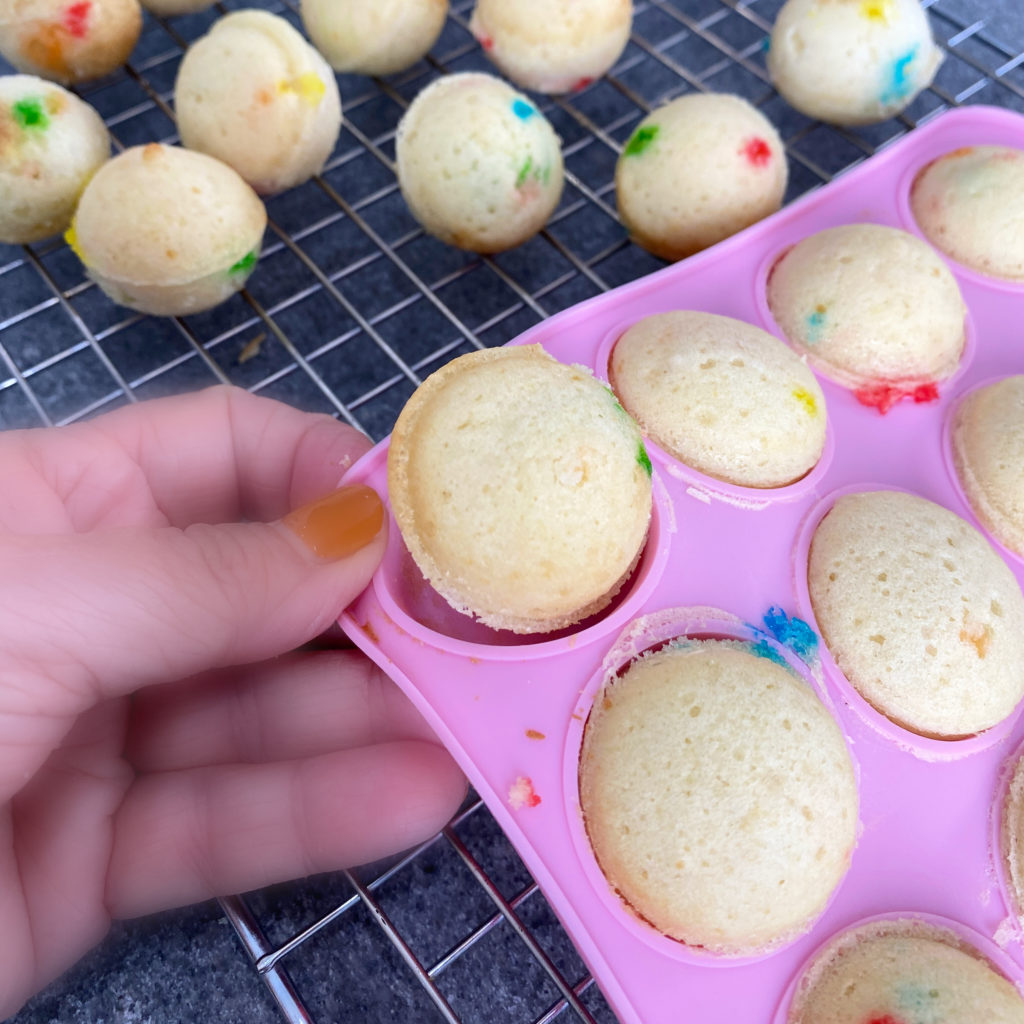
Now, about the mold. A cake pop mold is a real handy thing to have. It’s usually made of silicone, so you don’t have to worry about things stickin’ to it. The beauty of it is you get all them cake pops the same size! Now, if you just try to roll ‘em by hand, they might come out all lumpy or different sizes, and that just don’t look right for a party. With a mold, you get consistency, and that’s what you want.
- First step is you gotta grease that mold, just a little bit, so the cakes don’t stick.
- Then you fill the mold up with your cake batter, don’t overfill it though.
- Pop that thing in the oven, and let it bake till they’re nice and firm.
- After that, you let ‘em cool, and you’re halfway there!
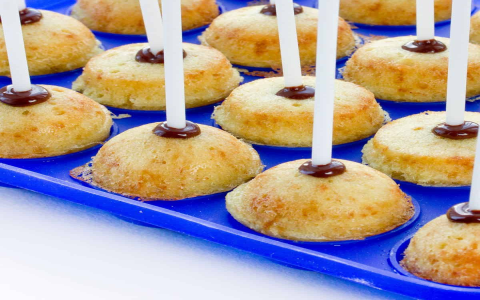
Once they’re all cool, you can start putting the sticks in. Some folks use candy melts, while others use frosting. Either way, you dip the end of your stick in that stuff before stickin’ it into the cake pop. This helps keep the stick in place and makes it easier to dip the whole thing in your coating later on.
Now, you don’t just have to stick with plain ol’ chocolate or vanilla for your cake pops. Oh no, you can get fancy and add flavorings, like strawberry or even coffee if you like! You can even color your cake batter if you’re feelin’ creative. The sky’s the limit with cake pops.
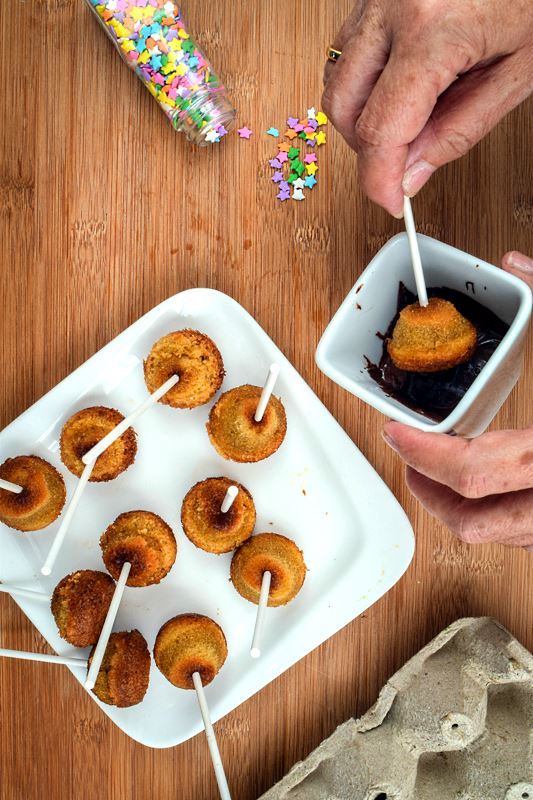
When it comes to decorating, well, let me tell ya, that’s the fun part! After you dip the pops in your chocolate or candy coating, you can roll ‘em in sprinkles, nuts, or even crushed up candies. You can make ‘em look real pretty for a wedding or fun for a kid’s birthday party. It’s all about what you want, darlin’.
Some tips for success:
- Don’t rush the cooling process. Let them cake pops cool fully before you dip ‘em in the coating.
- Make sure the coating is melted smooth. You don’t want it too thick or too runny.
- If you’re using a mold, don’t pack the batter in too tight. Let it rise naturally in the oven.
And there you have it! Cake pops made easy with a mold. It’s a simple thing, but it sure does make all the difference. They look cute, they taste great, and they’re perfect for any occasion. So go ahead, give it a try! Your family and friends will love ‘em, and you’ll be the talk of the town!
Tags:[Cake Pop, Baking Mold, Cake Pops, Party Treats, Silicone Mold, Baking Tips, Cake Pop Decorating]


