
Okay, so I got these dome silicone baking molds the other day, and I was super excited to try them out. I’ve seen all these fancy desserts online, and I thought, “Hey, I can do that!” Spoiler alert: It wasn’t as easy as it looked.
First things first, I grabbed a recipe for chocolate mousse. It seemed simple enough. Melt the chocolate, whip the cream, fold everything together. What could go wrong, right?

I started by melting the chocolate in a double boiler. This is where the first hiccup happened. I got impatient and the chocolate seized up a bit. Oops. Luckily, I managed to rescue it by adding a tiny bit of hot water and stirring like crazy. Lesson learned: patience is key!
Next, I whipped the cream. This part was actually pretty straightforward. I got it to nice, stiff peaks, just like the recipe said. Feeling confident now!
Then came the folding. I gently folded the melted chocolate into the whipped cream. It looked all light and airy and delicious. So far, so good.
Now, the moment of truth: filling the dome molds. I carefully spooned the mousse into each mold, making sure to get it all the way to the edges. I tapped them gently on the counter to release any air bubbles. This part was a little messy, but nothing too bad.
I popped the molds into the freezer for a few hours to let the mousse set. This is where I messed up again. I didn’t cover them properly, and the mousse ended up with a slightly icy top layer. Not ideal, but I figured I could hide it with some decoration later.
After a few hours, I took the molds out of the freezer and tried to unmold the mousse domes. This was trickier than I expected. They were stuck! I tried gently pushing from the bottom, but no luck. I ended up running the molds under warm water for a few seconds, and that did the trick. They popped right out.
Okay, so the domes weren’t perfect. They were a little uneven, and some of them had that icy layer on top. But hey, they were still recognizable as domes! Time for decoration.
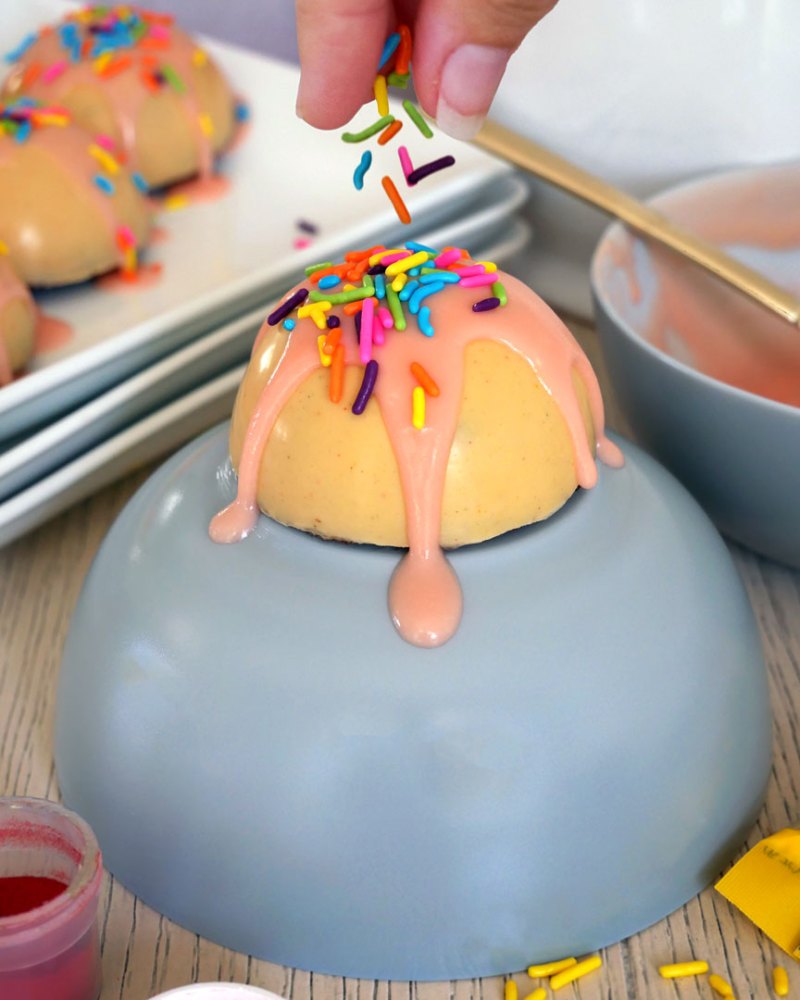
I melted some more chocolate (this time, I was much more patient) and drizzled it over the domes. I also added some sprinkles and a few raspberries for a pop of color. They actually looked pretty good!
The Verdict:
- The mousse tasted amazing! Despite the few hiccups, the flavor was spot-on.
- The dome shape was cool, but definitely requires some practice.
- Freezing them properly is crucial to avoid that icy layer.
Overall, it was a fun experiment. I definitely learned a few things along the way. I’ll be trying this again, for sure. Maybe next time I’ll try a different filling, like a berry mousse or a lemon cream. The possibilities are endless!
Tips for Using Dome Silicone Baking Molds:
- Be patient when melting chocolate!
- Make sure to cover the molds properly when freezing.
- Run the molds under warm water briefly to help with unmolding.
- Don’t be afraid to experiment with different fillings and decorations.
That’s it for my dome baking adventure! I hope you enjoyed it. Let me know if you have any questions or tips of your own in the comments below.


