
Getting Started with the Parve Chocolate Cake
Okay, so today I finally got around to making that parve chocolate cake I was thinking about. It’s a pretty straightforward process, really. First thing I always do is get the oven preheating. Cranked it up to 350 degrees F, that’s about 175 C. While that was warming up, I grabbed my trusty cake pans. Used two 8-inch round ones for this.
Needed to prep the pans so the cake doesn’t stick. Found my tub of parve margarine – the solid kind works best for greasing, I think. Slathered a good layer inside both pans, bottom and sides. Then I tossed in a spoonful of flour into each and shook it around until the grease was covered. Tapped out the extra flour over the sink. Some folks use cocoa powder instead of flour for chocolate cakes, which sounds neat, maybe I’ll try that next time.
Mixing it Up
Time for the batter. I grabbed my biggest mixing bowl for the dry ingredients. Here’s roughly what went in:
- Flour, just regular all-purpose
- Sugar
- Unsweetened cocoa powder
- Baking soda
- Baking powder
- A pinch of salt, always need salt
I just whisked all that together right in the bowl. Helps break up any clumps, especially the cocoa powder, and gets everything evenly spread out.
Then, in a separate, smaller bowl, I mixed the wet stuff. This is where the ‘parve’ part really comes in. Instead of butter, I used vegetable oil. Poured that in. Added water – you could probably use non-dairy milk like almond or soy too, or even coffee for a deeper flavor, but water is simple. Splashed in some vanilla extract. Cracked in a couple of eggs. Gave this wet mixture a good stir until it looked combined.
Now, pour the wet ingredients into the big bowl with the dry ingredients. Used my spatula to gently mix it all together. The key here is not to overmix. Just mix until you don’t see big streaks of flour anymore. A few lumps are okay. If you beat it too much, the cake gets tough. Scraped the sides and bottom of the bowl to make sure everything was incorporated.
Baking and Cooling
Alright, batter’s ready. I tried my best to divide it evenly between the two prepared pans. Eyeballing it usually works fine for me. Smoothed the tops a little with the spatula.
Carefully put both pans into the preheated oven. Set my kitchen timer for 30 minutes. When it beeped, I checked the cakes. Stuck a wooden skewer (a toothpick works too) into the center of one. It came out clean, which means they were done. If it had come out with wet batter, I would’ve given them another 5 minutes and checked again.
Pulled the pans out of the oven – using oven mitts, of course! – and set them on a wire rack to cool down for about 10 or 15 minutes. This stops the cooking and lets them firm up a bit before you try to get them out.
After that short cool-down, I carefully ran a knife around the edge of each cake and flipped them out onto the wire rack. Peeled off the parchment paper if I used any (didn’t this time). Now the hard part: letting them cool completely. Seriously, don’t rush this. Frosting a warm cake is a disaster, melts everywhere.
Finishing Touches (Frosting!)
While the cakes were cooling, I decided to make a simple parve chocolate frosting. It’s easy. Just need powdered sugar, more cocoa powder, some softened parve margarine, a bit more vanilla extract, and a splash of water or non-dairy milk to get it spreadable. Beat that all together until it was smooth and fluffy.
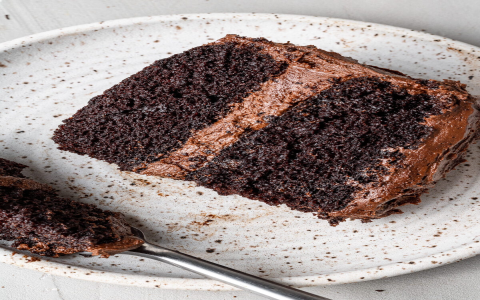
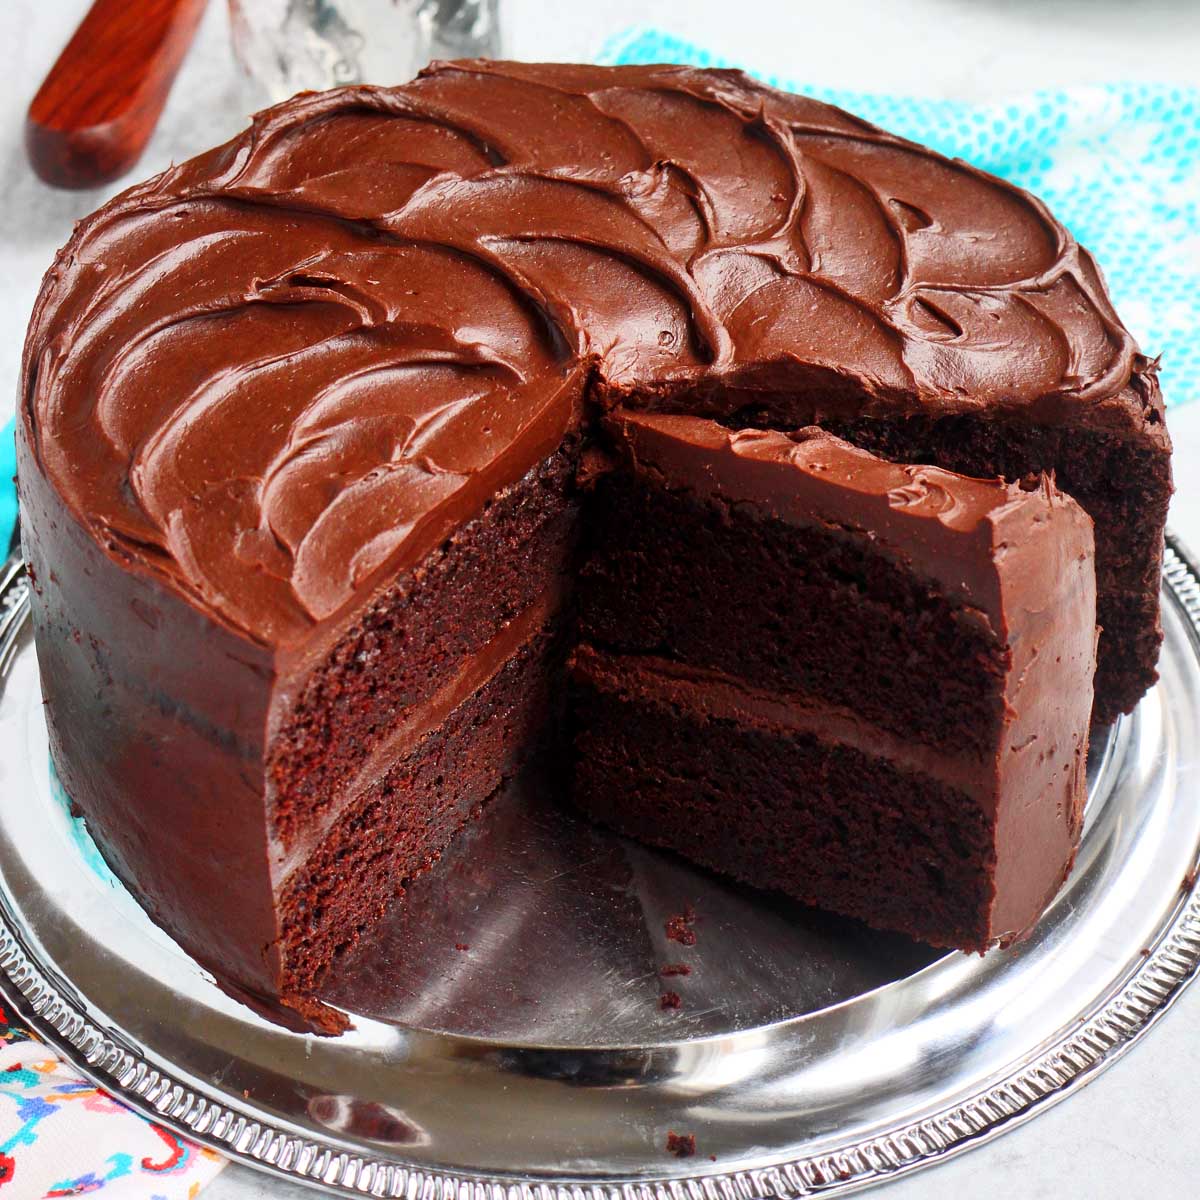
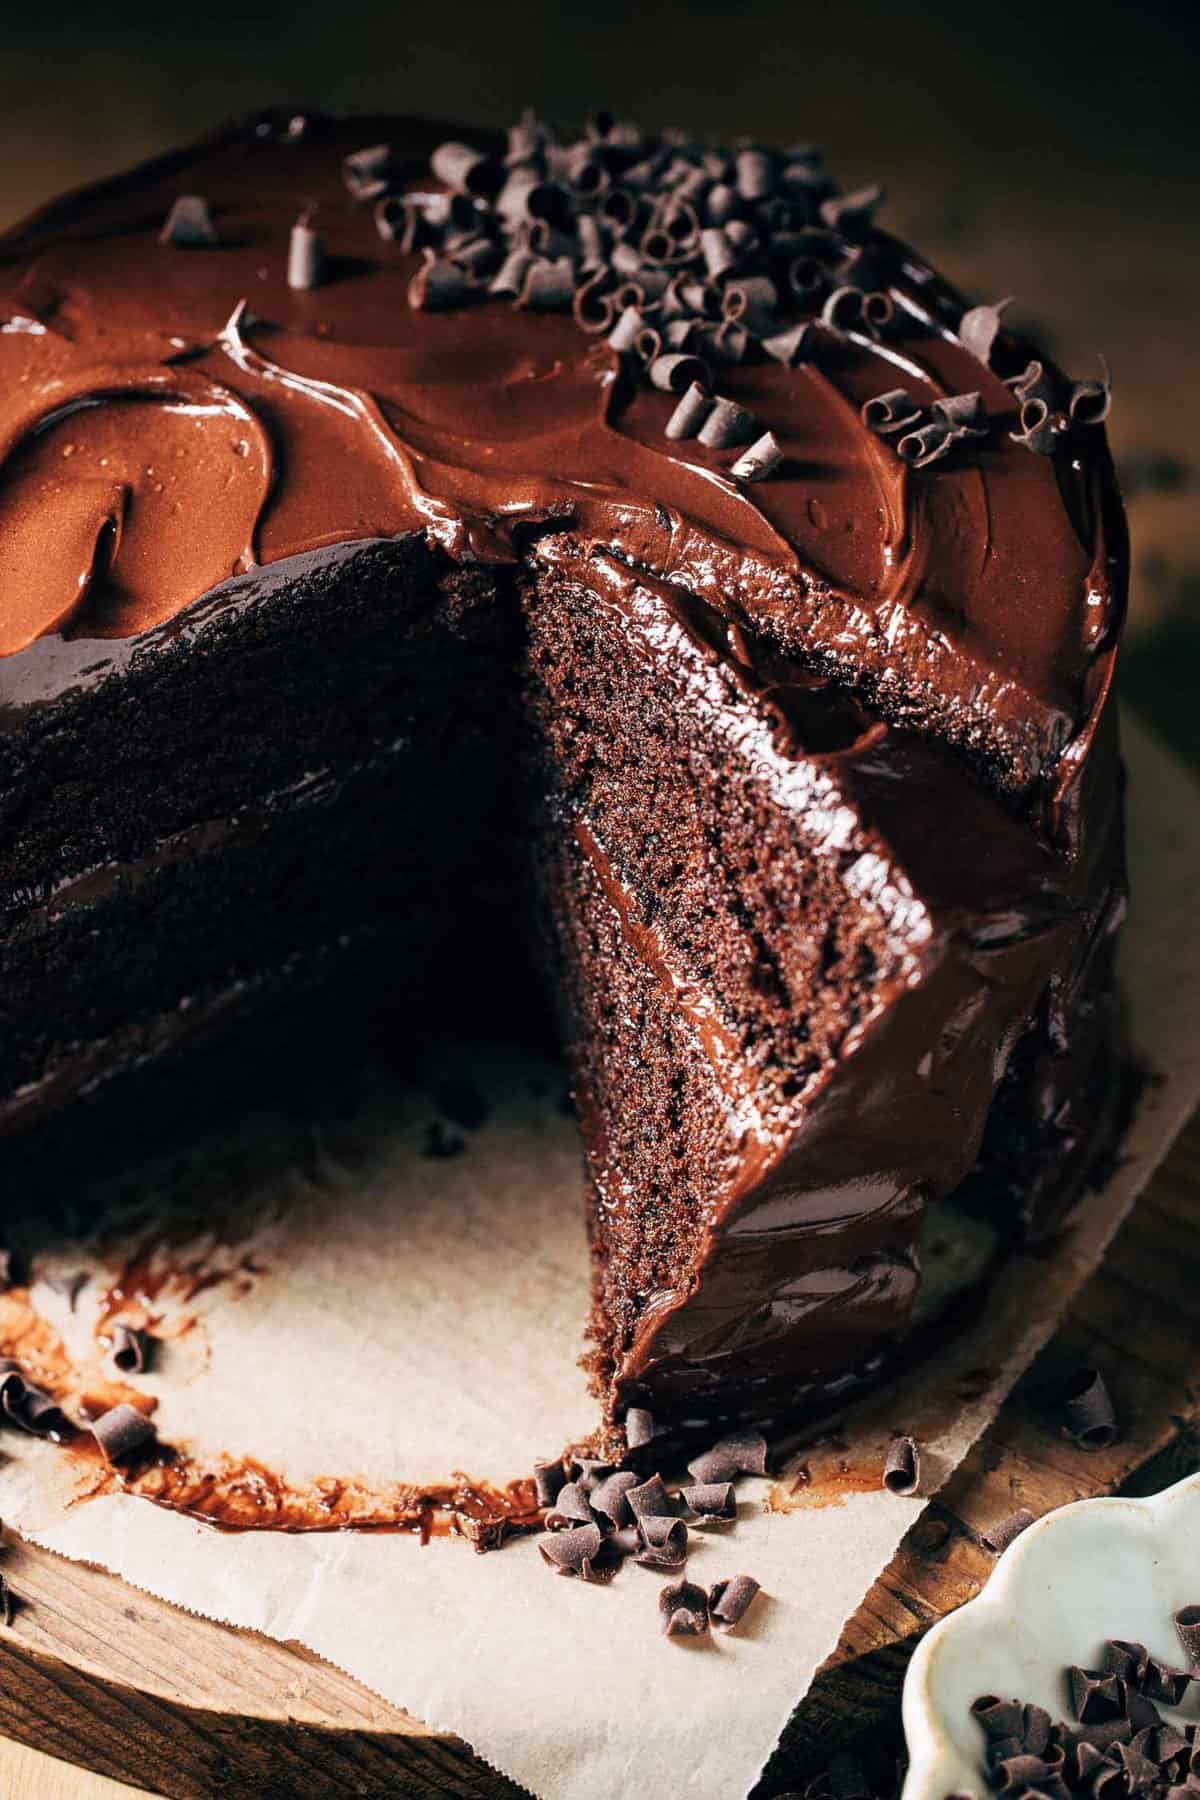
Once the cakes felt cool to the touch, I put the first layer on my cake stand. Dolloped a generous amount of frosting on top and spread it out. Placed the second cake layer carefully on top. Then I frosted the top and sides of the whole cake. I’m no pro decorator, so I just went for a rustic, swirly look with my spatula. Tastes the same!
The Result
And that’s pretty much it. Let the frosting set a bit before slicing. The cake turned out really moist and had a good, solid chocolate flavor. Making it parve was no big deal, just swapping oil for butter and using water. A successful bake, I’d say. Definitely adding this to my regular rotation.


