

Okay, let me tell you about trying out these heart baking molds I got.
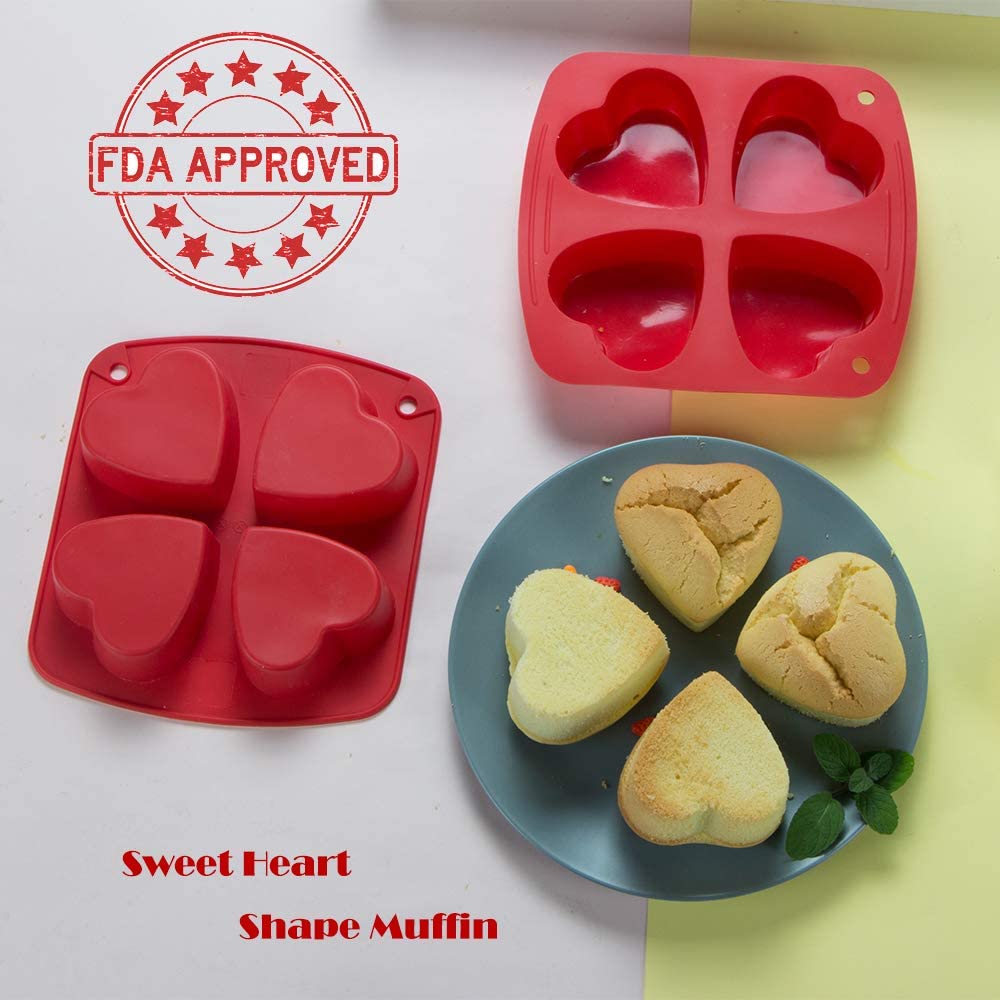
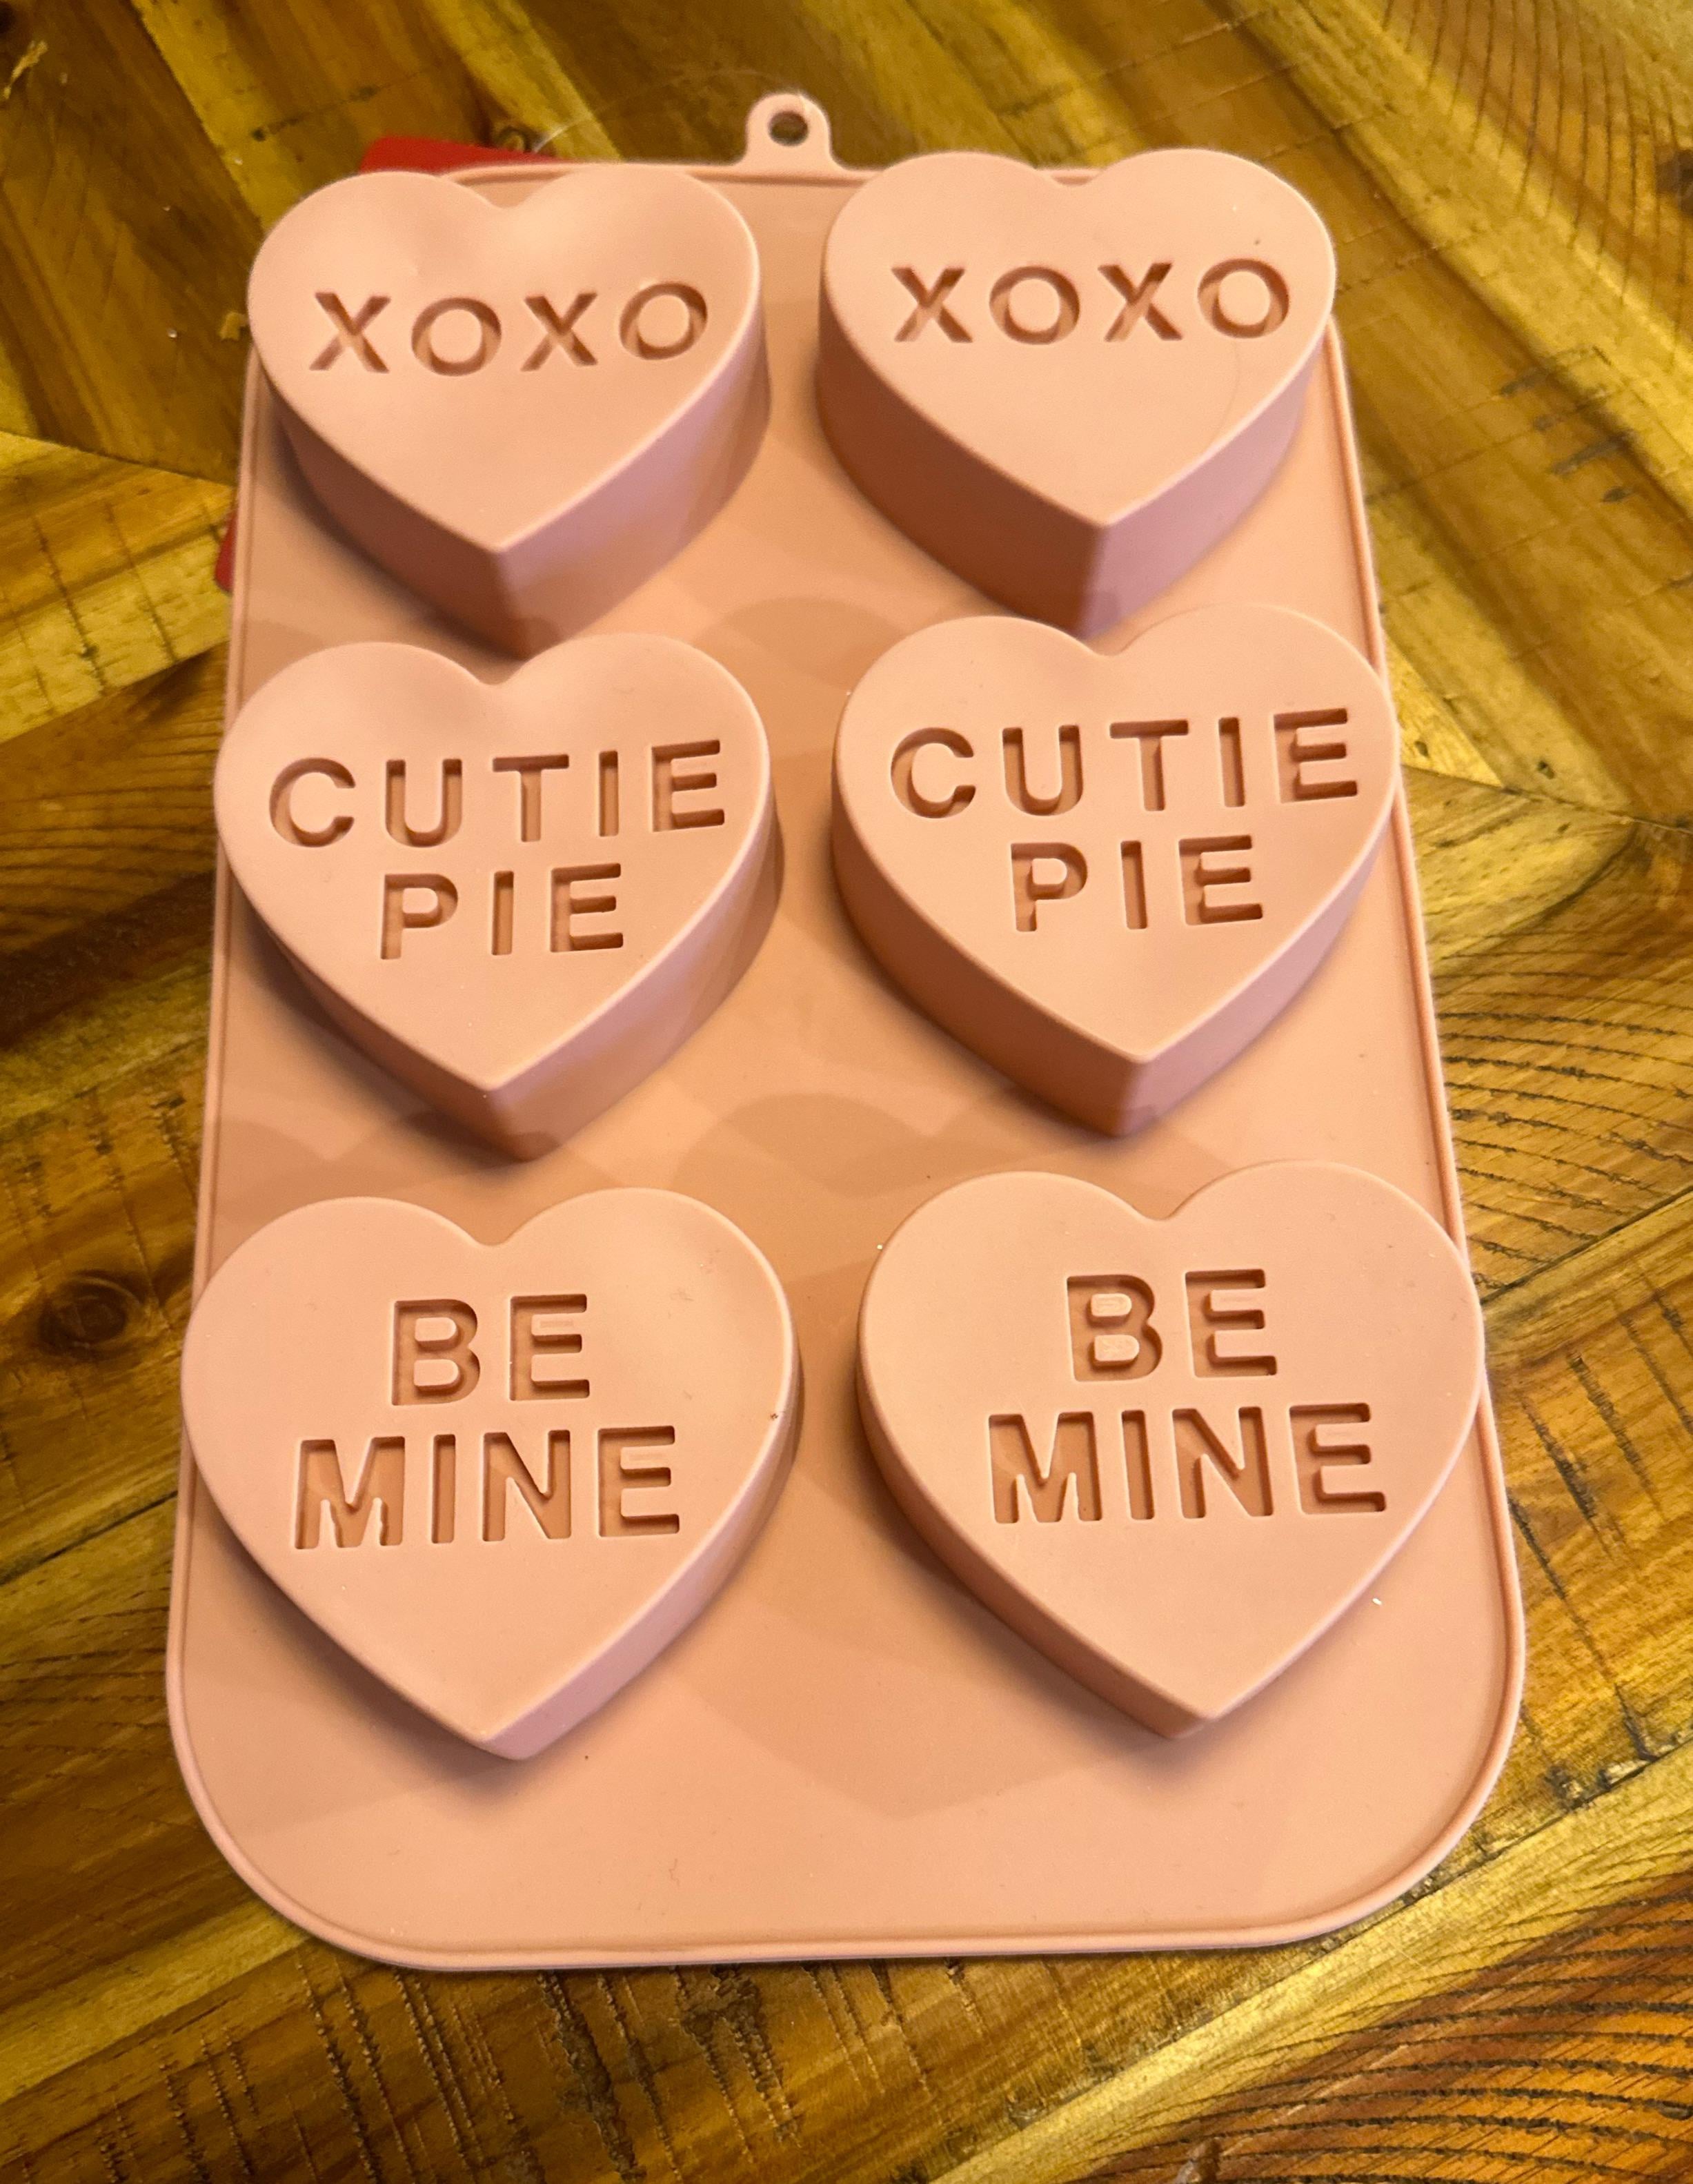
So, I had these new molds sitting around, the silicone kind, you know? Bright red. And also an older metal one, like a mini cake pan shaped like a heart. I hadn’t used either in a while, especially the new silicone ones. Figured it was time to actually bake something instead of just looking at them.
Getting Started
First thing, I decided on a simple vanilla cupcake recipe. Nothing fancy, just wanted to see how the molds performed. Got all the usual stuff out – flour, sugar, eggs, butter, vanilla, milk. Mixed it all up in a bowl. Standard procedure, really. The batter looked okay, maybe a bit thick but smelled good.
Prepping the Molds
This is where things differed. For the old metal heart pan, I did the whole routine: grease it with butter, then dusted it with flour. Tapped out the extra. You have to do this, otherwise, things stick like crazy, especially in shaped pans.
For the silicone molds, the package said ‘non-stick’. I’m always a bit skeptical, you know? But I decided to trust it this time. Just gave them a quick wash and dry. They were floppy, which felt weird compared to the sturdy metal pan. I put the silicone ones on a flat baking sheet so they wouldn’t wobble all over the place when I moved them.
Filling and Baking
Okay, filling them. The metal pan was easy, just pour the batter in. Maybe filled it two-thirds full, like you’re supposed to.
The silicone ones were smaller, individual hearts. I used a spoon to drop batter into each cavity. It was a bit messy trying to get the batter neatly into the heart shape without smearing it everywhere. Definitely filled some more than others. You have to be careful not to overfill these small ones.
Then, into the oven they went. The metal pan and the sheet with the silicone molds. Baked them at the temp the recipe said, started checking after about 15 minutes for the little ones, maybe 20-25 for the bigger metal one. Used a toothpick to check if they were done in the center. Came out clean, so good to go.
The Moment of Truth: Demolding
Let them cool down first! This is important. Maybe 10 minutes in the molds, then tried to get them out.
The metal pan cake… well, I loosened the edges with a thin knife carefully. Put a plate on top, flipped it over, gave it a good tap. It came out! The shape was okay, a bit rugged maybe, but definitely heart-shaped. The greasing and flouring worked.
Now, the silicone ones. This was interesting. Because they’re flexible, I could kind of peel the mold away from the little cakes. Pushed gently from the bottom. Most of them popped out really easily! Super clean release, no sticking at all. The heart shape was much sharper, more defined than the metal pan one.
- Clean release from silicone.
- Shape held very well.
- A couple I might have slightly overfilled puffed up weirdly.
One or two stuck a tiny bit where maybe I hadn’t cleaned the mold perfectly or there was a thin spot in the silicone? Not sure. But way easier than I expected, honestly.
Final Thoughts
So yeah, the heart molds worked out. The silicone ones were surprisingly effective, especially for getting that sharp heart shape and easy release. Just need to remember to put them on a baking sheet for stability and be careful not to overfill. The metal one works too, just needs that proper prep work with grease and flour. Both gave me heart-shaped treats in the end, which was the whole point.
Good little experiment. Will probably use the silicone ones more often for smaller things now I know how they handle.


