

Okay, so I decided to tackle a high altitude cheesecake again. Living up where the air is thin definitely messes with baking, and cheesecake can be a real diva even at sea level. Thought I’d document how it went this time.
Getting Started
First things first, I pulled out all the usual suspects:
- Cream cheese (lots of it, left it out to soften)
- Sugar
- Eggs
- Sour cream
- Vanilla
- Graham crackers for the crust
- Butter
I double-checked my old recipe notes. High altitude usually means things rise too fast and can collapse or crack. So, the plan was to tweak things slightly – maybe a touch less sugar, make sure the eggs were mixed in gently, and definitely adjust the baking temperature and time.
Making the Crust
Started with the crust. Crushed up those graham crackers – I just put them in a bag and whacked them with a rolling pin. Dumped the crumbs into a bowl, mixed in some melted butter and a little sugar. Got my hands in there to make sure it was all combined. Then I pressed it firmly into the bottom of my springform pan. Popped that into the oven for about 10 minutes just to set it. Let it cool while I worked on the filling.
Mixing the Filling
This is the crucial part. Put the softened cream cheese in my big mixer bowl. Beat it on low speed until it was smooth. You don’t want to whip too much air into it, especially up high. Scraped down the bowl a few times. Then, gradually added the sugar, mixing until just combined.
Next came the eggs. Added them one at a time, mixing on low speed just until the yellow disappeared. Over-mixing eggs is a quick way to get cracks later. After the eggs, stirred in the sour cream and vanilla extract. Gave it one final gentle mix, making sure everything was smooth and uniform, but without going crazy.
Baking Process
Prep for the water bath: This step is annoying but necessary for creamy cheesecake. I wrapped the outside of the springform pan with heavy-duty aluminum foil, making sure it was sealed tight to keep water out. Did two layers just to be safe.
Poured the filling over the cooled crust in the pan. Smoothed the top with a spatula. Placed the wrapped pan inside a larger roasting pan.
Carefully poured hot water into the larger roasting pan, enough to come about halfway up the sides of the cheesecake pan. Then, the whole setup went into the preheated oven. I set the oven temperature about 25 degrees Fahrenheit lower than my sea-level recipe called for. Heard this helps it bake more gently at altitude.

Baked it for quite a while. It takes longer up here. Kept an eye on it. The edges should look set, but the very center should still have a slight wobble when you gently nudge the pan. That’s the sign it’s done.
Cooling Down – The Patience Test
Once it looked ready, I turned off the oven completely. Cracked the oven door open just a bit and left the cheesecake inside for a whole hour. This slow cooling helps prevent sudden temperature changes that cause cracks. After an hour, I carefully took the roasting pan out of the oven, lifted the cheesecake pan out of the water bath, and removed the foil.
Let the cheesecake cool completely on a wire rack on the counter. This took a few hours. Only when it was totally cool did I cover it loosely with plastic wrap and put it in the fridge. It needs to chill for at least 6 hours, but overnight is even better.
The Result
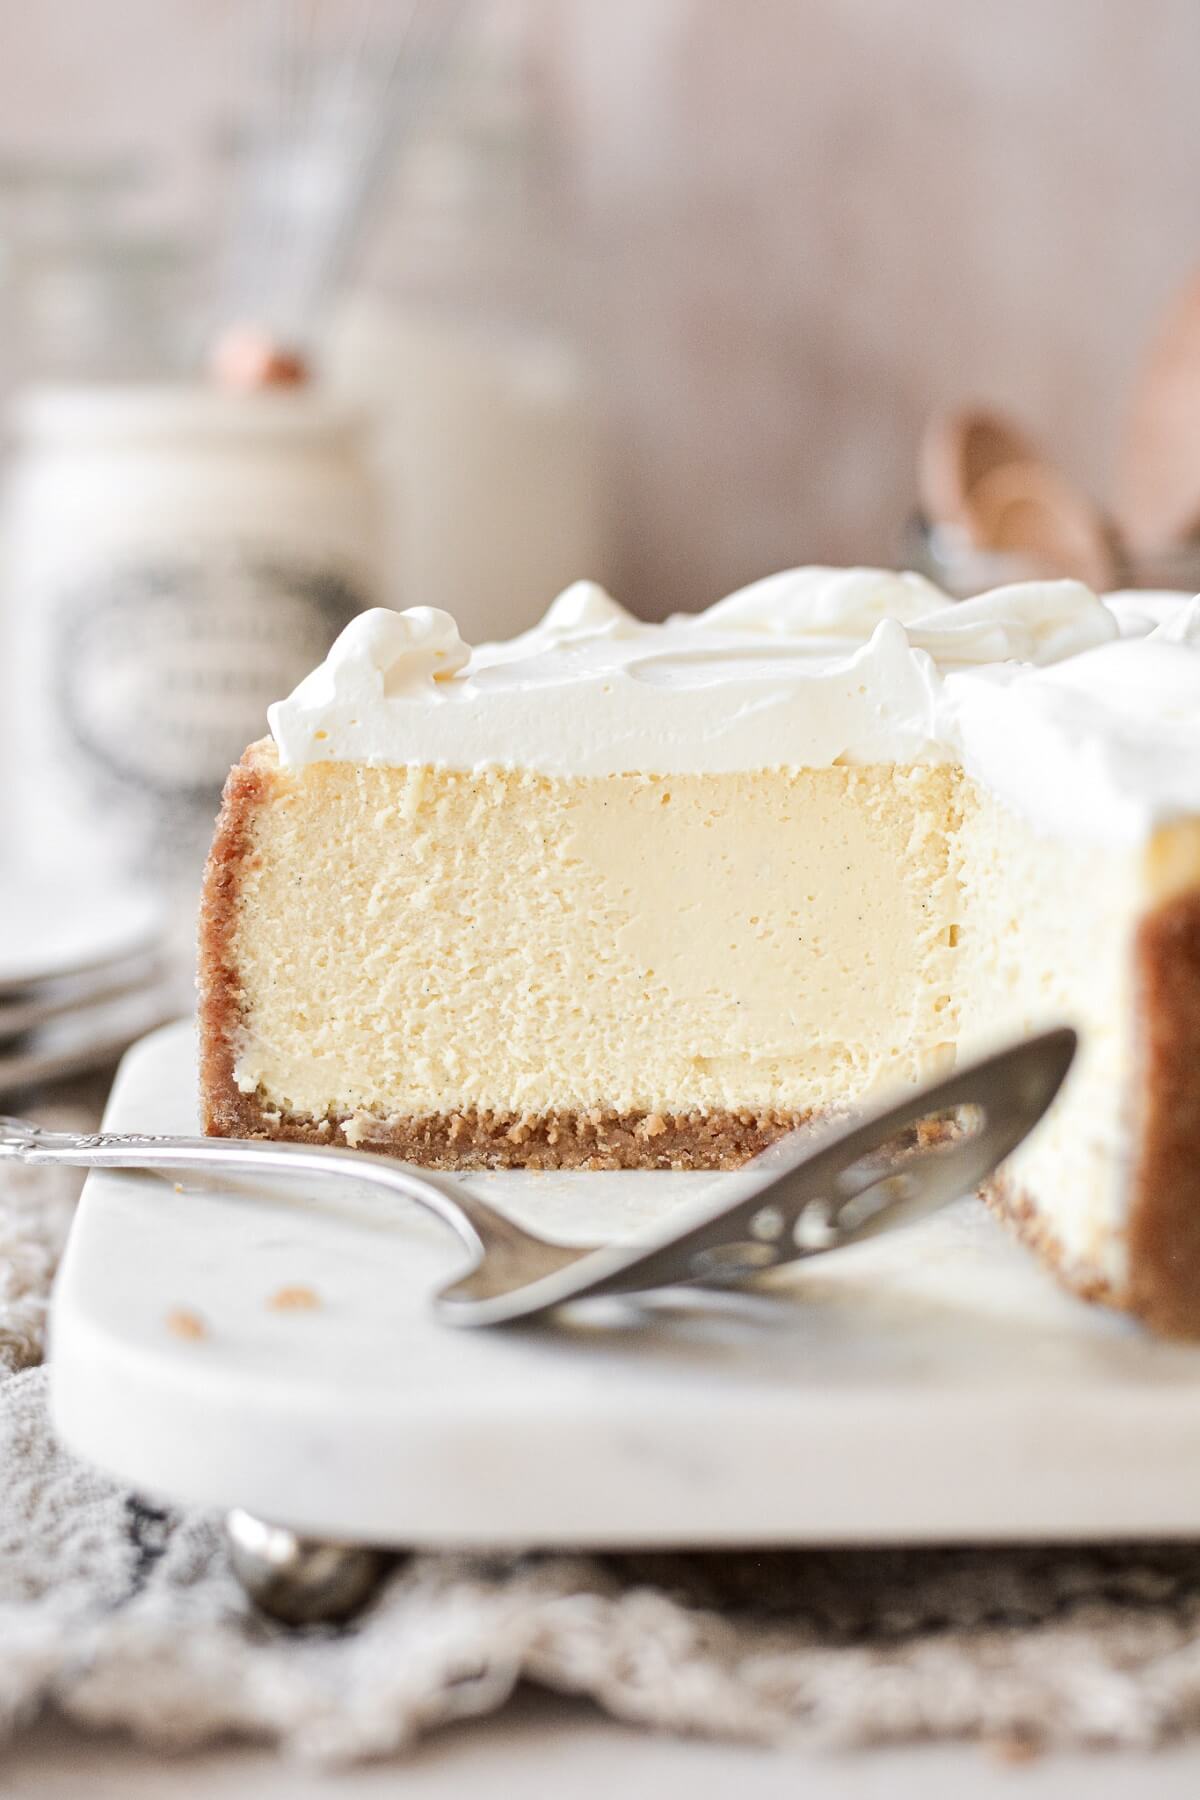
Okay, moment of truth. Unmolded it the next day. Success! It was smooth, barely any cracking (just a tiny one near the edge, I can live with that), and it didn’t sink in the middle. The texture when I cut into it was dense and creamy, exactly what I was hoping for. The slightly lower sugar and adjusted bake temp seemed to do the trick. It tasted fantastic. Rich, tangy, everything a good cheesecake should be. Making those little high-altitude adjustments really paid off this time.
So, yeah, baking cheesecake at high altitude takes a bit more attention, but it’s totally doable. Just gotta be gentle with the mixing, adjust the oven temp, and be super patient with the cooling. Definitely worth the effort.


