
Okay, so I decided to tackle the lard pie crust thing again. People rave about it, right? Flaky, old-school, the real deal. So, I figured I’d document how I do it, what works for me. No fancy chef talk, just what happens in my kitchen.
Getting Started – The Setup
First things first, I get my stuff out. You gotta have everything ready, especially with pastry. It hates waiting around and getting warm.
- Flour. Just regular all-purpose stuff.
- Salt. For flavour, obviously.
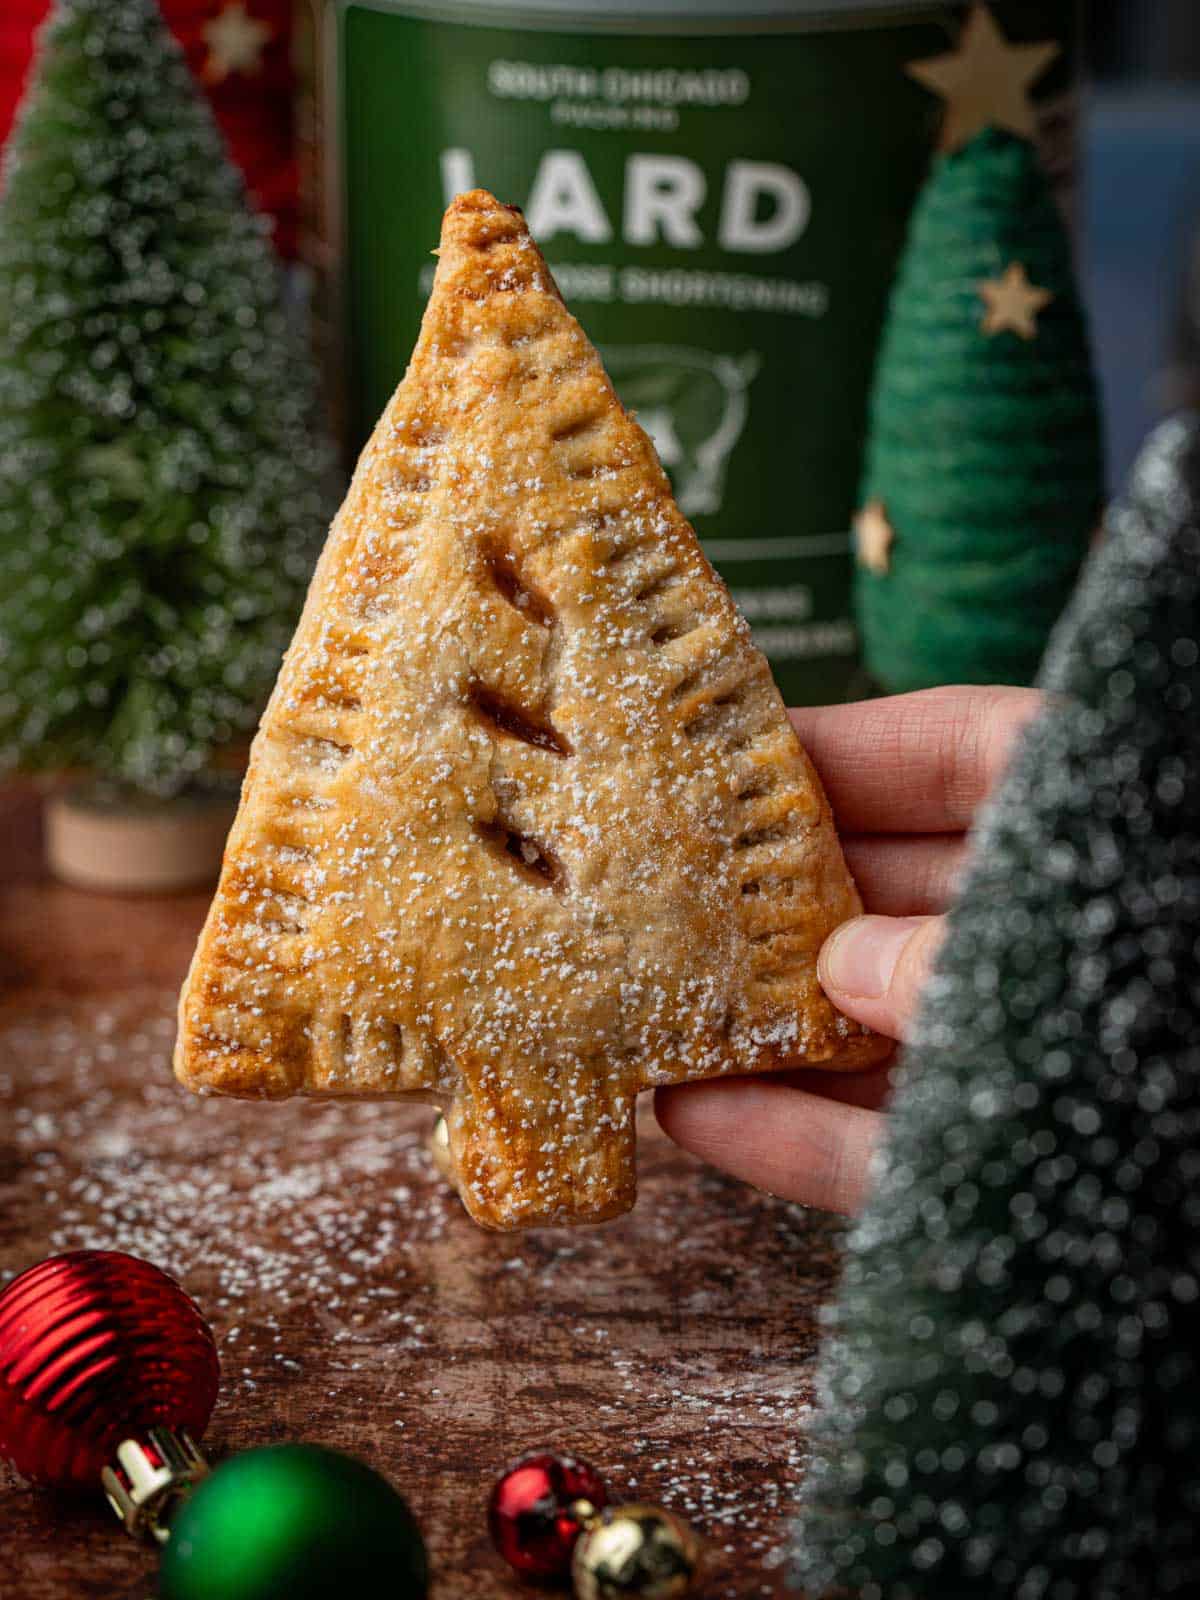
- Lard. This is key: it needs to be COLD. Like, straight from the fridge, maybe even pop it in the freezer for 15 minutes before you start. Cold fat equals flaky layers.
- Ice Water. Super cold water. I put ice cubes in a measuring cup and add water.
That’s basically it. Simple ingredients, but the technique matters more here.
Mixing it Up
I dump the flour and salt into a big bowl. Give it a quick whisk with a fork, just to mix it up.
Then comes the lard. I chop the cold lard into smallish cubes. Maybe half-inch size? Doesn’t have to be perfect. Toss ’em into the flour.
Now the messy part. I use my fingertips, or sometimes a pastry blender if I’m feeling less caveman-like. You want to cut the lard into the flour. Rub it in, break it down. The goal is to get pieces of lard coated in flour, mostly around the size of peas, with some bigger, some smaller bits. Don’t melt the lard with warm hands! Work quickly.
Once it looks like coarse crumbs, I start adding the ice water. A little bit at a time. Seriously, like a tablespoon at a time. Drizzle it over, then gently mix with a fork just until the dough starts to come together. You don’t want a wet, sticky mess. Just enough water so it clumps up when you press it.
Overmixing is the enemy. Be gentle. Stop as soon as it holds together.
Chill Out Time
I gather the dough into a ball – gently, don’t knead it! If I’m making a double-crust pie, I divide it in two. Flatten each half into a thick disk. Why a disk? It makes rolling it out later much easier.
Wrap those disks tightly in plastic wrap. Then, into the fridge they go. For at least an hour. Minimum. Longer is often better. This lets the flour hydrate, the gluten relax, and most importantly, it chills that lard right back down solid again. That’s crucial for flakiness when it hits the hot oven.
Rolling and Baking
When it’s time, I take one disk out. Let it sit on the counter for maybe 5 minutes, just so it’s not rock hard and crackly when I try to roll it.
Lightly flour the counter and the rolling pin. Roll from the center out, turning the dough often to keep it from sticking and to get a nice circle. Aim for about an 1/8th inch thickness. Not paper thin, not super thick.
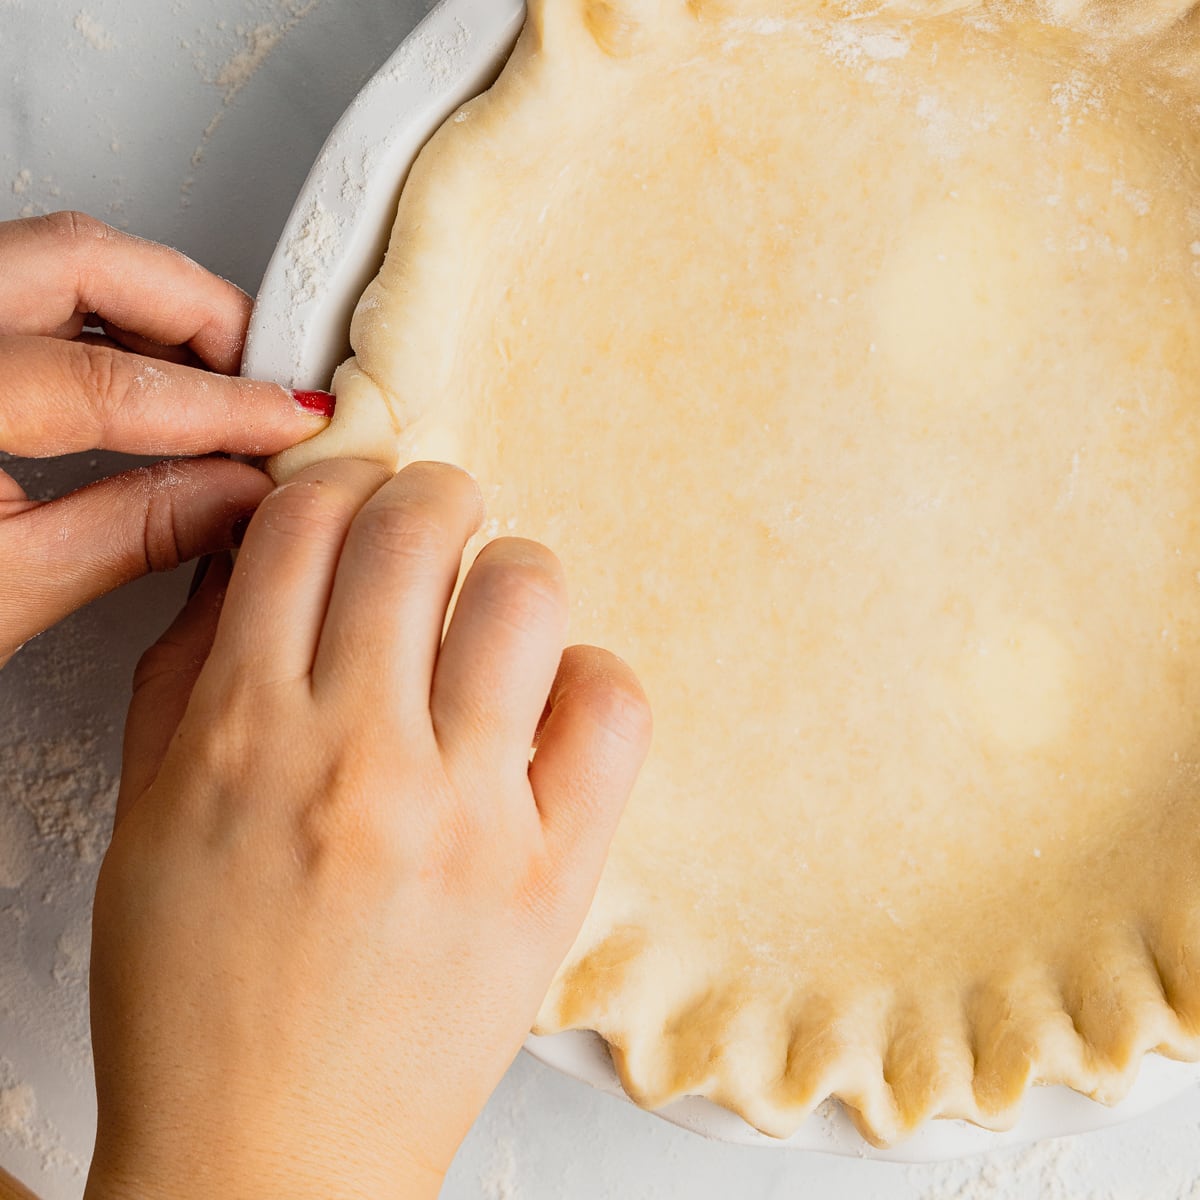
Carefully fold the dough (or roll it around the pin) and transfer it to the pie plate. Ease it in, don’t stretch it. Trim the edges, leave a bit of overhang. Crimp it how you like, or just press with a fork. Whatever floats your boat.
Then you either fill it and bake it according to your pie recipe, or if it needs blind baking (baking the crust empty first), I dock the bottom with a fork, line it with parchment paper, fill with pie weights or dried beans, and bake until set. Then remove weights and bake a bit longer till golden.
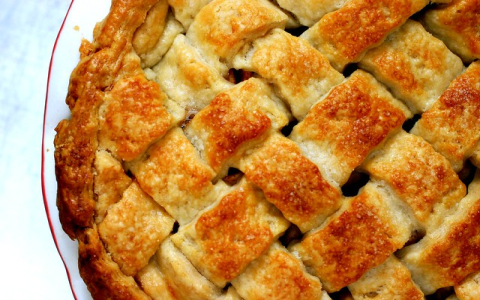
The Result?
Honestly, it just works. The crust comes out incredibly flaky, tender, with a subtle richness you don’t quite get from shortening or even all-butter. It browns beautifully. It’s sturdy enough to hold fillings but delicate to eat. Lard gets a bad rap sometimes, but for pie crust? It’s hard to beat this method for pure, old-fashioned texture. Definitely worth trying if you haven’t.


