
Okay, so you wanna know how I clean my flour sifter? It’s pretty straightforward, nothing fancy, just gotta do it. Let’s get into it.
First things first: Empty the Sifter
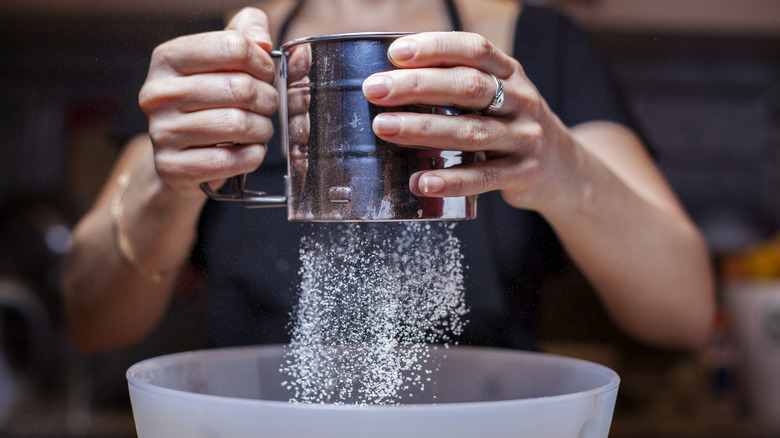
Obviously, before you even THINK about cleaning, you gotta empty out all the flour, right? I usually just give it a good shake over the sink or trash can to get most of it out. Don’t be shy, really get in there and shake it!
The Dry Brush Method
Sometimes, if it’s just a little bit of flour stuck, I’ll grab a dry pastry brush or even a clean toothbrush (one I don’t use, obviously!) and just brush out the inside. Especially around the mesh screen, that’s where it likes to cling. This works great for those times you just used it and don’t wanna get the thing wet.
Washing with Soap and Water: The Real Deal
Alright, when it’s time for a REAL cleaning, here’s what I do. And I mean, after a while, you HAVE to do this. Things get sticky, you know?
- Disassemble (if possible): Some sifters come apart a bit. If yours does, take it apart as much as you can. Makes it easier to get into all the nooks and crannies.
- Hot, Soapy Water: Fill up your sink (or a big bowl) with hot water and a squirt of dish soap. Don’t go crazy with the soap, just enough to get things clean.
- Submerge and Soak: Plop the sifter (or the disassembled parts) into the water and let it soak for a few minutes. This helps loosen up any stuck-on flour paste.
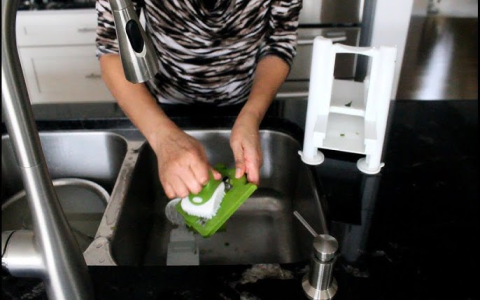
- Scrub-a-dub-dub: Use a sponge or that same brush I mentioned earlier to scrub all the surfaces. Pay extra attention to the mesh screen – that’s where the flour loves to hide. Get in there and scrub, scrub, scrub!
- Rinse, Rinse, Rinse: Rinse everything REALLY well under hot running water. You wanna make sure you get ALL the soap off. Soap residue can mess with your baking, so don’t skimp on the rinsing.
Drying is Key!
This is important! You don’t want your sifter to rust or get moldy. Here’s how I dry it:
- Shake off Excess Water: Give it a good shake to get rid of as much water as possible.
- Air Dry: I usually put the parts on a clean dish towel to air dry. You can also use a drying rack.
- Oven Trick (Optional): If you’re in a hurry, you can put the sifter in a warm (but not HOT!) oven for a little while to dry it out. Just keep an eye on it so you don’t melt anything!
Reassemble and Store
Once everything is completely dry, reassemble the sifter (if you took it apart) and store it in a dry place. That’s it! Clean flour sifter, ready for the next baking adventure.
See? Nothing to it. Just a little bit of elbow grease and you’re good to go. Happy baking!


