

Okay, so I decided to tackle making some bean pudding the other day. It’s something I enjoy, and store-bought just isn’t the same, you know? Figured I’d walk you through how I did it, just my own experience, nothing fancy.
Getting Started – The Beans
First thing, I grabbed my dried soybeans. Got about a cup of them. You gotta rinse these things really well. I rinsed them under cold water maybe three or four times, just until the water looked mostly clear. Then, I dumped them in a big bowl and covered them with plenty of water. They need to soak for a good while. I just left mine on the counter overnight. By morning, they were plumped right up.
Making the Milk
Alright, drained the soaked beans. Now, the blending part. I tossed the beans into my blender. Added about four cups of fresh water. You gotta blend this stuff really well. I mean, really smooth. I probably let it run for a good minute or two, stopped, scraped the sides, and blended again. Wanted to get as much ‘milk’ out of those beans as possible.
Next up, straining. This is maybe the messiest part. I used a nut milk bag – a fine mesh cloth works too, or even layers of cheesecloth. Poured the blended bean slurry into the bag over a big pot. Then I squeezed. And squeezed. You gotta wring that bag out good to get all the soy milk. What’s left in the bag is called okara, you can save it for other stuff, but for the pudding, we just need the liquid.
Cooking and Setting
Got my pot of fresh soy milk on the stove. Medium heat. Now, you need to watch this stuff. Bring it to a gentle boil, but stir it often, especially scraping the bottom so it doesn’t scorch. Once it started bubbling, I lowered the heat and let it simmer gently for maybe 10 minutes. Some folks say this cooks off the raw bean taste. I also skimmed off any foam that showed up on top.
While the milk was simmering, I prepped the setting agent. I used that food-grade gypsum powder stuff. Just a little bit, mixed with some cold water in the final container I wanted the pudding to set in. Follow the package instructions for amounts, it’s usually not much. Stirred it up so it dissolved.
Okay, milk’s done simmering. Here’s the slightly tricky bit. You need to pour the hot soy milk into the container with the setting agent mixture. I poured it from a bit of a height – maybe a foot or so? Heard that helps it mix without actually stirring it much. Once it’s poured, do not stir! Just don’t touch it. Skim off any bubbles on the surface very gently if you want. Then, I covered the container. Some use a lid, I just used plastic wrap.
And now, the waiting game. It needs to sit undisturbed to set. Usually takes around 30 minutes to an hour. I just left mine on the counter. You’ll know it’s ready when it looks set, kind of like soft Jell-O. It jiggles.
The Result
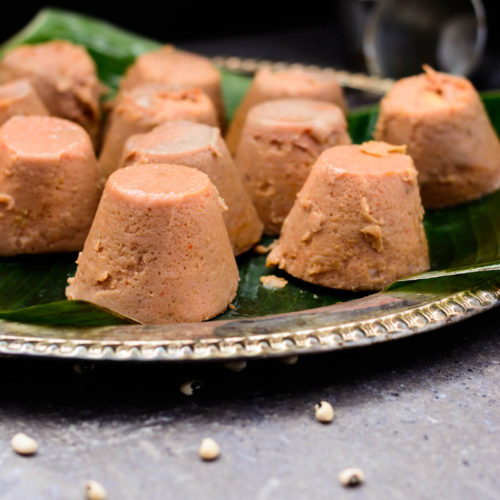
After about 45 minutes, I checked it. Looked pretty good! It was set, smooth. I carefully scooped some out into a bowl. It was still warm. Tasted it plain first – yeah, that homemade taste. Then I drizzled some simple ginger syrup I’d made earlier over it. Perfect.

So that was my process. Took a bit of time, mostly soaking and waiting, but the actual work wasn’t too bad. Definitely worth it for fresh bean pudding. Way better than the instant packet stuff.


