
Alright, let’s dive into my latest baking adventure: caramel sandwich cookies. Man, was this a journey! I’m gonna break it down for ya, step by step, the good, the bad, and the oh-so-delicious.
First things first, the cookie dough. I started by creaming together the butter and sugar. I gotta say, my arm was killin’ me! Next time, I’m totally using the stand mixer. Anyway, once that was light and fluffy, I beat in the egg and vanilla. Then came the dry ingredients – flour, baking powder, and a pinch of salt. I whisked those together separately and gradually added them to the wet ingredients. I mixed until it was just combined, you know, trying not to overmix it and end up with tough cookies.
Chilling the dough was key. I wrapped it up in plastic wrap and tossed it in the fridge for about an hour. This made it so much easier to handle later. Trust me, don’t skip this step!
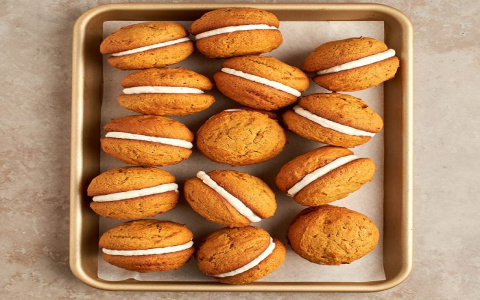
Rolling and cutting out the cookies was next. I floured my surface and rolled the dough out to about ¼ inch thickness. Then I used a round cookie cutter to make the cookies. I rerolled the scraps to get as many cookies as possible. I ended up with about two dozen cookies, give or take.
Baking time! I preheated the oven to 350°F (175°C) and lined a baking sheet with parchment paper. I placed the cookies on the sheet and baked them for about 8-10 minutes, until they were lightly golden brown around the edges. I let them cool on the baking sheet for a few minutes before transferring them to a wire rack to cool completely.
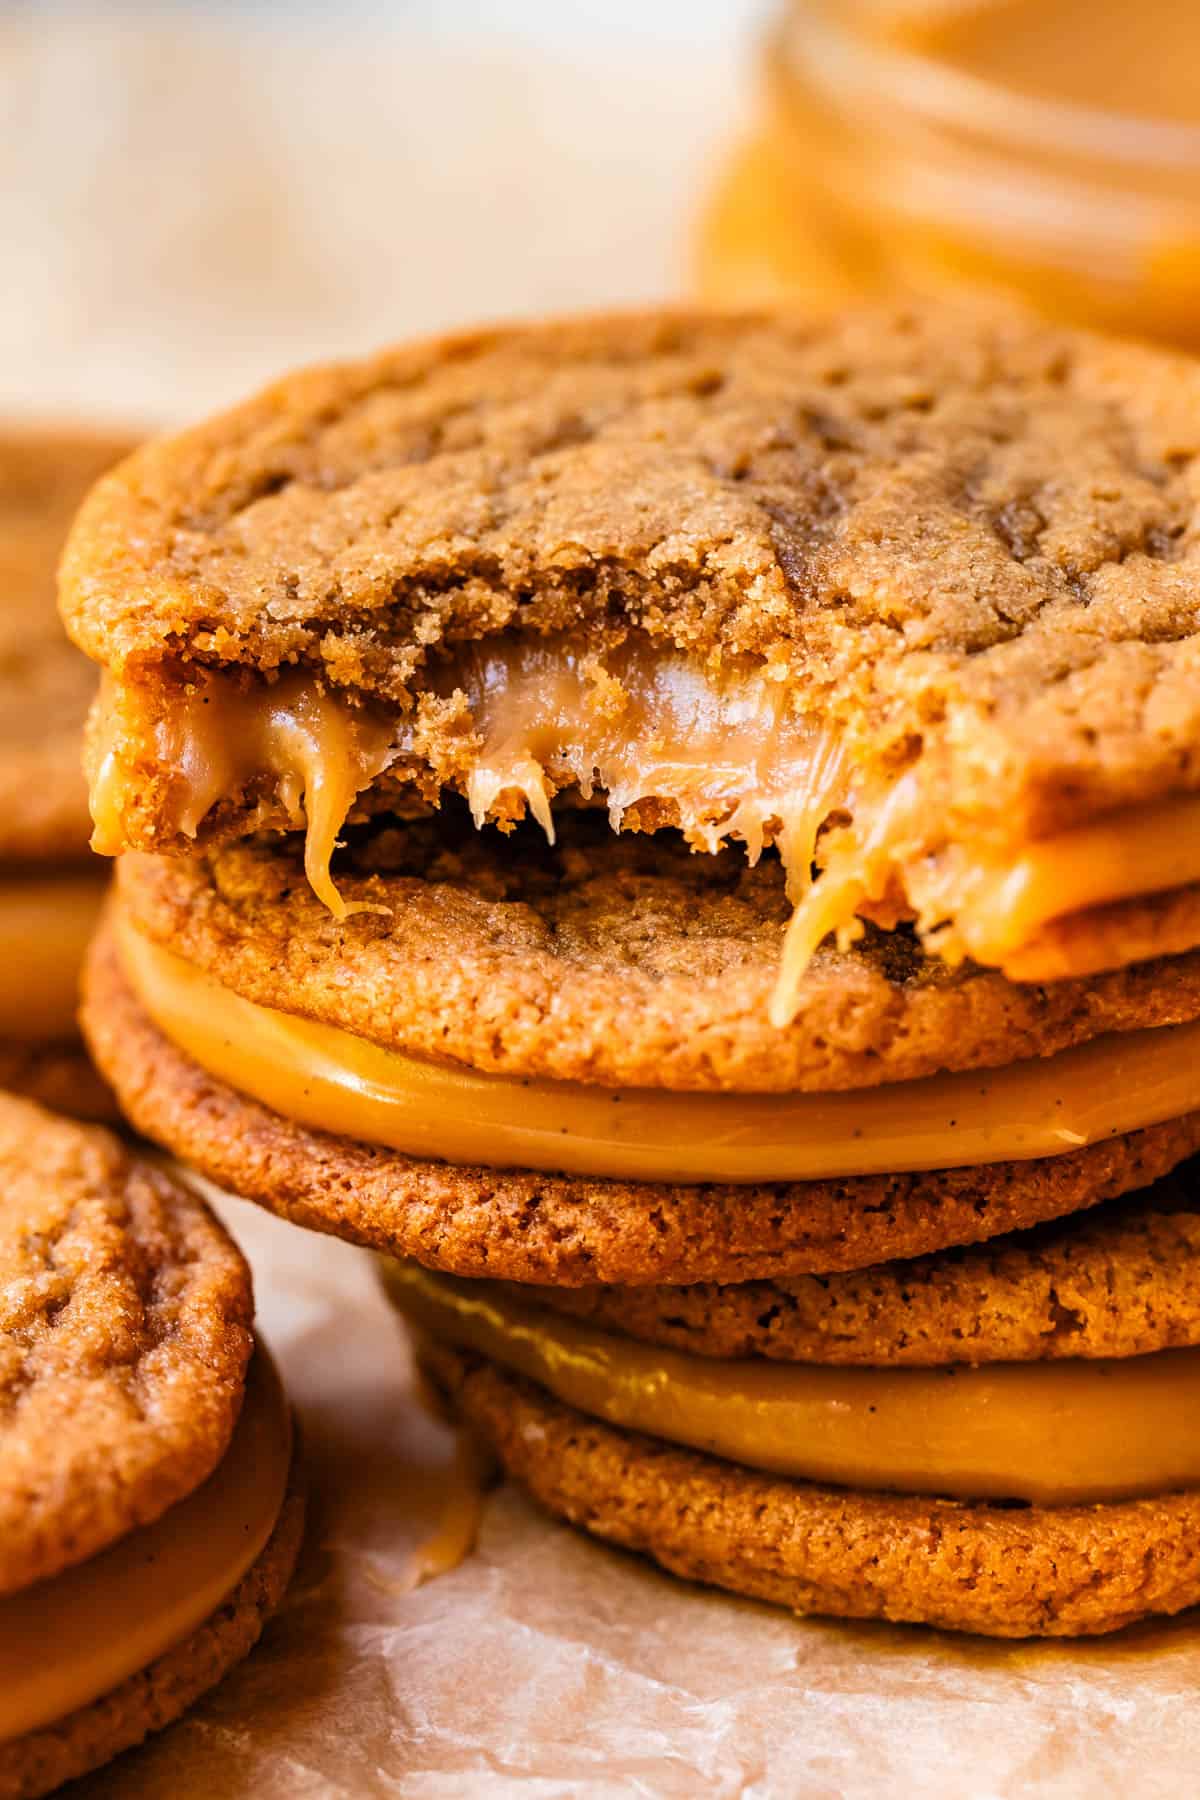
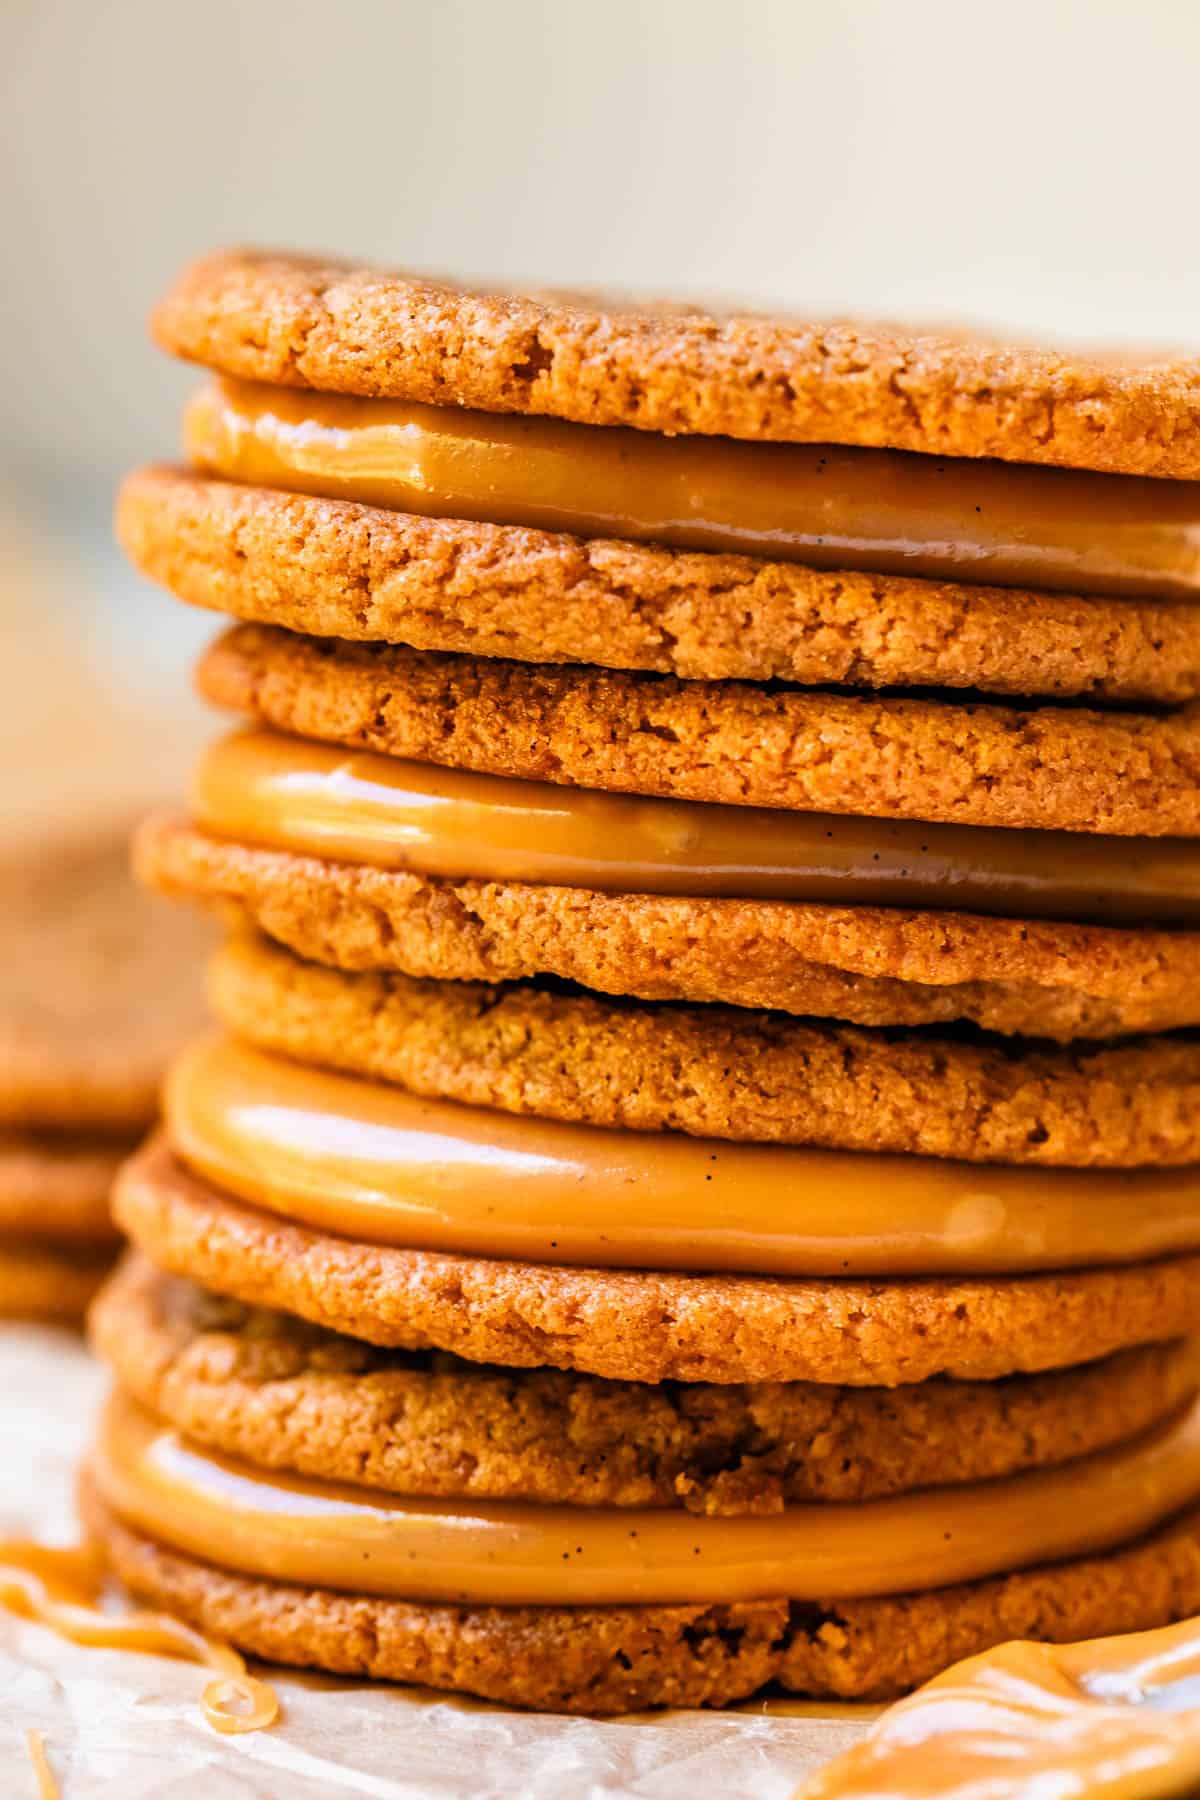
Now, for the caramel. This was where things got interesting. I followed a basic caramel recipe: sugar, butter, cream, and a little salt. I cooked the sugar over medium heat until it was a nice amber color. This took some patience, I won’t lie. You gotta watch it like a hawk, or it’ll burn. Then, I added the butter and stirred until it was melted. Next, I poured in the cream (carefully, it splatters!) and stirred until the caramel was smooth and creamy.
Assembly time! Once the cookies and caramel were cool enough to handle, I started assembling the sandwiches. I spread a generous dollop of caramel on the bottom of one cookie and topped it with another cookie. I repeated this until all the cookies were sandwiched together.
The final touch: a sprinkle of sea salt on top. This really brought out the caramel flavor and added a nice salty-sweet contrast.
Let me tell you, these caramel sandwich cookies were worth the effort. The cookies were soft and chewy, and the caramel was rich and gooey. They were seriously addictive! I shared them with my neighbors, and they were gone in minutes.
Lessons learned? Use a stand mixer for the dough, watch the caramel like a hawk, and don’t be afraid to experiment with a sprinkle of sea salt. Happy baking!


