
Alright, so today I finally got around to trying my hand at a matcha castella cake. Been wanting to do this for a while.
Getting Started
First things first, I pulled out all the ingredients. You know, the usual suspects: eggs, sugar, bread flour (important for castella!), matcha powder, some honey, and a splash of milk. I find getting everything measured and ready makes the whole process smoother. Less panic halfway through.
Then, the mold preparation. I used my wooden castella frame. Lined it carefully with parchment paper, making sure the corners were neat. This part is a bit fiddly but helps get those clean edges later.
Next up, I sifted the bread flour and the matcha powder together into a bowl. Did it twice, actually. Helps get rid of lumps and mixes the matcha in really well. You want that nice even green color, right?
In a small saucepan, I gently warmed the honey and milk. Just until it was lukewarm and the honey dissolved easily. Didn’t want it hot, just warm enough to mix in later without cooking the eggs.
The Mixing Marathon
Okay, here comes the main event: the eggs. Cracked a good amount of eggs into my stand mixer bowl, added the sugar. Started the mixer on low, then gradually cranked it up. This part takes patience. You’re whipping and whipping until the mixture gets pale, thick, and triples in volume. I let it run for a good 10-15 minutes. You’re looking for that ‘ribbon stage’ – when you lift the whisk, the batter falls back in a thick ribbon that sits on the surface for a few seconds before sinking in. My arm would have fallen off doing this by hand!
Once the eggs were perfect, I switched to folding. Added about half the sifted flour/matcha mix. Folded it in super gently with a spatula. Trying really hard not to deflate all that air I just worked so hard to get in. Then added the rest of the dry mix, folding again until just combined. Over-mixing is the enemy here.
Then, I took a small amount of the egg batter and mixed it into the warm honey-milk mixture first. This tempers it a bit. Then poured that back into the main bowl and folded it all together gently. One last check with the spatula around the bottom of the bowl to make sure everything was incorporated.
Baking Time
Carefully poured the bright green batter into the lined wooden frame. It filled it up quite high. Gave the frame a few sharp taps on the counter. This is supposed to help get rid of any large air bubbles hiding inside.

Into the preheated oven it went. I baked it at a relatively low temperature, around 160°C (that’s about 320°F). Castella bakes slow. It took close to an hour. I kept checking towards the end. The top should be nicely browned and springy. A wooden skewer inserted into the center should come out clean.
The Waiting Game
Once it was out of the oven, I immediately took it out of the wooden frame, parchment paper and all. Then, this might seem weird, but I flipped it upside down onto a wire rack covered with plastic wrap. Helps get a flatter top, apparently. I carefully peeled off the parchment paper from the bottom (which was now the top).
While it was still warm, I wrapped the whole cake tightly in plastic wrap. This step is key for castella – it traps the moisture and helps develop that signature soft, moist texture. Then, I just had to leave it. Ideally, overnight. The waiting is probably the hardest part!
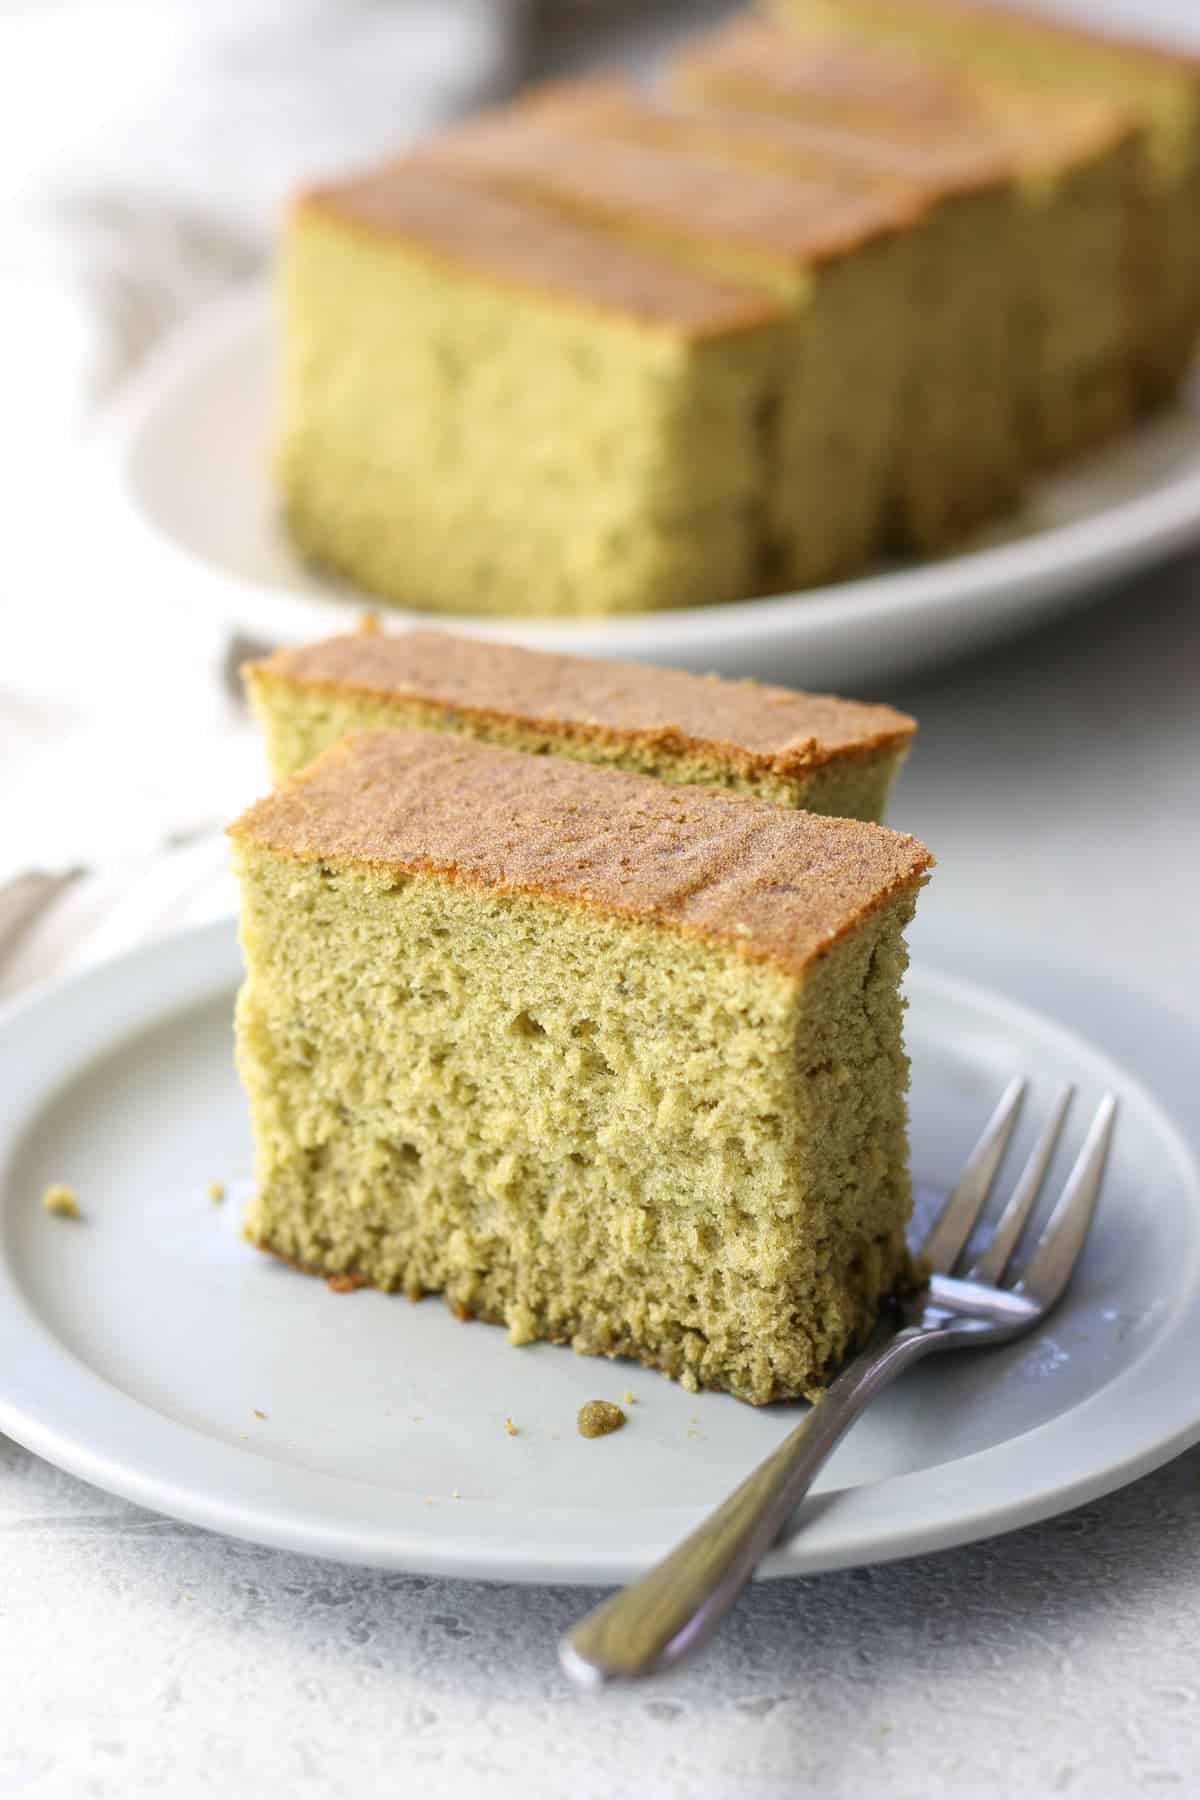
The Result
This morning, I finally unwrapped it. Trimmed the edges slightly (cook’s treat!). The texture looked right – fine crumb, moist, and bouncy. The matcha color was a lovely deep green. Sliced it up. The taste? Success! It had that distinct, slightly bittersweet matcha flavor, wasn’t overly sweet, and had that classic dense-yet-light castella chew. It was quite a bit of effort, especially the egg whipping and the gentle folding, but seeing and tasting the result makes it worthwhile. Definitely a satisfying bake.


