
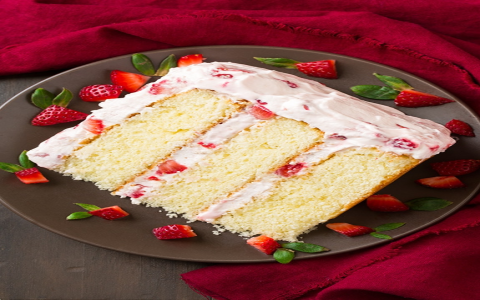
Okay, so yesterday was my niece’s birthday, and I decided I was going to make her a cheesecake birthday cake. I’ve made cheesecakes before, but never as an actual birthday cake, you know? So, this was a bit of an experiment, but it turned out pretty awesome!
Getting Started
First, I gathered all my ingredients. I’m talking graham crackers, butter, sugar, cream cheese (lots of it!), eggs, vanilla extract, and some sour cream. I also grabbed some fresh strawberries and blueberries for decoration, because what’s a birthday cake without some colorful toppings, right?

Making the Crust
I started by crushing the graham crackers. I usually just toss them in a food processor, but my food processor decided to die on me last week, so I put the crackers in a zip-lock bag and went at them with a rolling pin. It’s actually pretty therapeutic, getting out all that aggression! Once they were finely crushed, I mixed them with melted butter and some sugar, then pressed the mixture into the bottom of a springform pan. Pro tip: really pack it in there tight so you get a nice, solid crust.
Whipping up the Filling
Next up, the filling. I beat the cream cheese in my stand mixer until it was super smooth and creamy. This part is important – you don’t want any lumps! Then, I gradually added in the sugar, followed by the eggs, one at a time. I made sure to scrape down the sides of the bowl a few times to make sure everything was evenly incorporated. Finally, I stirred in the vanilla extract and sour cream. The sour cream gives it a little extra tanginess, which I love.
Baking Time
I poured the filling over the crust and popped the whole thing in the oven. Now, baking a cheesecake can be a little tricky. You want to bake it at a relatively low temperature to prevent cracking, and I always use a water bath. Basically, you wrap the bottom of the springform pan in foil, then place it in a larger roasting pan filled with hot water. This helps the cheesecake bake evenly and keeps it super moist.
Cooling and Decorating
After baking, I let the cheesecake cool completely in the oven with the door slightly ajar. This slow cooling process also helps prevent cracks. Once it was cool, I stuck it in the fridge overnight. Patience is key with cheesecake! The next day, I carefully removed the sides of the springform pan and got to decorating. I arranged the strawberries and blueberries on top in a pretty pattern, and added a little whipped cream around the edges for extra flair.
Decorated a “Happy Birthday” with a melted chocolate in the center.
The Result
- It looked amazing!
- My niece loved it.
- Everyone raved about how delicious it was.
- Definitely a win!
So, yeah, that’s how I made a cheesecake birthday cake. It was a bit of work, but totally worth it. Seeing my niece’s face light up when she saw it made all the effort worthwhile. Plus, who doesn’t love a good cheesecake?


