
Okay, so I’ve been wanting to try making my own maple sugar powder for a while now. I love maple syrup, and the idea of having a powdered version for baking and sprinkling on stuff sounded amazing. I finally got around to doing it, and here’s how it went.
First, I gathered my, uh, “ingredients.” Really, it’s just one ingredient: pure maple syrup. Make sure it’s the real deal, not that pancake syrup stuff. I used about a cup, but you can use more or less depending on how much powder you want.
The Cooking Process
I poured the syrup into a medium-sized pot. It needs to have enough room to bubble up without overflowing. I put the pot on the stove over medium heat. The goal is to bring it to a boil and keep it there, stirring pretty much constantly.
- Keep that heat at a steady medium. Too high, and you risk burning the syrup. Too low, and it’ll take forever.
I kept stirring and stirring. It took a while, maybe 15-20 minutes? My arm got a little tired, not gonna lie. But you gotta keep at it. The syrup will start to thicken and get foamy. It’ll also get darker in color.
You’ll know it’s getting close when the syrup starts to look like it’s forming bigger, thicker bubbles. Kind of like molten lava, but, you know, maple-flavored. I used the “cold water test” I read about online.
- That means droping a small amount of syrup into a glass of cold water and seeing the consistence.
I grabbed a glass with ice water, and continued to make this test till the syrup start forming these brittle, kinda glassy strands when you drop a bit into cold water. That’s when you know it’s ready.
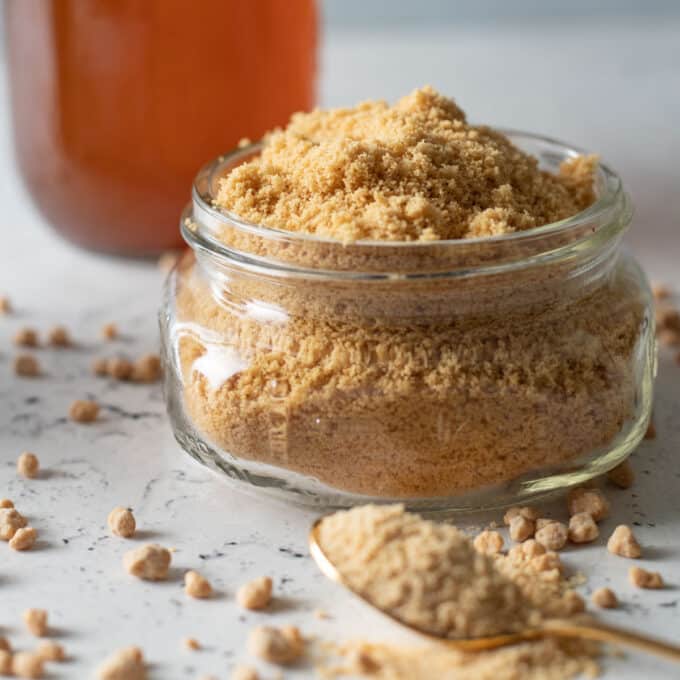
Turning It into Powder
Once it reached that stage, I took the pot off the heat. And then? More stirring! Seriously, this is where the magic happens. As you stir, the syrup will start to crystallize. It’ll go from a thick liquid to a grainy, crumbly texture.
It took some elbow grease, but eventually, it turned into this beautiful, light brown powder. I spread it out on a baking sheet lined with parchment paper to cool completely and let any remaining moisture evaporate.

After it was totally cool, I broke up any larger clumps with my fingers. You could also use a food processor or blender to make it a super fine powder, but I liked the slightly coarser texture.
Finally, I transferred the maple sugar powder to an airtight container. And that’s it! Homemade maple sugar powder. It was a bit of a workout, but totally worth it. Now I can sprinkle maple goodness on everything!


