
Okay, so I’ve been wanting to up my sourdough game, and I saw this “extra tangy” recipe from King Arthur. I’m a sucker for a good, sour sourdough, so I figured, why not give it a shot? Here’s how it all went down.
Getting Started
First things first, I had to get my starter all nice and bubbly. I usually feed mine the night before, but this time, I fed it twice – once in the morning and again in the evening. It was looking super active and ready to go by baking time.
Mixing the Dough
Mixing was pretty straightforward. I combined the starter, flour, and water in my big mixing bowl. I used my hands because, let’s be real, it’s the best way to feel the dough and make sure everything is incorporated. It was a shaggy mess at first, but that’s normal.
Then came the waiting game. I let it sit, covered, for about an hour. This is called the “autolyse,” and it’s supposed to help the flour absorb the water better.
Adding the Salt and Bulk Fermentation
After the autolyse, I sprinkled in the salt and kneaded the dough for a few minutes. It started to feel smoother and more elastic. Then, I put it back in the bowl, covered it, and let it rise in a warm spot for several hours. I like bulk for a long time and then see how it’s going.
- Every hour or so, I did a set of “stretch and folds.” Basically, you gently stretch a portion of the dough up and fold it over itself. This helps develop strength in the dough.
Shaping and Proofing
Once the dough had doubled (or maybe even a bit more – I like it puffy!), I gently turned it out onto my counter. I shaped it into a round, trying not to deflate it too much. Then, I placed it in my floured banneton basket, seam-side up.
The basket went into the fridge overnight. This long, cold proof is where the extra tang comes from! Letting it chill slows down the yeast but lets the bacteria keep working, producing those delicious sour flavors.
Baking Day!
The next morning, I preheated my oven with my Dutch oven inside. Getting that thing screaming hot is key for a good crust.
Once it was hot, I carefully took the Dutch oven out, flipped the dough into it, and scored the top with a sharp knife. This helps control how the bread expands in the oven.
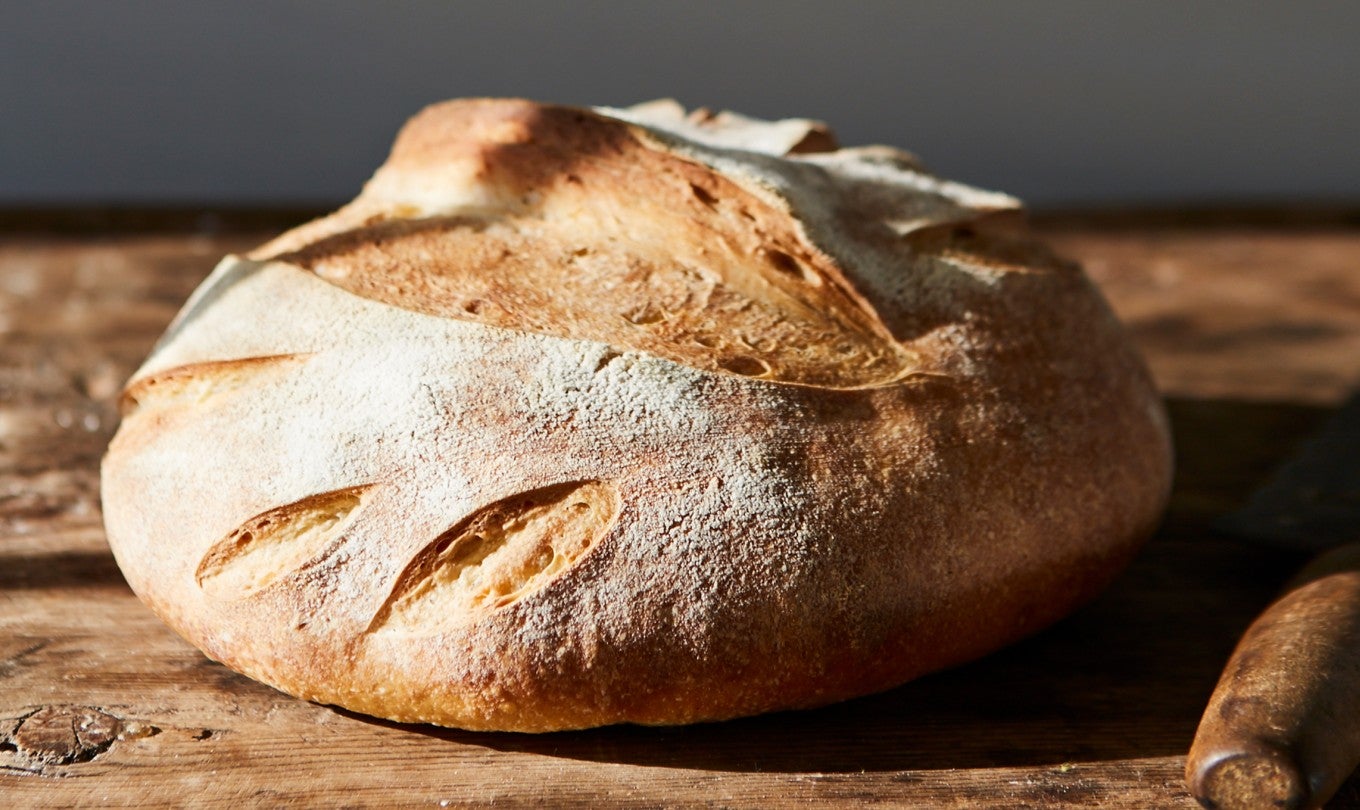
I baked it covered for about 20 minutes, then removed the lid and baked it for another 25-30 minutes, until it was a deep golden brown and sounded hollow when I tapped the bottom.
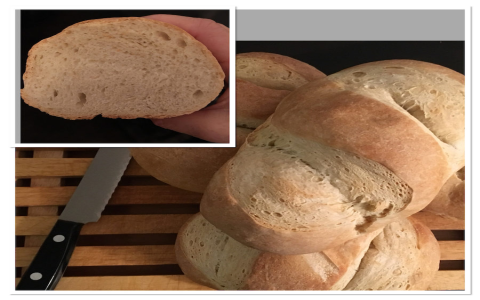
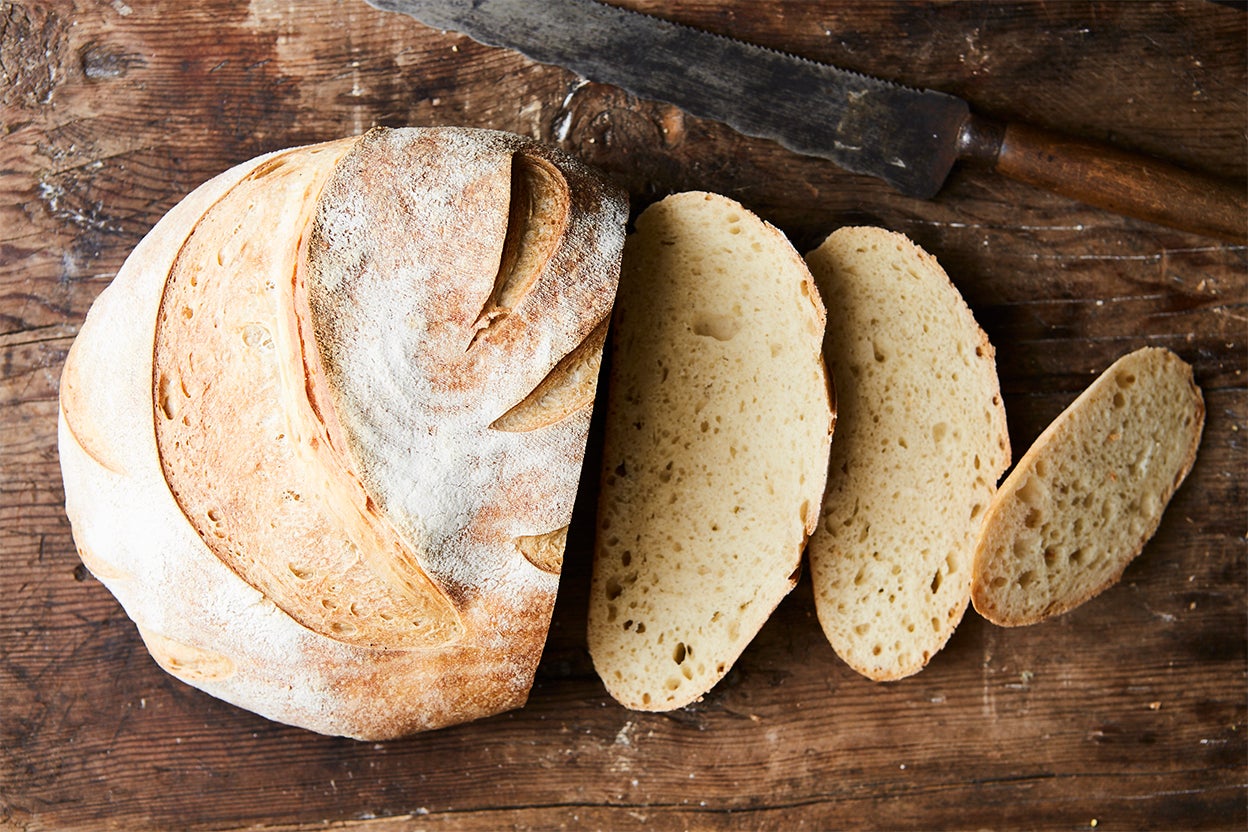
The Results!
Honestly, it turned out amazing! The crust was crispy, the inside was chewy and airy, and the flavor… oh man, the flavor! It was definitely more tangy than my usual sourdough, but not in an overpowering way. It was just right. Super happy with how this experiment turned out, and I’ll definitely be making this one again!


