

Okay, so I’ve always wanted a bread oven, you know, that authentic, rustic, wood-fired taste. And I finally decided to just go for it and build one myself – outdoors! Let me tell you, it was a project, but so worth it.
Getting Started
First, I spent ages looking at designs online. There are so many ways to do it, it’s kinda overwhelming! I finally settled on a simple dome shape. I wanted something that wouldn’t take up the entire yard, but still big enough to bake a decent loaf.

Then came the materials. Oh boy. I needed firebricks (the ones that can handle super high heat), regular bricks (for the base), sand, clay, cement, and a whole bunch of other stuff. I ended up making like, five trips to the hardware store. I swear, they know me by name now.
Building the Base
I started by clearing a spot in the yard. I decided I like the spot that is not that wet.
I laid down a concrete slab as a foundation. Gotta have a solid base, right? I made sure my base had a circle shape.
Then, I built up the brick base, leaving a space underneath for storing wood. It was basically just stacking bricks and making sure it was all level. My back was definitely feeling it after that!
The Dome Begins
This was the tricky part. I used sand to create a mold for the dome shape. Basically, I made a big mound of sand and shaped it just right. Then, I started layering the firebricks over the sand, using a mix of clay and sand as mortar. That stuff is messy, let me tell you!
Slowly but surely, the dome started to take shape. It was like building a giant, upside-down bowl. The key is to make sure the bricks are angled correctly so they don’t all fall in. Trust me, there were a few close calls.
Finishing Touches
Once the dome was done, I let it dry for a few days. Then came the scary part – removing the sand! I carefully scooped it out, little by little, until the dome was standing on its own. Phew! It worked!
After that, it was all about adding the finishing touches. I built a little chimney, added a door (made from an old metal sheet), and plastered the outside with more clay and sand to help insulate it.
The First Bake!
Finally, it was time for the moment of truth. I built a fire inside the oven and let it heat up for a good few hours. The smell of burning wood filled the air – it was amazing!
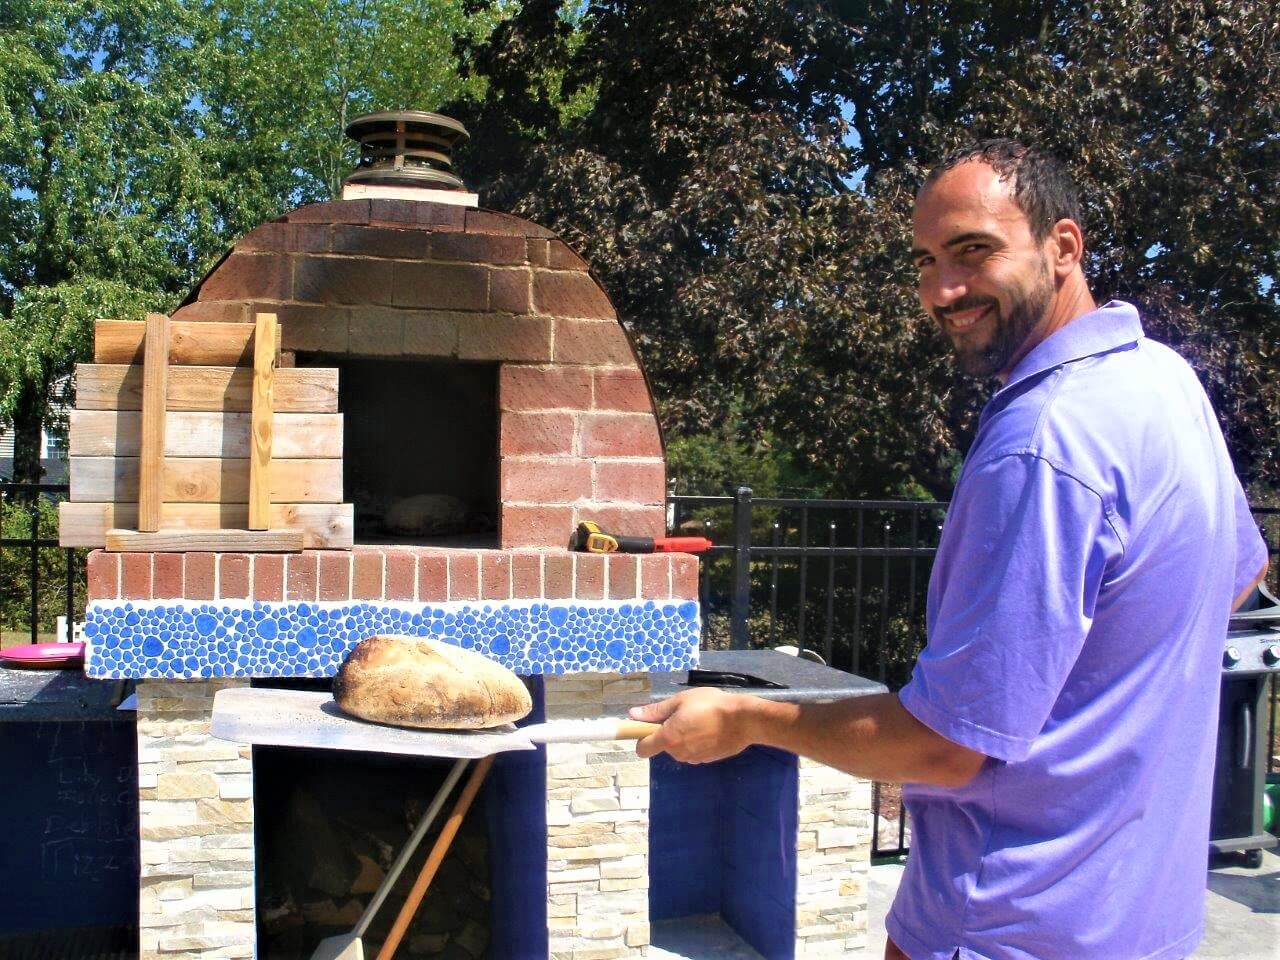
I slid in my first loaf of bread, closed the door, and waited. The anticipation was killing me! When I finally pulled it out, it was golden brown, crusty, and smelled incredible. The taste? Unbelievable! Seriously, the best bread I’ve ever had.
So, yeah, building a bread oven outdoor was a lot of work. But it was also incredibly rewarding. Now I can have amazing, wood-fired bread whenever I want. And let’s be honest, there’s something pretty cool about saying you built your own oven.


