

Okay, so today I tried making microwave banana pudding, and let me tell you, it was a journey. I’m all about quick and easy desserts, and this one seemed to fit the bill. Here’s how it went down:
Getting Started
First, I grabbed all my ingredients. This is the most important part! You need:
- Ripe bananas (like, the browner, the better)
- Some vanilla wafers (I just used the regular kind)
- Milk (I used 2%, ’cause that’s what I had)
- An egg (just one!)
- Sugar (obviously)
- Vanilla extract (the good stuff, if you have it)
- A pinch of salt (just a tiny bit)
Mashing and Mixing
I started by mashing up two bananas in a bowl. I used a fork, and it got the job done, but a potato masher would probably be quicker. I made sure there weren’t any big chunks, it needs to be pretty smooth.
Then, in a separate mug (a big one!), I whisked together the egg, some sugar, a splash of vanilla extract, and that tiny pinch of salt. I just eyeballed the amounts, honestly. I like things sweet, so I probably added a bit more sugar than most people.
Next, I slowly poured in the milk while whisking. Keep whisking! You don’t want scrambled eggs in your pudding. I think I used about half a cup of milk, maybe a bit more. It should look like, well, pudding mix.
Layering It Up
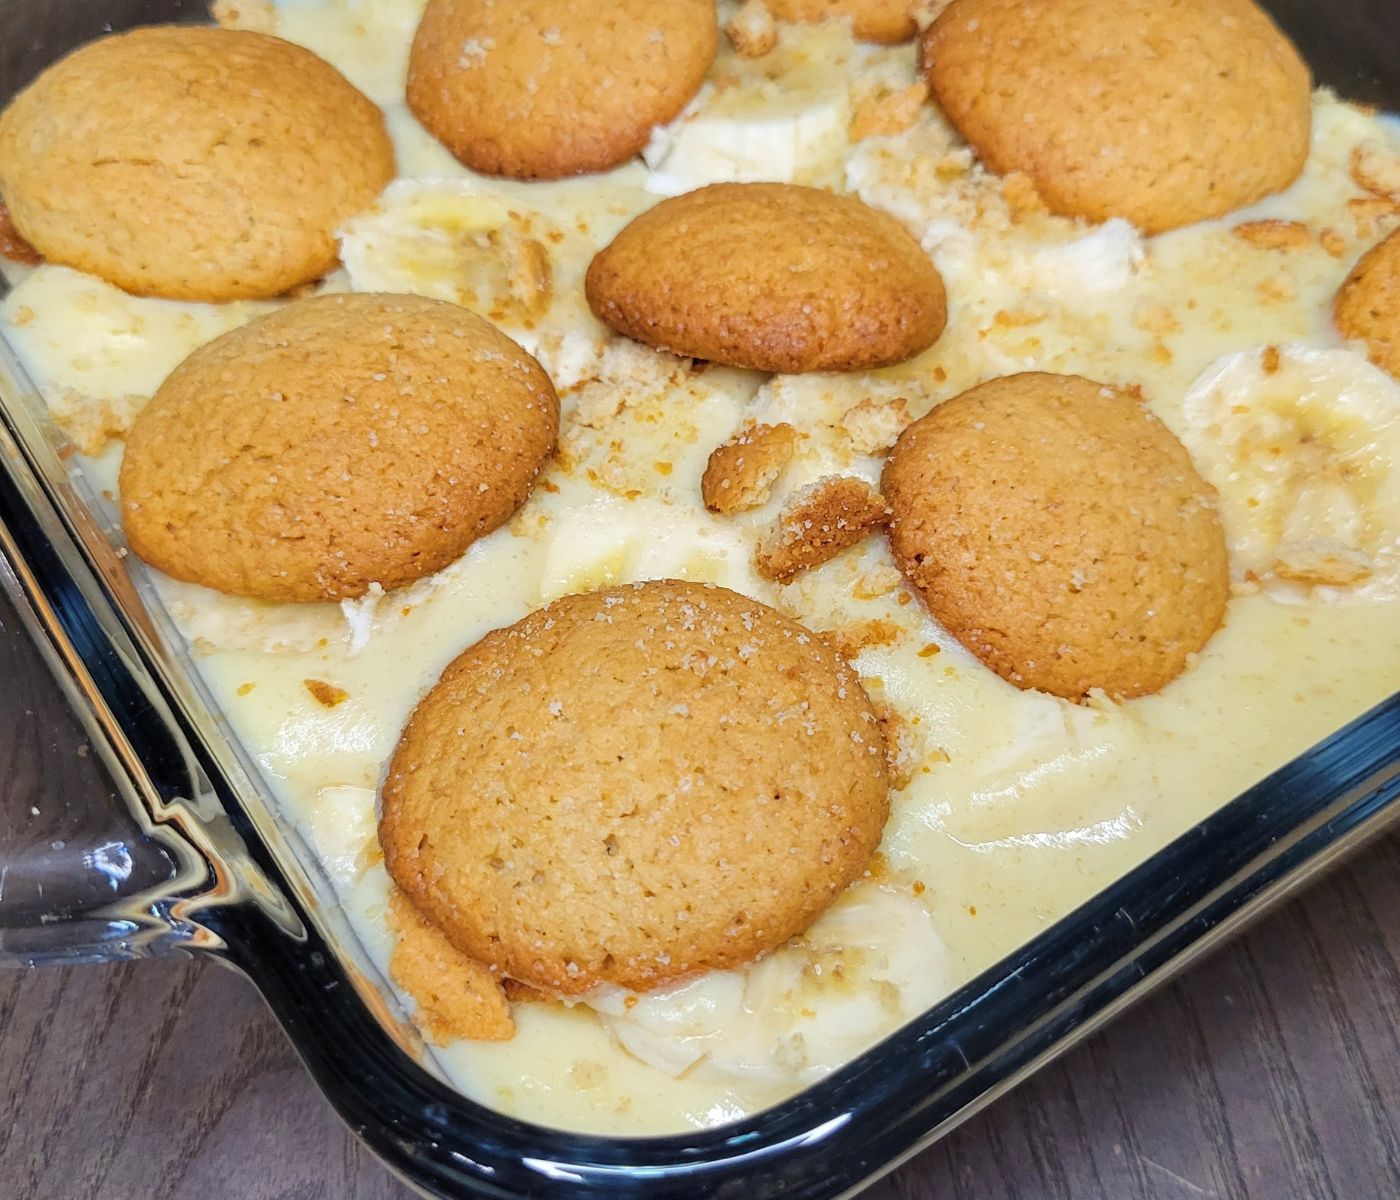
Now for the fun part! I took another mug (because who wants to do dishes?) and started layering. First, a layer of vanilla wafers on the bottom. I broke them up a bit so they’d fit nicely.
Then, I spooned some of the mashed banana on top of the wafers. After that, I poured some of the pudding mixture over the banana. I just kept repeating these layers – wafers, banana, pudding – until the mug was almost full. Make sure you finish with the pudding mix!
Microwave Magic
I put the mug in the microwave and cooked it for about 2 minutes. This part is important: every microwave is different, so you might need to adjust the time. I checked it after a minute and a half, and it looked like it needed a little longer.
You want the pudding to be set, but not rubbery. It should still be a bit jiggly in the middle. If it’s still super liquid, give it another 30 seconds and check again. Keep doing that until its ready. I find mine took a total of 2 and a half minutes.
The Final Touch (and Taste Test!)
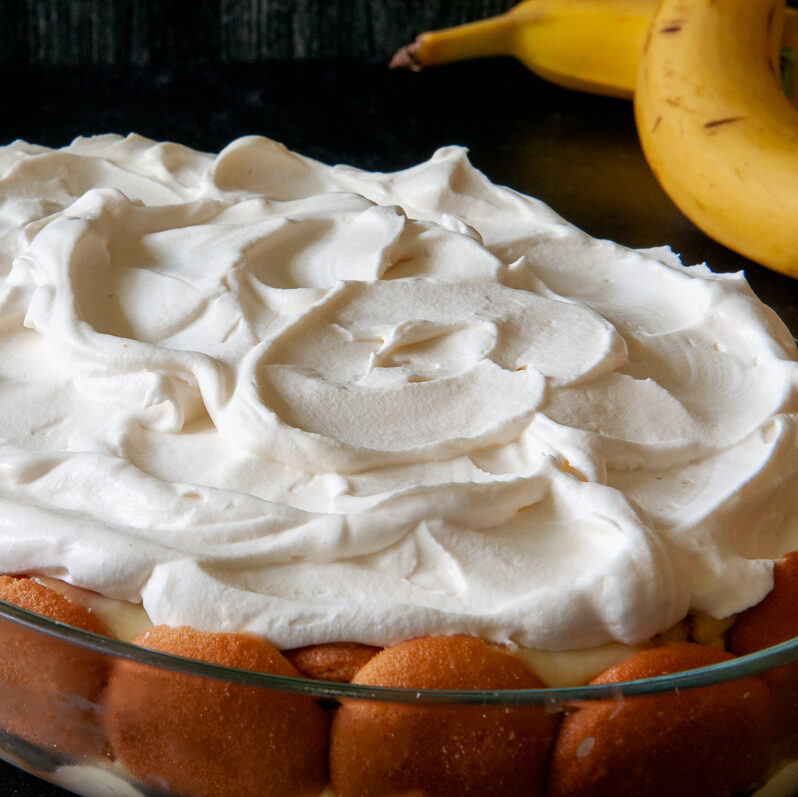
Once it was done, I took it out of the microwave (careful, it’s hot!). I let it cool for a few minutes, because I didn’t want to burn my tongue. Then, I topped it with a few more vanilla wafers and… dug in!
Honestly, it was pretty good! It’s not exactly like the classic, slow-cooked banana pudding, but for a quick microwave dessert, it totally hit the spot. It was warm, comforting, and banana-y. Next time, I might try adding a little cinnamon, or maybe even some chocolate chips. Yum!


