
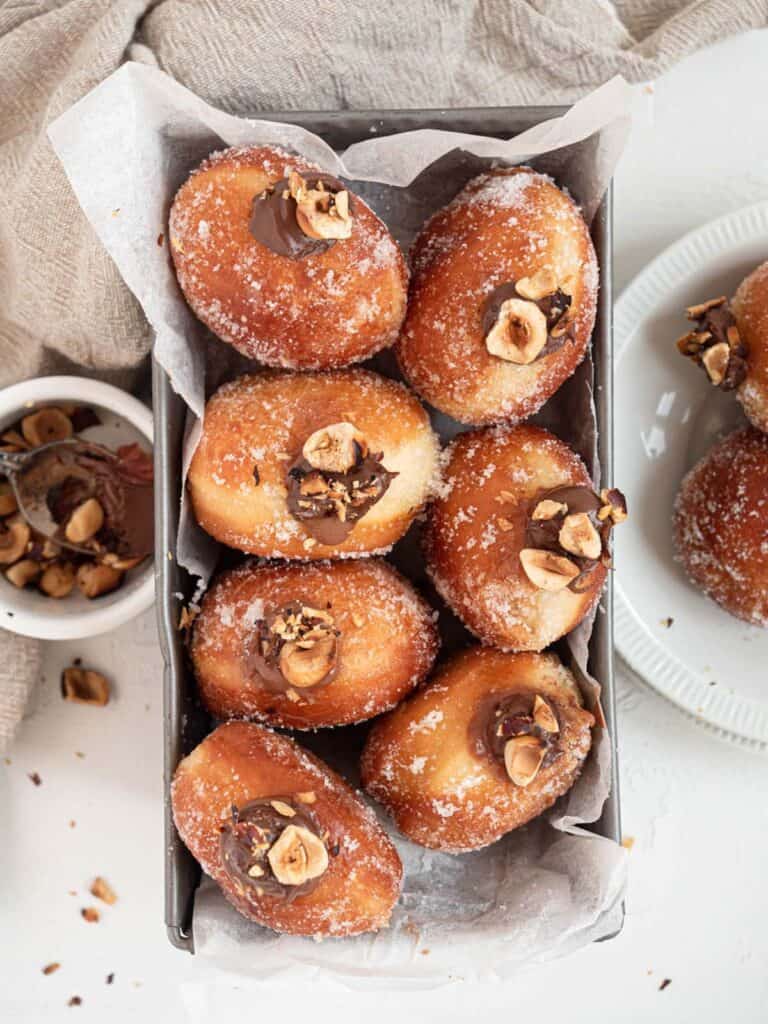
Okay, so I’ve been craving donuts, like, really craving them. But not just any donuts, those fluffy, yeasty ones that practically melt in your mouth. So I decided, why not try making them myself? I grabbed a “yeast raised donut mix” – figured it would be a good starting point, you know, less room for error.
I started by, well, reading the instructions on the box. Gotta start somewhere, right? It seemed pretty straightforward.

Mixing It Up
I poured the mix into a big bowl, and then added the required amount of warm water. The instructions emphasized warm, not hot, so I made sure to check the temperature with my finger. It felt like a nice, warm bath, so, perfect I think. Then, I stirred everything together with a wooden spoon. At first, it looked kinda shaggy and messy, but I just kept stirring.
After a bit of elbow grease, it started to come together into a ball of dough. It was still a little sticky, but definitely looked like dough.
The Kneading Game
Now for the fun part – kneading! I lightly floured my countertop (to prevent sticking, obviously) and dumped the dough onto it. Then, I just started pushing and folding, pushing and folding. The instructions said to knead for about 8-10 minutes, so I set a timer. It was actually kinda therapeutic, just working the dough.
- Push
- Fold
- Turn
- Repeat
After about 8 minutes, the dough felt a lot smoother and more elastic. It was still a little tacky, but not sticking to my hands like crazy.

Time to Rise
I lightly greased a clean bowl and placed the dough ball inside. Then, I covered it with a clean kitchen towel and put it in a warm spot in my kitchen. My oven, turned off, with just the light on, works pretty great for this. The instructions said to let it rise for about an hour, or until it doubled in size. So, waiting time.
An hour later, I peeked under the towel, and boom! It had definitely doubled. It looked all puffy and airy.
Shaping and Cutting
I gently punched down the dough (satisfying!) to release the air. Then, I rolled it out on a lightly floured surface to about half an inch thick. Now, I don’t have a fancy donut cutter, so I just used a large drinking glass for the outer circle and a small bottle cap for the donut hole. Worked like a charm!
I carefully placed the cut-out donuts onto a baking sheet lined with parchment paper, making sure to leave some space between them. Then, I covered them again with the towel and let them rise for another 30 minutes or so. This is called “proofing,” and it helps make them extra fluffy.
Fry Time!
I heated about 2 inches of vegetable oil in a large pot. To Test whether ready I droped one donut hole into the *’s ready!
I carefully lowered a few donuts at a time into the hot oil, being super careful not to overcrowd the pot. I fried them for about 1-2 minutes per side, until they were golden brown and looked delicious. I used a slotted spoon to flip them and to take them out of the oil.
I placed the freshly fried donuts onto a wire rack lined with paper towels to drain off any excess oil.
The Finishing Touches
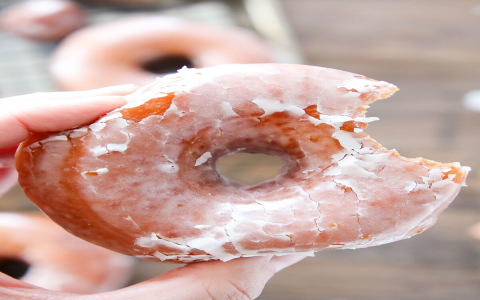
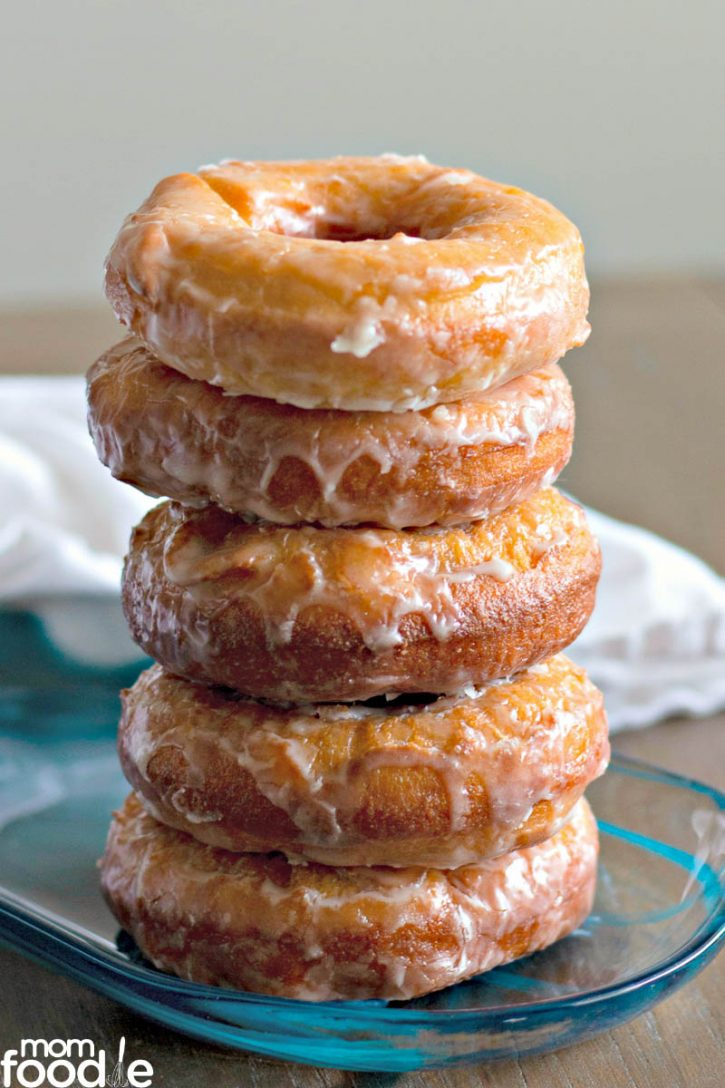
While the donuts were still warm, I tossed some in cinnamon sugar, and others I glazed with a simple powdered sugar glaze.
Finally the best procedure. I took a bite,so delicious! They were warm, fluffy, and everything I had hoped for.


