
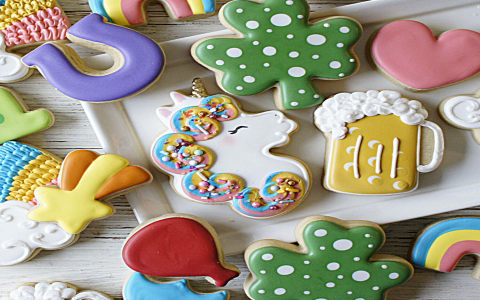
Okay, so yesterday I decided to make some cookies and decorate them with royal icing. I’ve done it before, but my piping was always, well, let’s just say “rustic.” This time, I was determined to get it right, so I focused on getting the icing into the piping bags properly.
Prepping the Bags
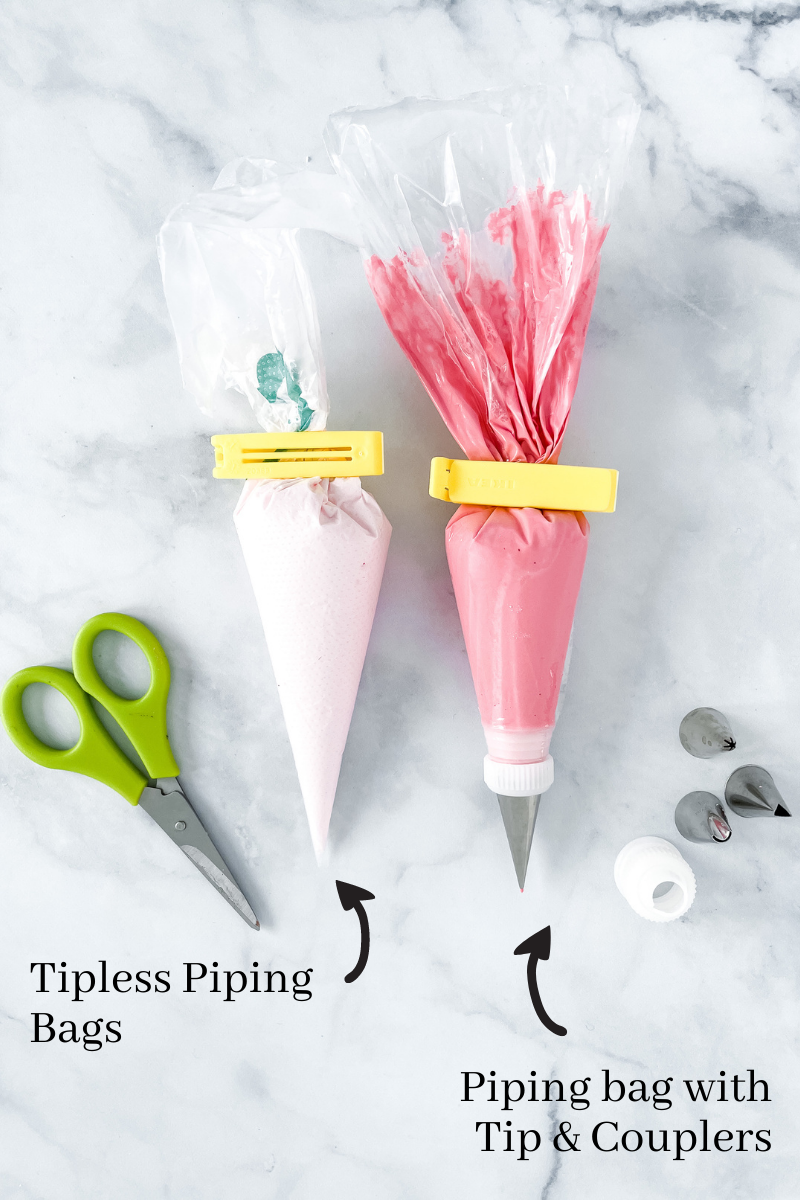
First, I grabbed my piping bags. I have both disposable and reusable ones, but for royal icing, I prefer the disposable ones – less cleanup! I also made sure I had my piping tips and couplers ready. The couplers are important because they let you change tips without changing bags, which is super handy when you’re using different designs.
I snipped off the end of the piping bag, just enough so the coupler could fit through snugly. It’s a mess if you cut too much, so start small! Then I put the coupler base inside the bag and pushed it down to the opening. I screwed the ring part of the coupler onto the outside, which holds the tip in place.
I put tips on it.
Filling the Bags
Now for the tricky part – filling the bag without making a huge mess. I’ve learned this the hard way, believe me. I used a tall glass to help. I folded the top of the piping bag over the rim of the glass, making a sort of cuff. This keeps the bag open and stable while you’re filling it.
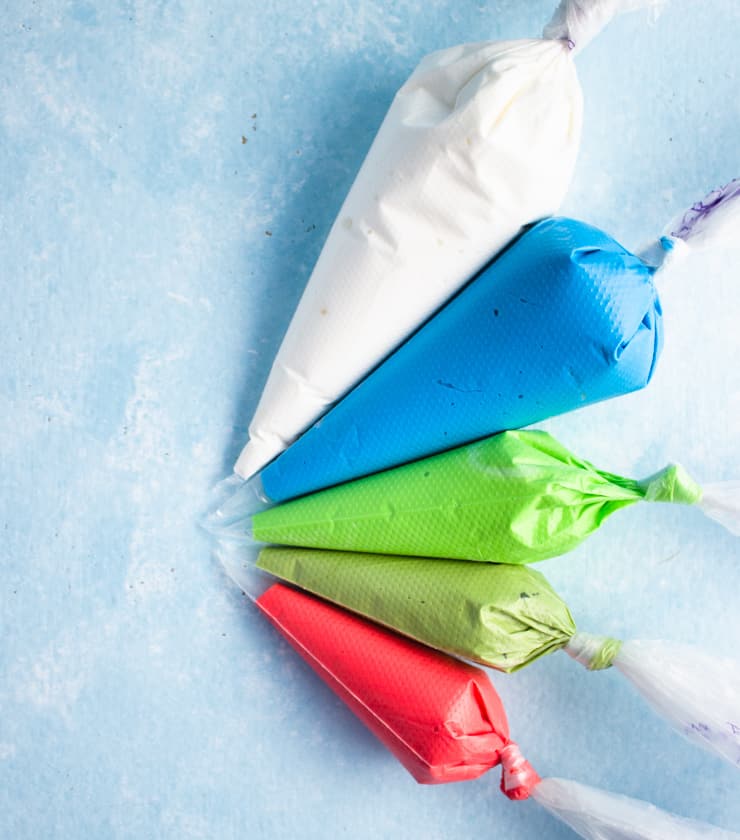
I used different color icing, so devided them in different bowls.
Then, I used a spatula to scoop the royal icing and carefully put it into the bag. The key here is not to overfill! About halfway full is plenty. If you put too much, it’ll squeeze out the top when you’re piping, and that’s just frustrating.
Getting Rid of Air Bubbles
Once the bag was filled, I unfolded the cuff and gently squeezed the bag to push the icing down towards the tip. I twisted the top of the bag to close it, making sure to get all the air out. Air bubbles are the enemy of smooth piping! They can cause your icing to spurt out unexpectedly and ruin your design.
To get rid of any stubborn air bubbles, I held the bag upright and tapped it gently on the counter. I also gave it a few gentle squeezes, letting any trapped air escape through the tip. You might need to do this a few times to get all the bubbles out.
Securing the Bag
Finally, I used a rubber band, to secure the twisted top of the bag. This keeps the icing from drying out and prevents any accidental squirts while you’re working.
Testing and Starting
I test the icing flow out on a paper, make sure no air in the bag any more.
Start decoreating the cookies.
And that’s it! With the bags properly prepped and filled, I was ready to start piping. It definitely made a difference – my lines were smoother and more controlled. It still takes practice to get those perfect swirls and details, but having the bags set up correctly is half the battle!


