

Alright, so I got this airbrush thingy for my cakes and stuff. Let me tell you, it’s been a wild ride figuring this whole airbrush food coloring situation out.
First off, I grabbed my new airbrush kit and unboxed everything. Looked pretty neat, all these shiny parts and bottles. I’d seen folks online making some seriously cool designs on cakes, so I was pretty pumped to try it myself. I picked up some food coloring that’s made for airbrushing – gotta use the right stuff, you know?
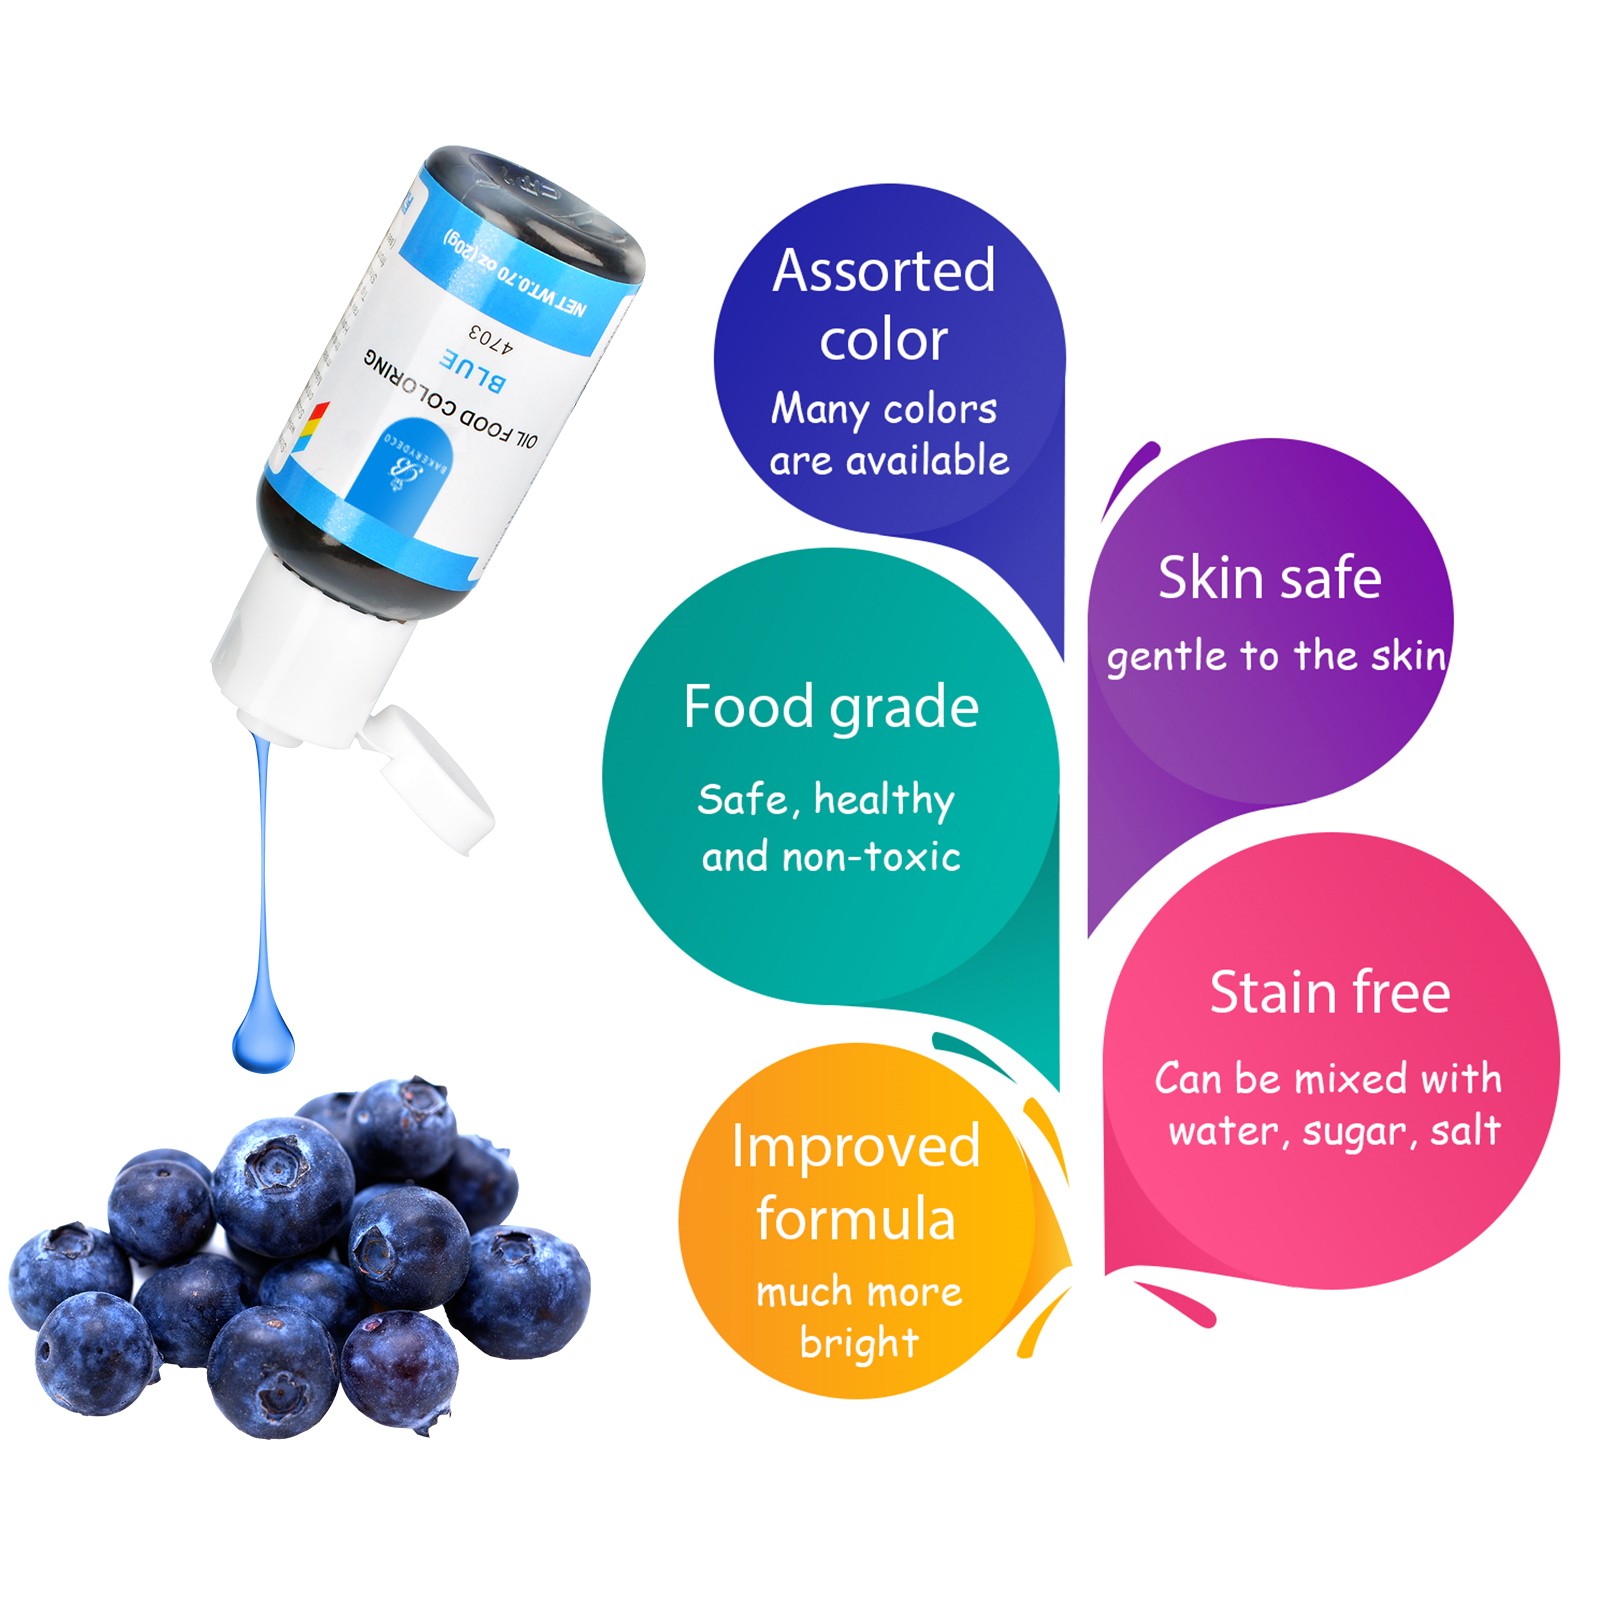
I started by mixing the colors. I got these little dropper bottles, which are super handy. I added a few drops of blue in one bottle, a bit of red in another, you name it. I was going for this awesome sunset look on my cake. Mixing the colors was kinda fun, felt like a mad scientist or something. Only problem was, some colors didn’t show up well. So, I have to use some tricks, or just buy some of them. And it made me wondering, is this stuff safe to eat? It says so on the bottles, but you never know, right?
Next up, I poured the mixed colors into the airbrush gun. This part was a bit tricky at first. You gotta make sure you don’t overfill it, or it gets messy. Once I got the hang of it, though, it was pretty smooth sailing. I tested it out on some paper towels first – didn’t want to mess up my cake right away.
Then came the fun part – actually airbrushing the cake. I started with a light blue for the sky, spraying it on in even strokes. It’s a bit like spray painting, but way cooler because it’s on a cake! I added some darker blue at the top, blending it in to make it look like a real sky. I saw some news online about some food coloring stuff being banned, like that Red No. 3 thing. But the ones I bought, they’re all FDA approved, so I guess it’s all good. I am more concerned about those fake food coloring. They are added to the processed foods, which are high in refined sugar and carbs.
- First, I did the blue sky.
- Then, I switched to yellow and orange for the sunset part.
- I even added a bit of red to make it look like a fiery sky.
It took a few tries to get the hang of controlling the spray. Sometimes too much color came out, and sometimes not enough. But after a while, I kinda got into the groove of it. I made some clouds using white, and they looked pretty fluffy and realistic, if I do say so myself.
The whole process was a bit messy, I won’t lie. I got color on my hands, on the counter, even a little on my shirt. But hey, that’s part of the fun, right? Clean up was a bit of a pain, but it was totally worth it.
The end result? A cake that looked like a freaking masterpiece. Seriously, it looked like something you’d see in a fancy bakery. I was so proud of myself! And the best part? It’s totally safe to eat. So, not only did it look amazing, but it was also delicious.
My Tips for You
If you’re thinking of trying out airbrush food coloring, here are a few tips from my little adventure:
- Use the right kind of food coloring – the liquid kind made for airbrushes.
- Practice on paper towels first to get a feel for the airbrush.
- Mix your colors in separate bottles. It’s easier to control the shades.
- Don’t overfill the airbrush gun.
- Clean your airbrush right after using it, so the colors don’t dry and clog it up.
And most importantly, have fun with it! It’s a blast to see your cake turn into a work of art.


