

Okay, so I got into this whole foam cutting thing a while back. I wanted to make some cool stuff for my kid’s room, like, you know, wall decorations and maybe a few custom toys. Figured it would be a fun little project. I started off all gung-ho, thinking I could just grab a kitchen knife and go to town. Yeah, that didn’t work out so well. Ended up with jagged edges and a whole lot of frustration.
So I did what any sane person would do – I hit up the internet. Started looking into what tools people actually use for this stuff. Turns out, there’s a whole world of foam cutting tools out there. Who knew?
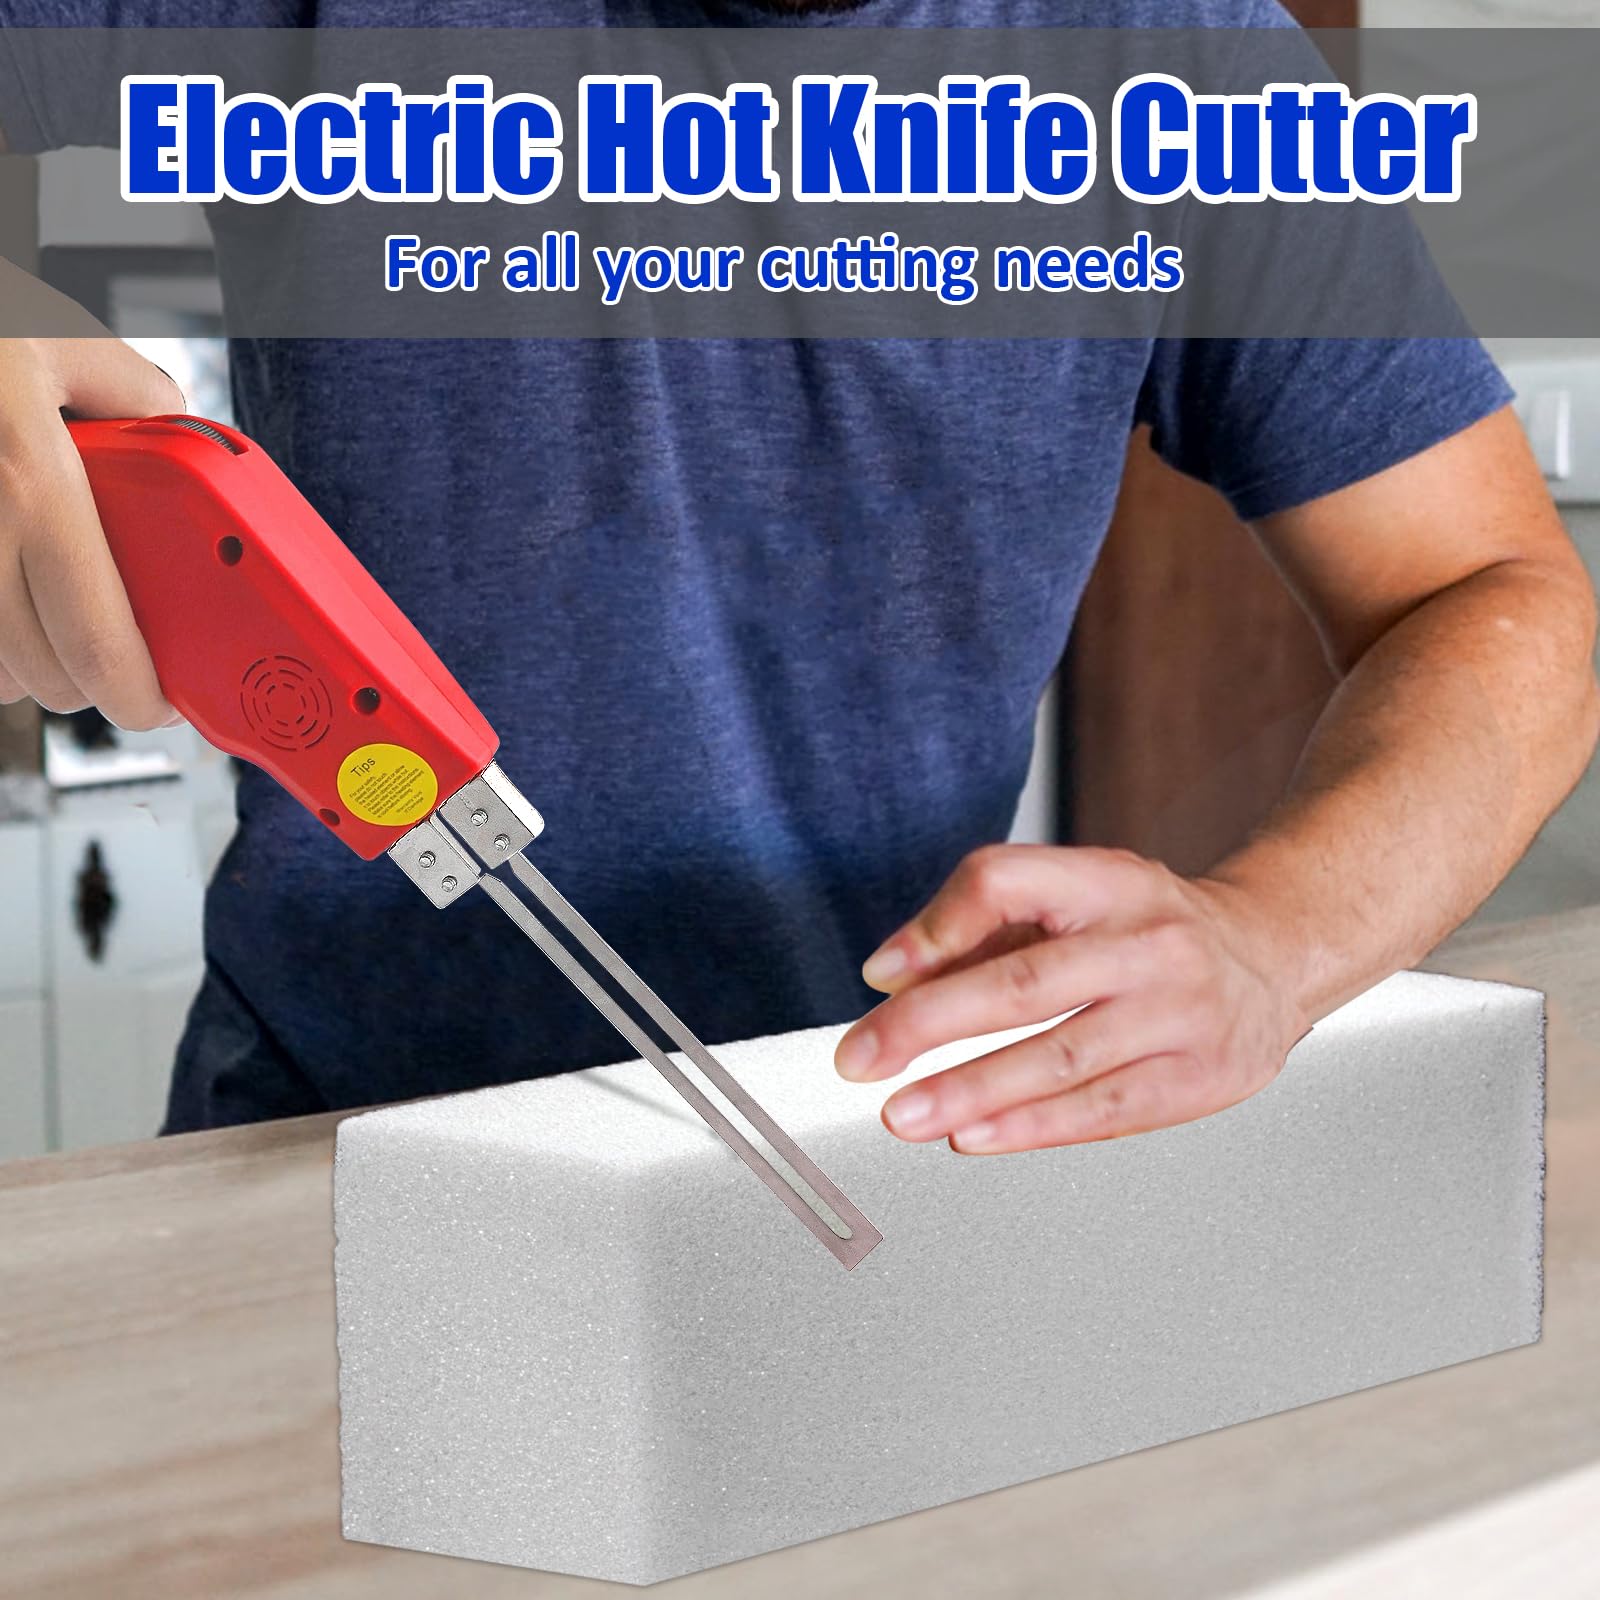
Finding the Right Tools
I started off with a simple utility knife I picked up from the local hardware store. That worked okay for some thin foam sheets, but when I tried to tackle thicker pieces, it was a real struggle. The cuts weren’t clean, and it was taking forever. Then, I stumbled upon these things called hot wire cutters. They looked pretty cool, like something out of a sci-fi movie. Basically, it’s a wire that heats up and melts through the foam. I decided to get one.
- Utility Knife: Good for thin foam, but not great for thick stuff.
- Hot Wire Cutter: Way better for thicker foam. Melts right through it.
Using the hot wire cutter was a game-changer. It was so much easier to get smooth, precise cuts. I was able to cut out shapes and letters for the wall decorations, and it looked pretty darn good, if I do say so myself. The kid loved it, which was the whole point, right?
I experimented with different types of foam too. There’s this white one, which is made of a lot of small bubbles. I think it is called Expanded Polystyrene or something. It’s super easy to cut with the hot wire cutter. It is also cheap and lightweight. I also tried cutting some denser foam, and for that, I found that a serrated blade from the utility knife worked best. I even used an Olfa L-2 utility knife with heavy-duty blades for the really tough stuff.
- Expanded Polystyrene: The white one with small bubbles, cuts easily with a hot wire cutter.
- Dense Foam: Use a serrated blade for this. Olfa L-2 utility knife works great.
But then I wanted to get even fancier. I had this idea to make a 3D model of a dinosaur, because, well, dinosaurs are awesome. That’s when I discovered CNC foam cutting. Now, I didn’t have a CNC machine lying around, but I found a local maker space that did. They had these giant machines that could cut foam with incredible precision, following a digital design. I learned a bit about designing for CNC, sent them my file, and bam – perfect dinosaur parts. It was like magic.
Assembling the dinosaur was a bit of a challenge, but it was totally worth it. Seeing it come together, piece by piece, was super satisfying. And the kid? He thought it was the coolest thing ever. I even tried other cutting methods, like horizontal and vertical cutting. There are even machines that use compression to cut the foam. Those are quite amazing too.
So yeah, that’s my foam cutting adventure in a nutshell. I learned a ton, made some cool stuff, and had a lot of fun along the way. And you know what? I’m not stopping here. I’ve got a whole list of new projects I want to try. Who knows what I’ll create next?


