
Today, I’m gonna share my experience with making a canvas piping bag. It’s not as hard as you might think!
First off, I gathered all the materials I needed. I mean, you can’t start without the right stuff, right? So, I got some sturdy cotton canvas fabric, scissors, a sewing machine, thread, and some parchment paper to make a pattern. You could also use an old piping bag as a guide if you have one.
I started by sketching out a simple triangle shape on the parchment paper. This was going to be my template. I made sure it was the size I wanted my piping bag to be. Once I was happy with the size, I cut it out.
Next, I laid out my canvas fabric and pinned the paper pattern on it. I carefully cut around the pattern, making sure I had two identical triangle pieces. I’m not the best at cutting straight lines, but hey, it doesn’t have to be perfect.
After that, I pinned the two canvas pieces together, right sides facing each other. Then, I headed over to my sewing machine and stitched along the two long edges, leaving the wide end open. I made sure to backstitch at the beginning and end to secure the stitches. No one wants a piping bag that falls apart, am I right?
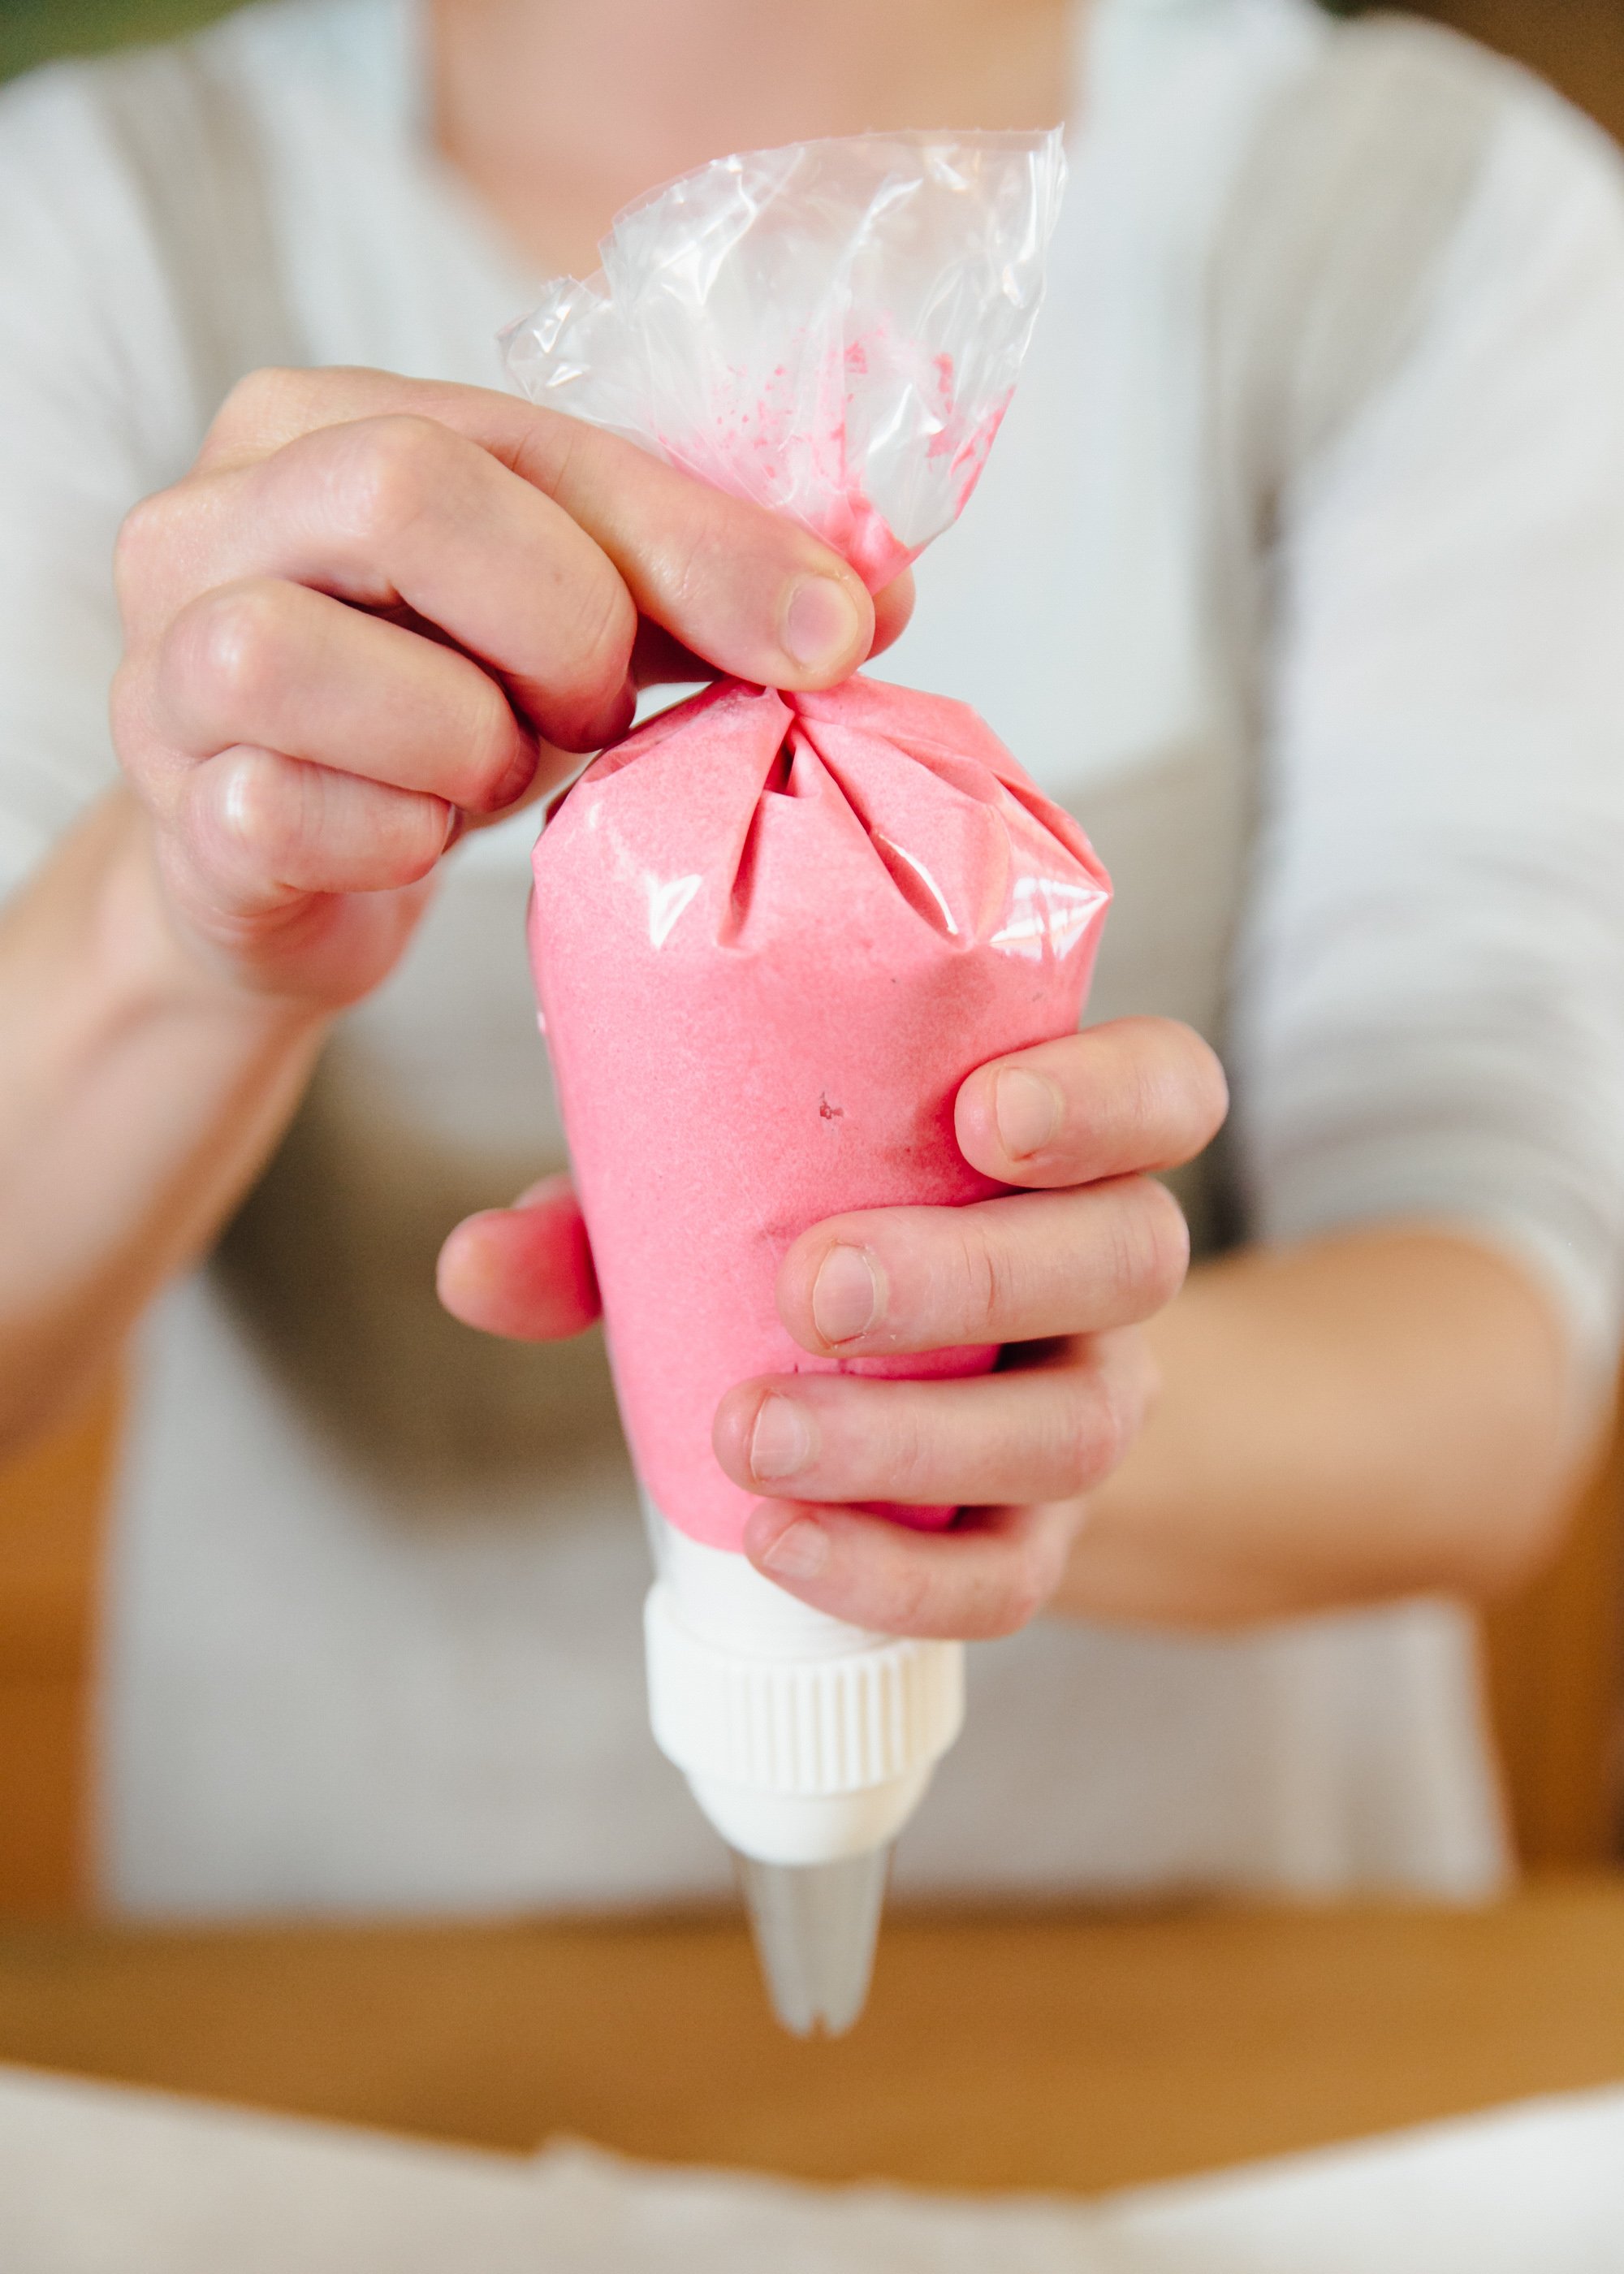
Once the sewing was done, I turned the bag right side out. I used a pencil to poke out the pointy end. It looked like a piping bag already! But there was still one more step.
I folded the raw edges at the open end inward and ironed them flat. This gave it a nice, clean edge. Then, I sewed around the opening to secure it. I found this step a bit tricky, but with a little patience, I got it done.
- Gather materials: cotton canvas, scissors, sewing machine, thread, parchment paper.
- Make a pattern: sketch and cut a triangle shape from parchment paper.
- Cut fabric: pin the pattern to canvas and cut two triangle pieces.
- Sew the bag: pin pieces together, sew along the long edges, leaving the wide end open.
- Turn and finish: turn the bag right side out, fold in raw edges, iron, and sew to secure.
And there you have it, a homemade canvas piping bag! It wasn’t too difficult, and I was pretty proud of myself for making it. Plus, it’s reusable, so I’m doing my bit for the environment. Cleaning it is straightforward, too – just a bit of soap and water, then let it air dry. I learned that keeping it clean is key to making it last. If you are using it often, you may need to replace it, but for me, this one will last a long time! If you’re into baking or just want to try something new, give it a go! It’s a fun little project, and you get a useful tool out of it.


