
Alright, guys, let’s talk about the bread pudding with maple syrup I made last weekend. It was quite a journey, I gotta say, but a delicious one!
So, I started with this idea of making a dessert. I wanted something warm, comforting, and just a little bit sweet. Browsing through some old cookbooks, I stumbled upon bread pudding. I remembered reading somewhere that the word “pudding” has some old roots, like, all the way back to the Latin word “botellus,” which meant sausage. Who knew, right? Anyway, the idea of a bread-based dessert got me hooked.
First thing I did was gather all the stuff I needed. I grabbed some stale bread from the pantry—gotta love using up leftovers—and then the usual suspects: milk, eggs, and some spices. But here’s where I decided to mix things up a bit. Instead of regular sugar, I thought, “Why not maple syrup?” It just seemed like it would add a nice, warm flavor that regular sugar wouldn’t.
I started by cutting the bread into cubes. Then, I whisked together the milk, eggs, a dash of cinnamon, and a generous pour of maple syrup in a big bowl. I dunked the bread cubes into this sweet, creamy mixture, making sure each piece got a good soaking. It felt a bit like giving those bread pieces a luxurious bath!
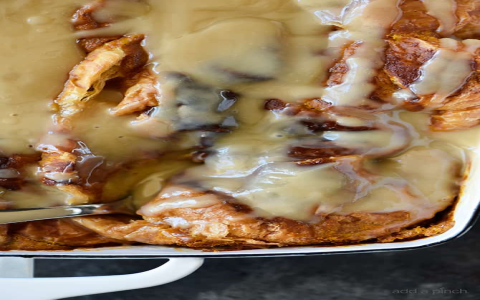
Next, I poured everything into a greased baking dish. While I was waiting for the oven to heat up, I thought about how people have been making variations of this dish for ages. I mean, bread pudding is apparently a big deal in British cuisine, almost like an invention of theirs. It’s pretty cool to think about how food connects us through history.
Once the oven was hot, I slid the dish in. Now, the recipe I found said to bake until it’s just set but not dry. That sounded a bit vague, to be honest, so I kept a close eye on it. I think I pulled it out after about 45 minutes, when it looked golden brown and smelled absolutely amazing.
I let it cool down a bit, though it was tough to resist digging in right away! Waiting for it to cool, I remembered a tip I read online about freezing bread pudding. Apparently, you should freeze it after baking to keep it from getting mushy. Good to know for next time, maybe when I make a big batch.
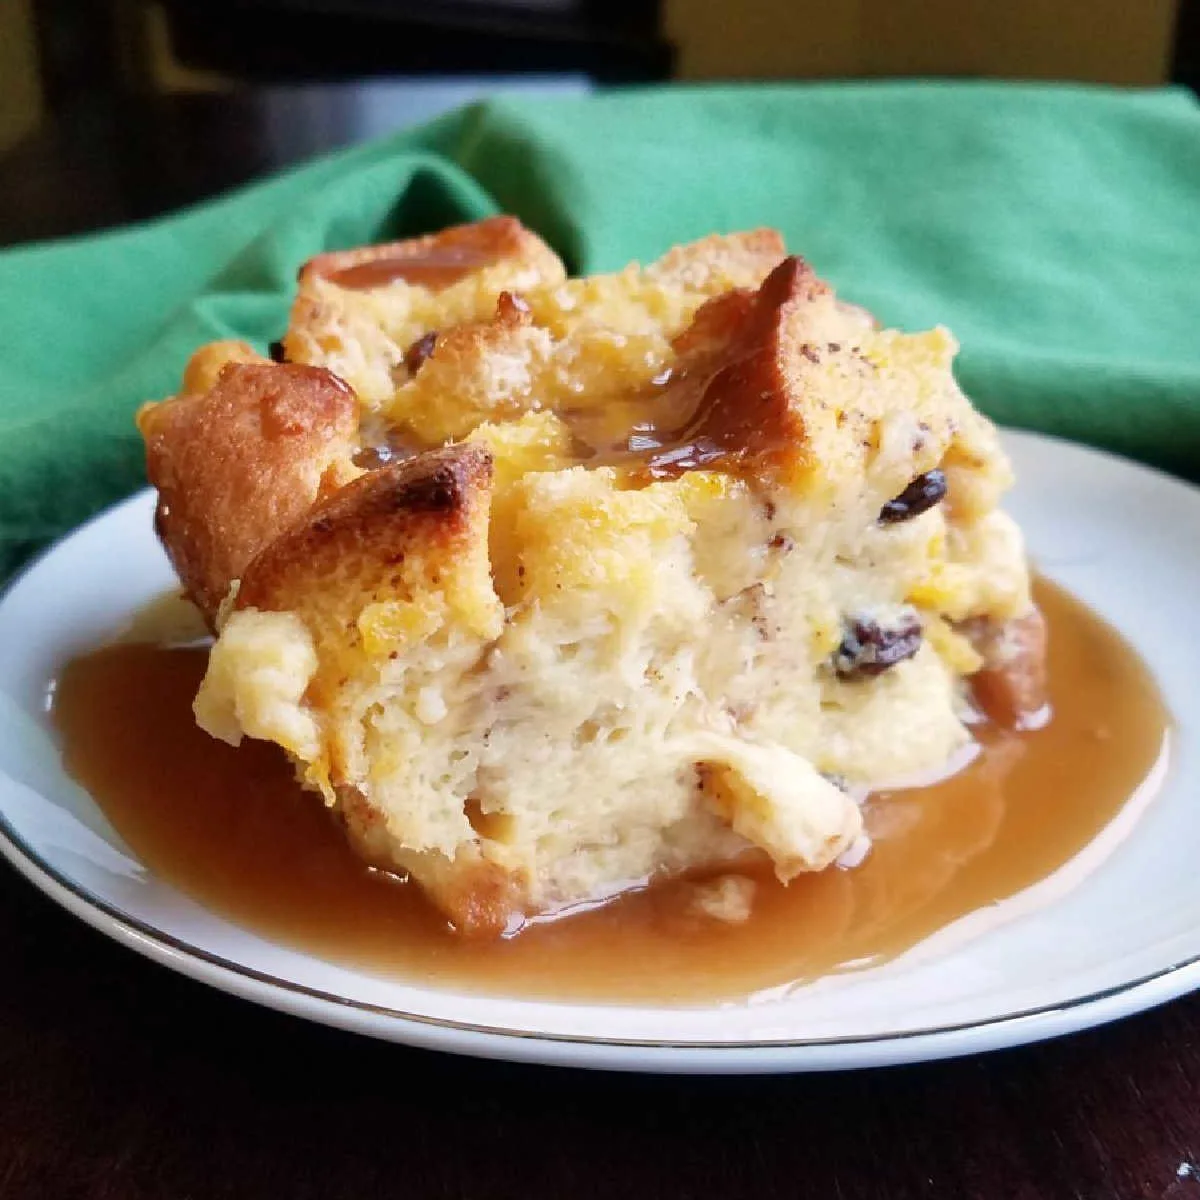
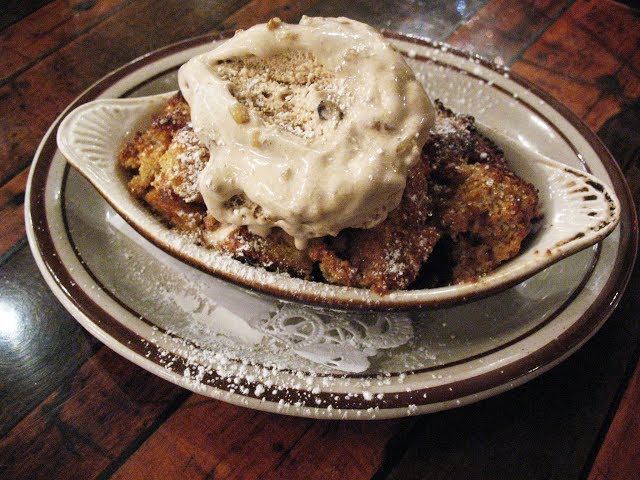
Finally, it was time to taste. I scooped out a portion, drizzled a bit more maple syrup on top because, why not? And wow, it was incredible. The texture was creamy, the flavor was subtly sweet with that distinct maple kick, and it was just so comforting. It was like a warm hug in dessert form.
In the end, this little baking adventure turned out great. It was a reminder of how fun it can be to experiment in the kitchen and how satisfying it is to enjoy something you’ve made from scratch. Plus, I learned a bit about the history of bread pudding and found a new use for maple syrup!
Oh, and here’s a little extra for you guys. I was so wrapped up in making this that I ended up writing down my steps and thoughts. Thought I’d share my notes here, might be useful if you decide to give it a try:
- Bread Soaking: Make sure the bread really soaks up that milk and egg mixture. Don’t be shy; let it swim!
- Maple Syrup: Using maple syrup instead of sugar was a game-changer. It’s not just about sweetness; it adds depth.
- Baking Time: Keep an eye on it while baking. You want it set, not dry. Golden brown is the way to go.
- Cooling: Letting it cool is important, helps with the texture. Plus, good to know it freezes well after baking.
So yeah, that’s the story of my bread pudding adventure. Hope you enjoyed the read, and maybe it’s inspired you to try something new in the kitchen. Happy baking, folks!


