
Okay, so, today I tried to make a bakery item based on Portuguese sweet bread. I’ve always been a fan of those slightly sweet, fluffy breads, and I thought, “Why not give it a shot myself?” So, I looked up some stuff online about Portuguese sweet bread – apparently, it’s also known as Hawaiian bread, who knew? Anyway, I found a recipe that seemed pretty straightforward, so I decided to roll with it.
First off, I gathered all the stuff I needed. It’s your usual bread-making suspects: flour, sugar, yeast, eggs, milk, butter, and a bit of salt. I activated the yeast in some warm milk with a pinch of sugar, just to make sure it was alive and kicking. While that was doing its thing, I mixed the dry ingredients together in a big bowl – the flour, most of the sugar, and the salt. Easy peasy.
Once the yeast mixture was all bubbly, I poured it into the dry ingredients, along with the melted butter and eggs. Then came the fun part – kneading! I got my hands dirty and kneaded that dough for a good 10 minutes. It started out kind of sticky, but after a while, it became nice and smooth, just like it was supposed to. I put the dough ball in a greased bowl, covered it with a damp cloth, and let it rise in a warm place for about an hour, or until it doubled in size. Man, that waiting part is always the hardest!
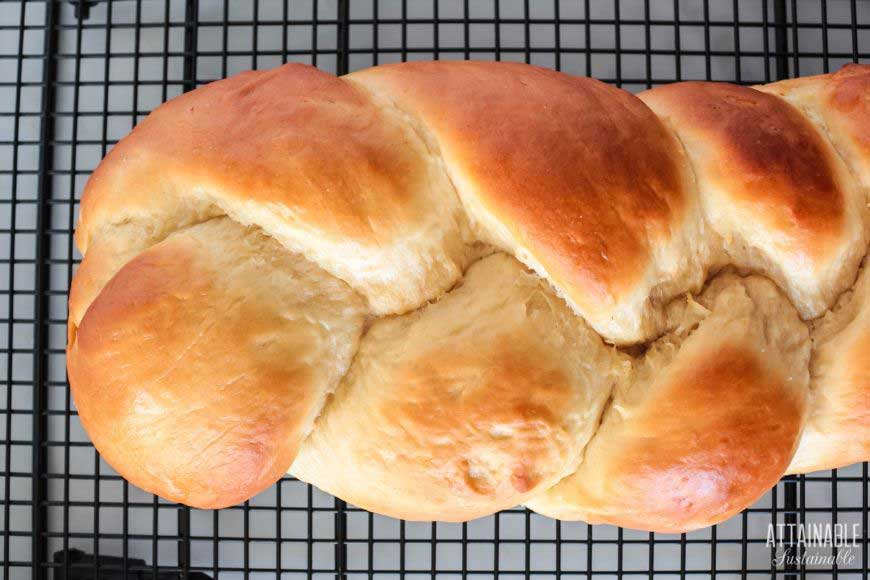
After the first rise, I punched the dough down – always satisfying – and then I divided it into two equal parts. I shaped each part into a round loaf and placed them on a baking sheet. Then, I covered them again and let them rise for another 45 minutes or so. Patience is key, my friends.
While the loaves were rising for the second time, I preheated the oven to 350°F (175°C). Once they were all puffed up and ready to go, I popped them in the oven and baked them for about 50 minutes. I did rotate the baking sheet halfway through, just to make sure they baked evenly. The recipe I found mentioned that they can brown pretty quickly because of the sugar, so I kept an eye on them.
- Gathered ingredients.
- Activated yeast.
- Mixed dry ingredients.
- Combined wet and dry ingredients.
- Kneaded dough.
- First rise.
- Punched down and shaped loaves.
- Second rise.
- Baked for 50 minutes.
Here’s a little breakdown of what I did:
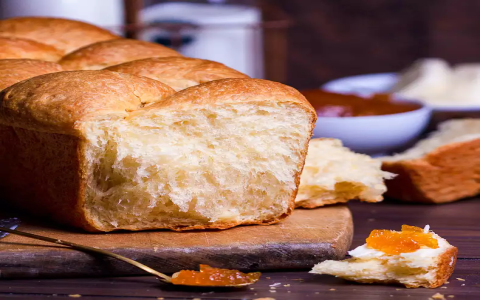
Anyway, after 50 minutes, the loaves were golden brown and smelled amazing. I took them out of the oven and let them cool on a wire rack. They were so tempting, but I managed to resist the urge to cut into them right away. When they were finally cool enough to handle, I sliced one open, and man, it was worth the wait! It was soft, fluffy, and just the right amount of sweet. I had a slice with just butter, and it was heavenly. I might even try making French toast with it tomorrow, or maybe even bread pudding if there are any leftovers, but I doubt it! I read somewhere that you can also make something called “Folar da Páscoa,” which is like an Easter bread with an egg in the middle, but maybe I’ll try that another time.
So, yeah, that’s my Portuguese sweet bread adventure. It was a fun little baking project, and I’m pretty happy with how it turned out. If you’re looking for a tasty and relatively easy bread to make, I’d definitely recommend giving this one a try!


