
Okay, so today I wanted to try something new in the kitchen, and I thought, why not make a fruit basket cake? I’ve seen these beautiful cakes online, and they looked so fancy, I just had to give it a shot. It seemed like a fun challenge, and who doesn’t love a good cake, right?
Getting Started
First things first, I gathered all my ingredients. I made sure I had enough flour, sugar, eggs, and all that good stuff. Then came the fun part – choosing the fruits! I went with a mix of colorful ones like strawberries, blueberries, kiwi, and some orange slices. I wanted my cake to look like a vibrant fruit basket, you know?
Prepping the Pans
Next, I preheated my oven to 350°F, because you gotta have the oven ready, right? Then I took out three 9-inch round cake pans. I greased them up real good with some butter and sprinkled a bit of flour to make sure the cake wouldn’t stick. I even cut out some parchment paper to line the bottom of the pans – just to be extra sure. Sprayed a little cooking spray on the parchment, too. Better safe than sorry!
Mixing the Batter
Now for the batter. I followed a basic cake recipe, mixing the dry ingredients in one bowl and the wet ones in another. Then I slowly combined them, making sure not to overmix. I wanted a nice, fluffy cake, not a tough one. Once the batter was all smooth and ready, I divided it evenly between the three pans.
Baking Time
Into the oven, they went! I baked them for about 25-30 minutes. To check if they were done, I did the good old toothpick test. Stuck a toothpick in the center, and when it came out clean, I knew they were ready. That smell of baking cake filled my kitchen, it was amazing!
Cooling Down
Once they were out of the oven, I let the cakes cool in the pans for about 10 minutes. Then, I carefully flipped them onto a wire rack to cool completely. Patience is key here – you don’t want to frost a warm cake, it’ll be a mess.
Making the Frosting
While the cakes were cooling, I whipped up some frosting. I went with a simple buttercream because it’s my favorite and it’s pretty easy to make. Just butter, powdered sugar, a bit of milk, and some vanilla extract. Beat it until it’s light and fluffy. I also added a bit of yellow food coloring, just to add that fruit basket vibe.
Assembling the Cake
Finally, the fun part – assembling! I placed one cake layer on a plate and spread a generous amount of frosting on top. Then I added the second layer, more frosting, and finally the third layer. I frosted the whole cake, making it look all nice and smooth. I even tried to create a basket-weave pattern on the sides using a piping bag, but let me tell you, it’s harder than it looks! I might need more practice on that.
Decorating with Fruits
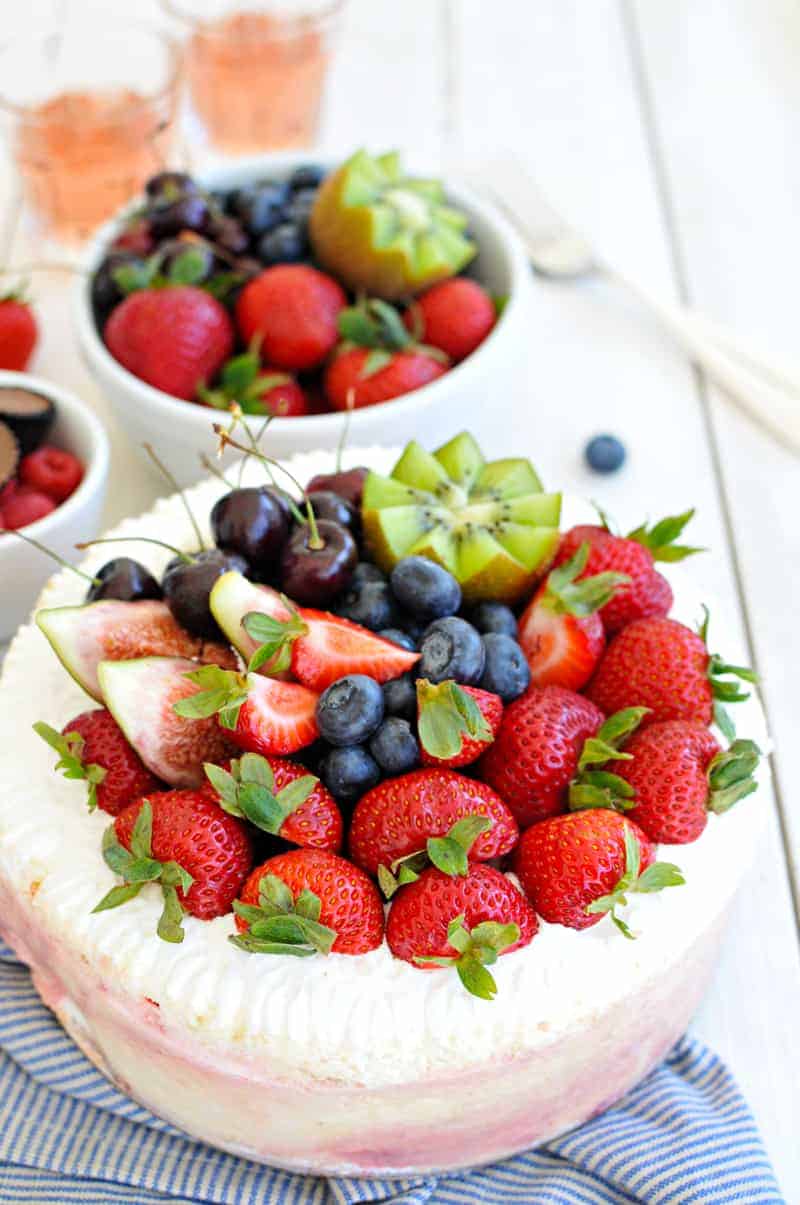
Now for the best part, decorating with fruits! I carefully arranged the sliced fruits on top of the cake, making it look like a real fruit basket. I started with the larger pieces and filled in the gaps with smaller ones. It was like creating a piece of art, and it was so satisfying to see it all come together.

The Final Result
And there it was, my very own fruit basket cake! It looked so pretty, I almost didn’t want to cut into it. But of course, I had to try it. The cake was moist and fluffy, the frosting was sweet and creamy, and the fresh fruits added a delicious, refreshing touch. It was a hit! I’m so glad I tried this, and I can’t wait to make it again, maybe with different fruits next time.
It took some time and effort, but it was totally worth it. I think anyone can do this, as long as you follow the steps and have a little patience. Trust me, if I can do it, you can too! This was such a fun project and also I’ve learned a lot. And a delicious treat! Baking is all about experimenting and having fun, right?


