
Well, let me tell ya, making a heart-shaped cake ain’t as hard as some folks might think. I reckon it’s just a bit of fun if you’ve got a little time to spare and a bit of patience in yer hands. Now, this here cake can be for any ol’ special occasion, like a birthday, anniversary, or just to show someone you care. It don’t need no fancy equipment, just a couple of regular pans, some butter, and sugar, and you’re good to go!
First thing ya gotta do is make the cake itself. You can pick any flavor you fancy—chocolate, vanilla, or maybe even a little spice if you’re feelin’ adventurous. Now, some folks like to use them round cake pans, and I say that’s just fine. You don’t need one of them special heart-shaped pans unless you’re real particular. What you gotta do is bake two round cakes, and then we’ll do a little trick to turn ’em into a heart.
Once yer cakes are done and all cooled off, it’s time to get to work. Take a serrated knife (that’s the kind with the saw-tooth edge, ya know) and start cuttin’ one of the cakes. You’re gonna make two cuts on the top of the cake—just eyeball it like I do. You want to cut down about halfway through the cake to make two curved sections. That’ll form the top of your heart. Don’t worry if it looks a little messy; that’s part of the charm!
Now, you take your first cake and lay it down on a flat surface, like a cutting board or something. Grab some buttercream frosting, and spread a little bit of it on the bottom of your cake stand or board, just to hold the cake in place. Then, put your first cake layer on top. After that, you’ll stick them two little curved pieces you cut off earlier to the top of the cake, using some more buttercream to glue ’em down. That’s gonna be the rounded top part of the heart.
Once you got the heart shape all set, it’s time to add some filling. Now, this part’s up to ya—some folks like jam, others like cream, or even fruit if you’re fancy like that. Spread a nice layer of your filling over the whole cake, right on top of the bottom layer. Don’t be shy with it! Once you’ve done that, grab yer second cake layer and put it right on top, squishin’ it down a little so it sticks.
Now comes the messy part, but don’t fret! You gotta crumb coat the whole cake with a thin layer of buttercream. This helps keep all them crumbs from makin’ a mess when you frost it later. After you’ve covered the cake, stick it in the fridge for a bit to let it set. Give it about 30 minutes, and you’ll be ready for the fun part—decorating!
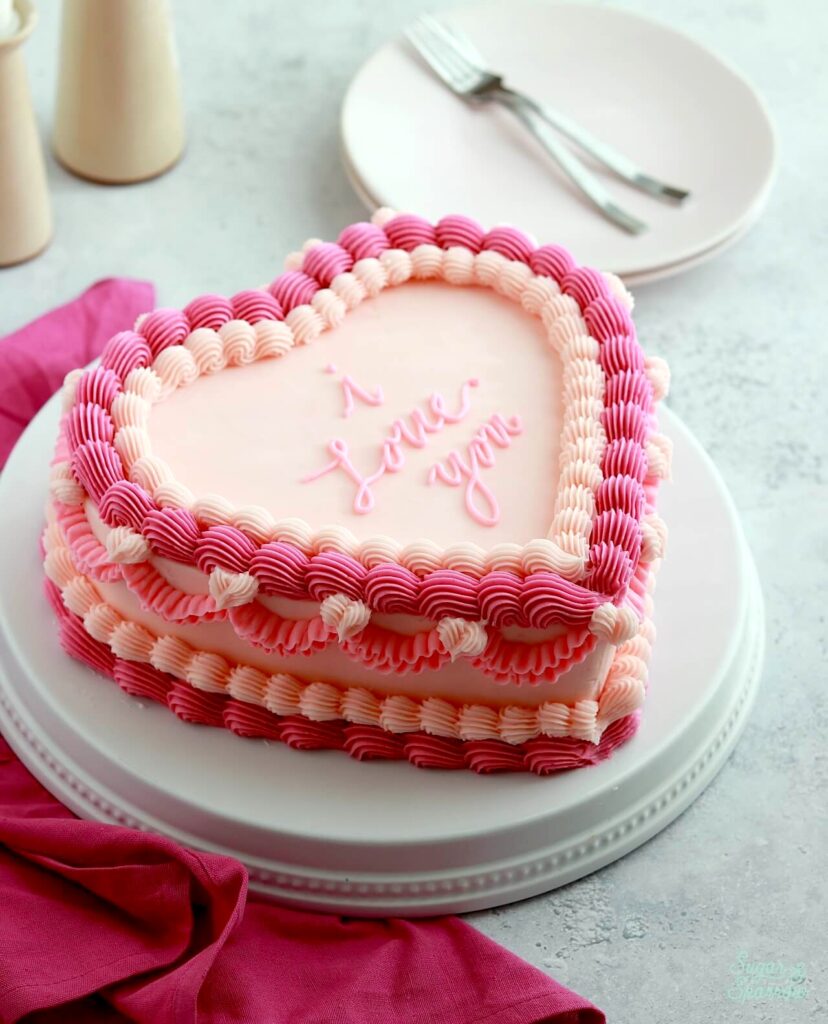
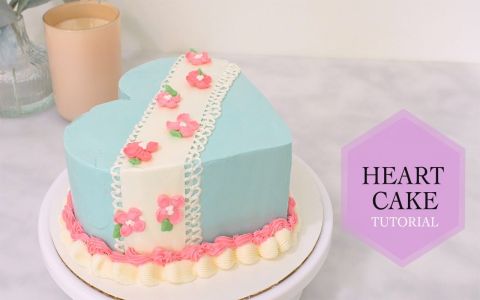
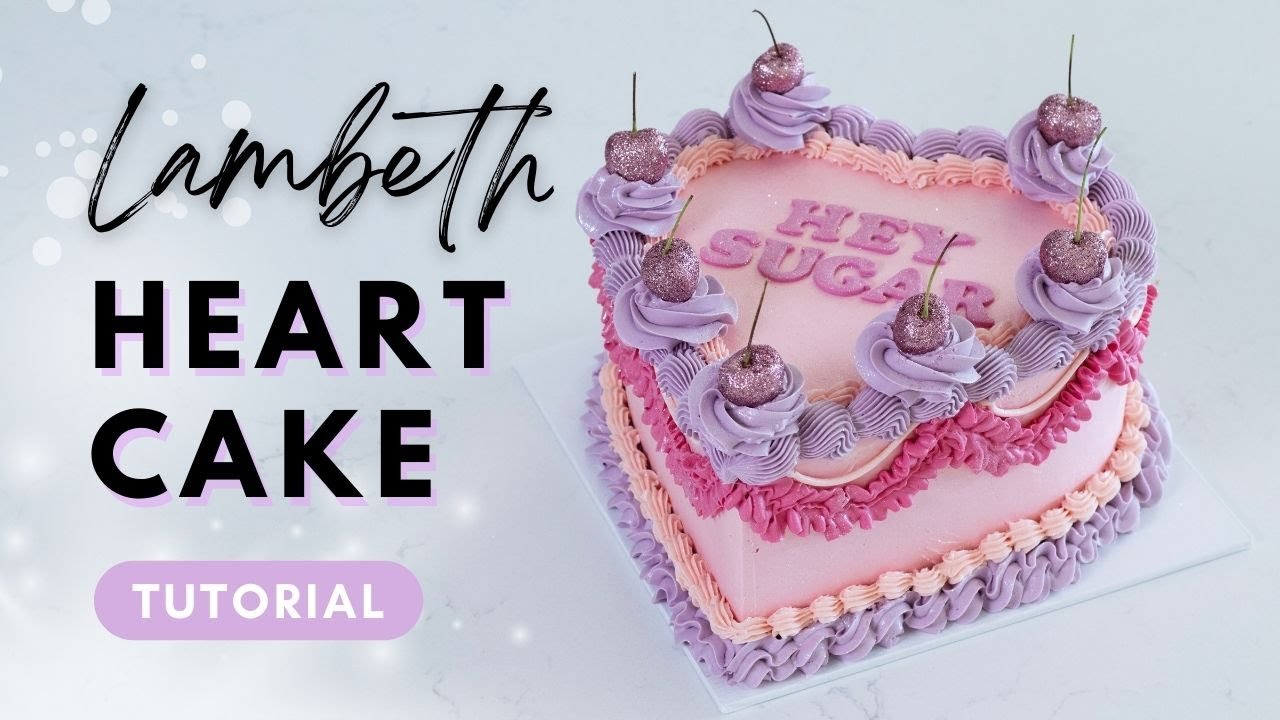
Once the cake’s all firmed up, it’s time to make it pretty. You can use a nice pink or red buttercream to swirl around the cake. I like to do little rosettes all over the place, but if you want to get real fancy, add some sprinkles or even little sugar hearts. Anything that makes it look all lovey-dovey will do! And don’t forget to add a little more buttercream around the edges, just to make it look nice and smooth.
Now, once you’ve finished decorating, step back and take a good look at your heart-shaped cake. Ain’t it a beauty? If ya really want to impress, maybe even get a few candles to stick on top. It’s gonna be a hit for sure, no matter what occasion you’re makin’ it for. The best part? It’s all from the heart, just like the cake itself.
So, I reckon that’s about all you need to know to make yourself a lovely heart-shaped cake. Ain’t too complicated, is it? Just a little time and love, and you’ll have a cake that’ll warm anyone’s heart. Now go on and get bakin’—I’m sure whoever gets to eat that cake will be mighty happy!
Tags:[heart shaped cake, cake decorating, homemade cake, buttercream frosting, birthday cake, anniversary cake, heart cake recipe, easy cake tutorial]


